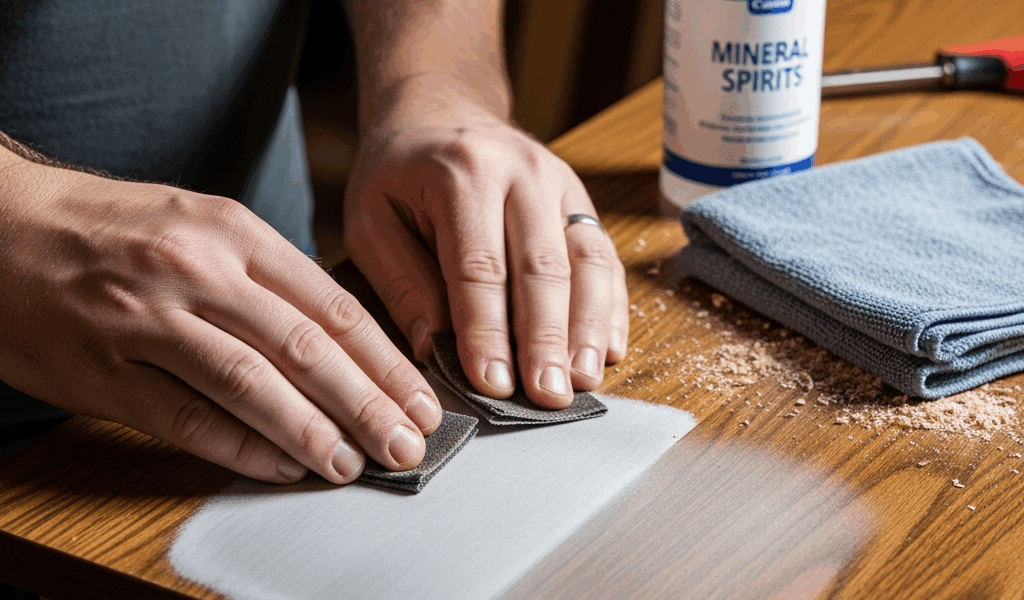
A cloudy polyurethane finish needs a diagnosis before another coat. Establish whether the haze appeared while the finish was wet, after it dried, after sanding, or after water exposure. The same-looking white patch can have different explanations, and a photograph alone cannot identify the right solvent or removal method.
Do not use a heat gun to experiment on a solvent-containing finish. Start with the exact product label, its drying requirements and the history of the layers underneath.
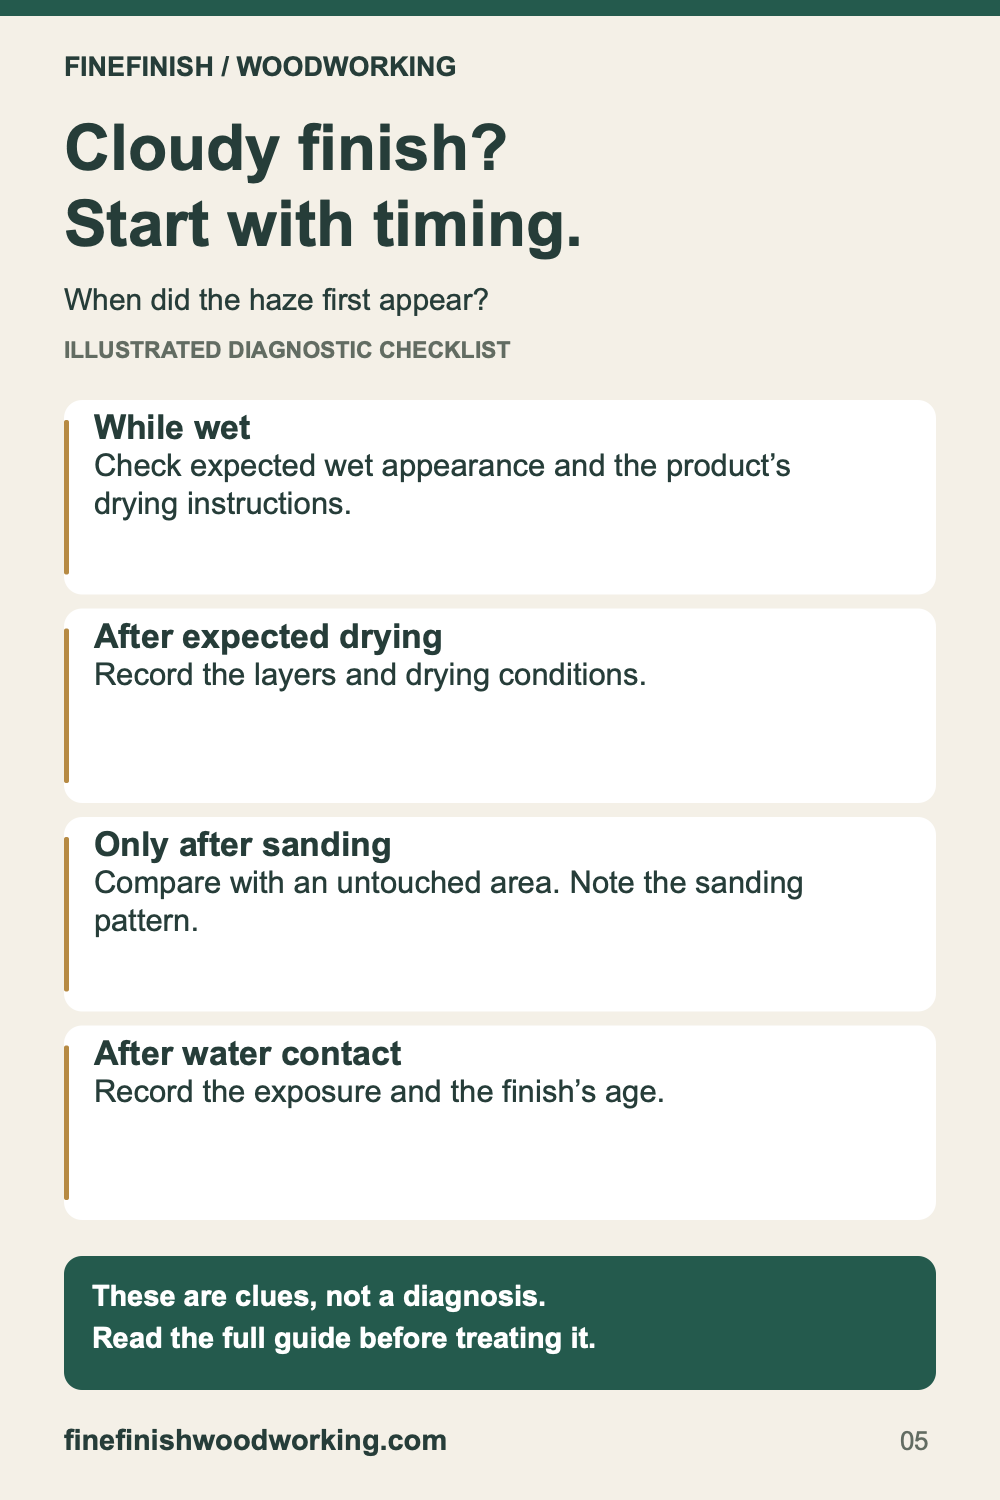
When did the finish become cloudy?
It looks milky while you are applying it
Some water-based topcoats have a milky appearance before drying. General Finishes describes this behavior for its water-based products. Do not judge the final clarity of a still-wet coat or rush to remove it. Check what your product is supposed to look like and allow its specified drying conditions and time.
Haze remains after the expected drying interval
General Finishes’ discussion of cloudiness in High Performance identifies compatibility with underlying stain and humidity among possible contributors. It also discusses marks from prolonged water contact. These are useful questions to investigate, not proof that your project has any one of those causes. Its product-specific repair guidance should not be transferred to every polyurethane.
The surface changed only after sanding
Record the abrasive and cleaning method, and compare the affected area with an untouched area. Describe whether the change follows the sanding pattern or was already visible underneath. Do not conclude that an abraded, dull surface is necessarily moisture trapped in the coating. Ask the finish maker how to assess the prepared surface before recoating.
The mark follows a cup, spill or wet object
Record when the exposure occurred, how long it remained and how old the finish was. A recently coated surface may not yet have reached its permitted service conditions. Remove the source of exposure and follow the coating’s care guidance; avoid adding household polishes, oils or abrasive mixtures that complicate the diagnosis.
Make a useful diagnosis record
- Product: full name, oil- or water-based formula, sheen and batch information if available.
- Coating history: wood, stain, sealer, previous polish or wax, and all layers applied.
- Timing: application dates, waits between layers and the first time the haze appeared.
- Environment: temperature, humidity and ventilation during application and overnight drying.
- Pattern: entire surface, isolated patches, brush paths or a water-contact outline.
- Previous attempts: sanding, cleaners, solvents, extra coats or heating already tried.
This record is more useful than a label such as “bad polyurethane.” Include photos from straight above and at an angle in the same light. Keep a sample board if you have one so a proposed repair can be tested away from the main project.
Wait, test or request a repair procedure?
- If still within the drying schedule: maintain the label’s conditions and leave the surface undisturbed. Do not force a drying deadline with concentrated heat.
- If still soft or tacky: use the sticky-finish checklist. Do not sand a soft layer just to make it look clearer.
- If dry but persistently hazy: ask the manufacturer whether the existing coating can remain and which test distinguishes surface preparation from a problem beneath the film.
- If a repair is recommended: test the specified cleaning, sanding, sealer or recoat sequence on a small area or representative sample. Evaluate it after the required drying interval before extending it.
The Minwax Fast-Drying Polyurethane 350 VOC technical sheet warns that its contents are combustible and must be kept away from heat and flame. It also calls for ventilation and careful handling of finish-soaked waste. Use the safety instructions for your exact product throughout diagnosis and repair.
What if it also has bumps or lines?
Separate texture from clarity. Our bubbles guide and brush-mark guide address surface defects. For the complete preparation and application sequence, see the polyurethane wood finish guide.
Updated November 17, 2026: removed unsupported heat-gun, solvent and stripping recipes, fixed diagnosis claims and personal anecdotes. The repair path depends on the identified coating system.

Stay in the loop
Get the latest fine finish wood working updates delivered to your inbox.