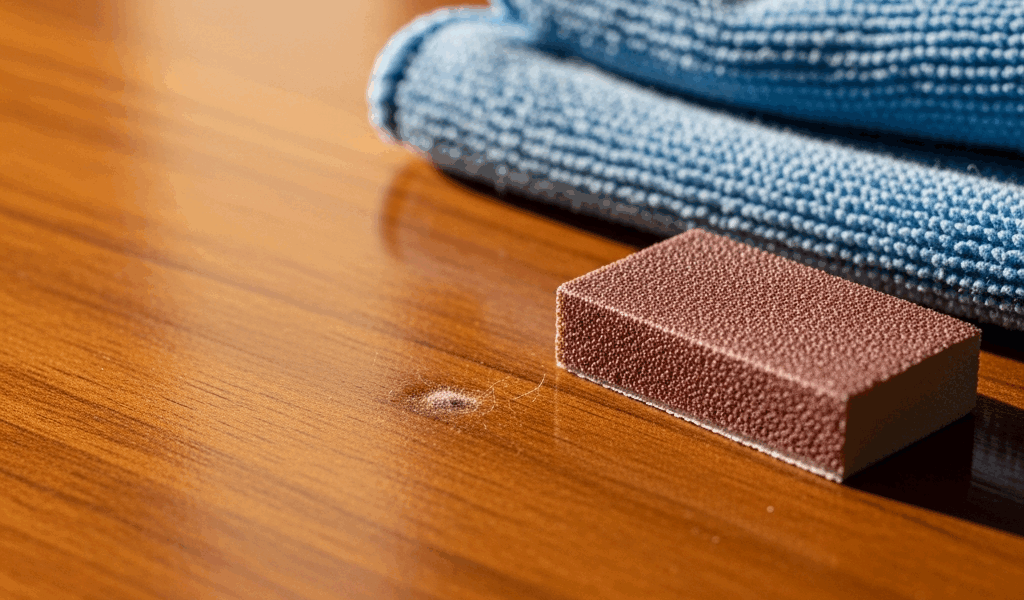
How to Fix Dust Nibs in Wood Finish Without Resanding
I’ve stared at a freshly finished tabletop under harsh light and spotted them — tiny bumps scattered across an otherwise flawless surface. Dust nibs in wood finish are one of those problems that feels catastrophic in the moment but responds beautifully to the right approach. The good news: you don’t need to strip everything back to bare wood or spend a weekend resanding. I’m going to walk you through methods that actually work, from quick polishing fixes to targeted wet-sanding techniques that preserve your original finish.
Why Dust Nibs Form in Wood Finishes
Dust nibs aren’t a failure on your part. They’re physics. When you apply finish — whether polyurethane, lacquer, or conversion varnish — the surface gets sticky and starts attracting airborne particles like a magnet. Workshop dust, lint from rags, even pollen from an open window all settle into that tacky layer before it cures.
Your application method plays a role too. Brush strokes create micro-turbulence that pulls particles into the wet finish. Spray guns are even worse — the atomization actually draws dust from the air. I learned this the hard way, shooting lacquer in my garage during a breezy afternoon and finding I’d basically created a dust collection system. Spent two hours fixing what should have taken thirty minutes.
Environmental conditions amplify everything. High humidity causes finishes to cure slower, keeping them tacky longer — sometimes much longer. Temperature swings create air currents inside the shop that stir things up. Even air filtration systems can cause problems when you turn them on during application. Workshop cleanliness matters, sure, but some dust is inevitable unless you’re working in a dedicated spray booth with proper environmental controls.
Quick Assessment Before You Fix Anything
Not all dust nibs require the same fix. Spending two hours wet-sanding when polishing compound would work is a waste of your afternoon.
Start with your fingernail. Run it lightly across the surface — does it catch on the nib or just feel bumpy? Superficial nibs feel like tiny bumps without actually snagging. Deeper ones create actual snags when your nail hits them. This distinction determines everything about how you’ll fix it.
Examine the nib under raking light next. Hold a flashlight at a low angle across the surface. Nibs that cast shadows are deeper; those that just catch light are surface-level. This visual check takes ten seconds and saves you from over-treating shallow defects.
Know your finish type and how long it’s been curing. Polyurethane fully cures in 24–48 hours. Lacquer sets in 2–4 hours but continues hardening. Water-based finishes cure in 6–8 hours. Attempting to fix a finish that’s still soft wastes effort — the surrounding area will feel different after proper hardening. Wait for full cure before you start.
Count your nibs. Five scattered spots warrant a different approach than 200 visible across the entire surface. Isolated nibs are candidates for spot repair. Widespread contamination needs systematic treatment across a larger area.
Method 1: Polishing Compound and Rubbing
This is your first-line solution for superficial nibs. It works on polyurethane, lacquer, and conversion varnish after full cure.
Grab a rubbing compound — not polishing compound, which is too fine. Meguiar’s and Turtle Wax make products specifically for woodwork finishes, running about $12 per tin. Apply a small amount to a soft cloth or pad. Work in circular motions over the affected area, using moderate pressure — don’t press hard, let the compound do the work instead.
After 2–3 minutes of rubbing, wipe away the residue with a clean, damp cloth. Examine the area. Most surface nibs disappear completely this way.
If the nib remains, don’t escalate immediately. Sometimes a second application with slightly more aggressive rubbing works. This method fails on nibs that have actually broken through the finish layer or caused substantial surface damage. If your fingernail still catches after compound treatment, you’re moving to wet-sanding — it’s the next step up in intensity.
Total time: 10 minutes for five to eight nibs. Cost: around $12 for a tin that lasts dozens of projects.
Method 2: Wet-Sanding and Buffing
Deeper nibs require more aggressive intervention. Wet-sanding flattens the surface without generating heat or excessive dust.
Probably should have opened with this section, honestly — it’s more intimidating than it is difficult. Start with 220-grit wet-sand paper and water as lubricant. Mineral spirits works for lacquer but water is safer for polyurethane, so stick with water unless you know exactly what finish you’re working on.
Sand lightly over the nib using straight strokes — not circles. You’re not trying to remove the nib entirely in one pass. Gradually flatten the surface instead. Check frequently by wiping away water and feeling the area with your fingernail to gauge progress.
After 220-grit, progress to 320-grit if the surface feels too coarse. Then 400-grit for final smoothing. Each grit step takes 2–4 minutes for a concentrated area. The key is restraint — stop before you sand through to bare wood underneath.
Once the nib is level with surrounding finish, stop sanding entirely. Wipe the area completely dry. Now apply a rubbing compound (finer grade this time, like automotive polishing compound) to restore gloss and blend the slightly duller sanded area with the rest of the finish. This buffing step prevents a visible flat spot that would draw the eye.
Cure time after wet-sanding is 4–6 hours for polyurethane, 1–2 hours for lacquer, before you apply topcoats or subject the area to heavy use.
The risk here is obvious: you can sand through your finish into stain or wood if you’re aggressive or patience runs out. This is why visual and tactile checking matters at each grit step.
Method 3: Spot Repair with Finish
Widespread nibs or clusters that span more than an inch across demand a different strategy — applying fresh finish to problem zones.
First, flatten the nibs as described in Method 2, but less aggressively. You’re looking for a smooth surface, not perfection. 220-grit wet-sand for 2–3 minutes total across the problem area.
Now the critical part: feathering. Apply fresh finish only to the affected area, but extend it about an inch beyond the problem zone. Taper the edges so new finish gradually blends into old. This prevents a visible boundary line that screams “repair.”
Use a foam brush or small artist’s brush for precision work. Apply thin coats rather than one thick coat — thin coats blend better. Polyurethane needs 2–3 thin coats, 4 hours apart. Lacquer needs 2–4 mist coats, 30 minutes apart.
Match your finish type exactly. Lacquer over polyurethane creates adhesion problems that’ll bubble and peel. Polyurethane over lacquer does the same. If you’re uncertain what was used, test on a hidden edge first — takes five minutes and prevents a disaster.
Cure time before use: 24 hours for polyurethane, 4 hours for lacquer. Blending is invisible if you’ve feathered properly and used the same sheen level (matte, satin, gloss).
How to Prevent Dust Nibs Next Time
Environmental control is non-negotiable. If humidity sits above 70%, your finish stays tacky too long. Aim for 45–65% relative humidity during application and cure. A cheap hygrometer ($8–15) tells you when conditions are right — I keep one in my shop and check it before every finishing session.
Tack cloth is essential. Wipe the surface with a fresh tack cloth immediately before finish application. This removes loose particles that would otherwise embed themselves. One tack cloth costs about $3 and prevents hours of remedial work — honestly, the best money you’ll spend in woodworking.
Timing matters more than most people realize. Apply finish early in the day, not late evening. Morning air is typically calmer. Avoid finishing during windy conditions or within 2 hours of running shop ventilation that stirs settled dust back into the air.
Let dust settle before you shoot. If you’ve been working in the space, wait 30 minutes after activity stops before applying finish. Particles need time to drop to the floor instead of floating in the air where your wet finish will catch them.
Use finishing paper — not shop towels or old cloth — for final surface prep. Finishing paper leaves fewer fibers than regular paper towels. Brand-name tack cloths beat homemade versions because the tacky coating is formulated to grab dust without leaving residue behind.
These aren’t guarantees, but they reduce nib frequency from 50+ per project to maybe 2–3. When they do appear, you now have tools to fix them without scrapping your work.

Stay in the loop
Get the latest fine finish wood working updates delivered to your inbox.