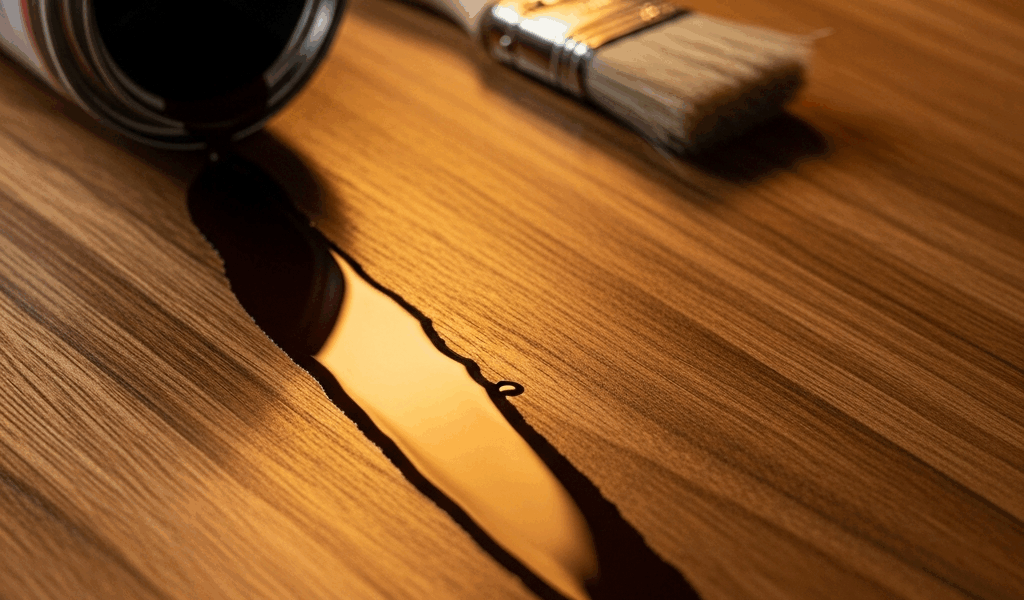
Why Lacquer Runs Happen in the First Place
Lacquer finishing has grown more complex with the conflicting advice flying around. As someone who has chased down runs on furniture for years, I taught myself the working side of why they happen — and more importantly, how to kill them fast. Today, I will share it all with you.
But what causes a lacquer run? In essence, it’s a simple application error. But it’s much more than that. Every run I’ve ever seen traces back to one of three mistakes: too heavy a coat, holding the gun closer than six inches to the surface, or thinning the lacquer too aggressively chasing better atomization. Sometimes all three at once. I did exactly that on a walnut dresser once. Looked like someone aimed a heat gun at a birthday candle. Not my finest hour.
Knowing why it happened stops it from happening again. But right now, you’re staring at a finish dripping down the side of your workpiece, and what you do in the next thirty minutes determines whether this is a five-minute fix or a full-panel strip. So, without further ado, let’s dive in.
Fixing a Run While the Lacquer Is Still Wet
Here’s the part worth saying first. Most articles skip this window entirely — and that oversight costs people real time and material.
If the run is still wet to the touch, meaning you press a fingernail in and it gives, you have maybe two to five minutes before it starts setting. That’s your golden window.
Here’s what actually works. Grab a lint-free rag — I use Uline S-9133 shop rags, about $14 a box — dampen it lightly with lacquer thinner, and feather the run back into the surrounding finish using one-direction strokes. Don’t scrub. One direction, light pressure, stop before you think you’re done. Over-working a wet run creates a hazy cloudiness that’s almost impossible to hide later. I know because I spent an extra four hours on a maple cabinet door learning that lesson.
If the run has gone tacky — that rubbery, not-quite-liquid stage — skip this step entirely. Razor scraping will serve you far better than trying to blend it now. The timing here is genuinely tight, which is why I keep lacquer thinner in a small Tolco 8-oz pump bottle right on my spray bench. Skip the misstep I made of hunting for the thinner while the run sets up on you.
Fixing a Run After the Lacquer Has Fully Cured
This is where most people end up. Your lacquer has been sitting a day or more. Hard to the touch. The run looks permanent.
It isn’t.
Start with a single-edge razor blade held at a ninety-degree angle to the surface. The goal isn’t slicing — it’s shaving. Push the blade parallel to the surface, let the blade do the work, and scrape the run down until it’s flush with the surrounding finish. Multiple light passes. Not one aggressive stroke. The blade should whisper across the surface, not screech.
On a vertical panel, work top to bottom to keep the blade steady. On a horizontal surface — a tabletop, a cabinet face — scrape toward yourself at a slight angle. You’ll feel when it’s level before you can see it.
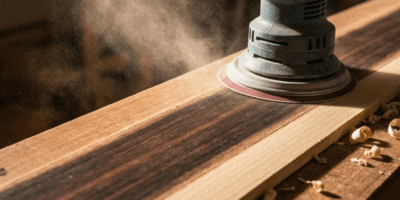
Once shaved level, wet-sand to blend the edges. This part matters: do not skip curing time. Nitrocellulose lacquer — the industry standard — needs 24 to 48 hours minimum to cure hard enough that sanding won’t drag and smear the finish into a cloudy mess. Polyurethane lacquers cure faster, usually 12 to 16 hours, but check the specific can you’re using. Sand too early and you’ll destroy more than you fix. That’s what makes patience so endearing to us woodworkers — it actually pays off here.
Use 400 or 600-grit wet-sand paper with water and a few drops of Dawn dish soap. Sand in circular motions around the run, expanding outward until you can’t feel the edge with your fingernail. You’re blending, not removing. Just enough pressure that sanding leaves a dull matte line. Stop often, wipe dry, check your progress. Repeat.
The biggest risk: sanding through the lacquer on edges and corners. Edges are thin — I’m apparently heavy-handed with a sanding block, and 3M 405N wet paper works for me while cheaper no-name sheets never last a full panel. On a dark walnut frame, sanding through to bare wood shows as a light streak that no amount of buffing hides. Stay conscious of where the wood ends.
After sanding, let the surface dry a full two hours. Then apply one thin recoat of lacquer over the entire panel. Light. This seals the sanded area and restores the gloss. Don’t spot-repair just the run itself — the overspray blends everything together naturally.
How to Blend the Repair So It Disappears
A fresh coat of lacquer handles most repairs on its own. High-gloss finishes on dark stains are the exception — those need buffing to make the repair truly invisible.
After the recoat cures — another 24 hours — use rubbing compound and 0000 steel wool or a foam pad on a variable-speed buffer. Start at 1,200 RPM, work in slow overlapping circles, apply light pressure. You’re not sanding the finish. You’re leveling the sheen across the repair and the original coat so everything reads the same in raking light.
On satin or matte finishes, skip the buffer entirely. The texture of those finishes hides blending lines naturally — a single recoat usually handles everything without any secondary work.
Be realistic, though. Most repairs vanish cleanly after a final coat. Severe runs on dark stained wood — the kind where the run pulled stain up into the lacquer itself — may leave a faint color shadow even after buffing. Visible only if you know exactly where to look. That’s acceptable on 95 percent of furniture leaving a shop.
When to Strip and Start Over Instead
There’s a threshold where fixing costs more time than stripping and recoating fresh. More than three runs on the same panel. A single run wider than a standard pencil on a visible face. A run that cracked during curing and lifted the stain underneath. Any of those — strip it. Stripping is faster.
Nitrocellulose lacquer strips cleanly with a brush and Sunnyside or Klean-Strip lacquer stripper — a two-hour job on most pieces. Chasing multiple repairs can stretch across a week of curing cycles, sanding sessions, and retouching passes. The math rarely works out in favor of repair beyond a certain point.
Before you recoat, seal the wood with a thin coat of shellac-based sanding sealer — Zinsser SealCoat is what I keep on the shelf, runs about $22 a quart. This prevents the new lacquer from pulling stain or creating the adhesion problems that caused runs in the first place. It adds about 90 minutes to your timeline. It also saves you from doing this whole process a second time. Worth every minute.


Stay in the loop
Get the latest fine finish wood working updates delivered to your inbox.