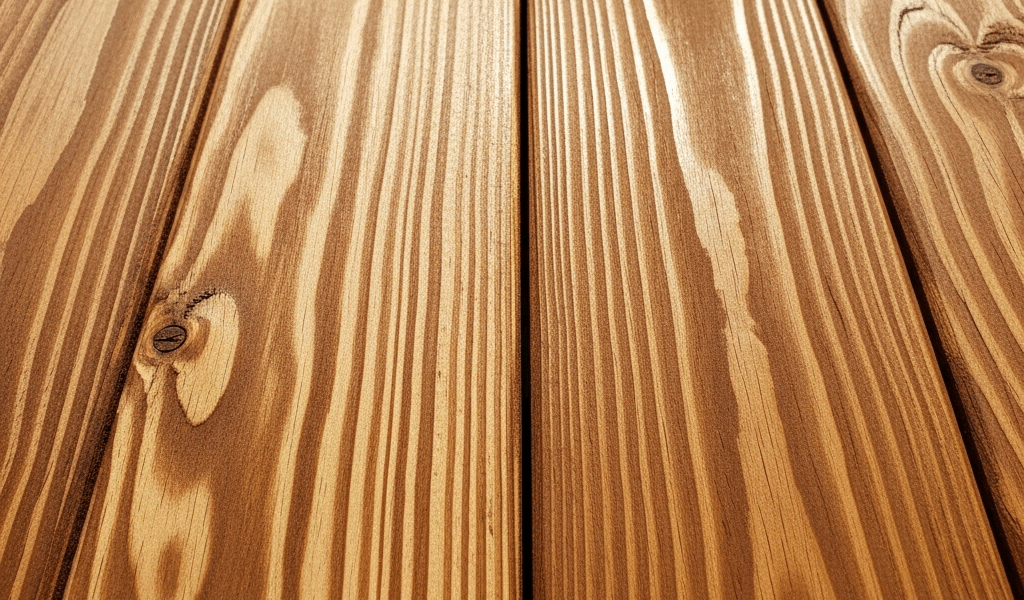
Why Stain Streaks Follow (Or Cross) Grain Direction
I’ve spent enough time at the finishing station to recognize a grain-direction problem from across the shop. Wood grain isn’t uniform — pores run along the grain like tiny highways, and they absorb stain at different rates depending on whether you’re brushing with or against them. Push the brush bristles against the grain and you’re essentially forcing them into closed pores, causing stain to sit on the surface longer and darken more intensely. Brush with the grain, though, and those same pores drink up color quickly and evenly.
Different wood species make this mechanical issue worse. Oak’s large, visible pores? Directional streaking becomes obvious — you’ll see dark lines running lengthwise. Pine and other softwoods have irregular grain that absorbs stain in patches, creating a mottled effect. It looks worse because it’s chaotic rather than linear. I learned this the hard way on a pine dresser that looked like a topographic map after my first coat.
Here’s the visual cue to watch for: streaks running parallel to the grain (same direction as the wood fibers) mean it’s a prep and porosity problem. Streaks that cross the grain or appear random? That’s an application technique issue — usually uneven brush pressure or inconsistent wet-edge maintenance. This distinction matters because it changes your fix entirely.
How to Tell If Your Streaks Are Fixable Without Stripping
The first question: how wet is your stain right now? This determines whether you have minutes or hours to recover.
Stain still visibly wet (0–10 minutes in)
You’re in the best-case scenario. The stain hasn’t set into the wood grain yet. Move fast with a clean, slightly damp rag or foam brush for immediate blending. This works about 80% of the time if you act quickly.
Stain tacky to touch but not fully absorbed (10–45 minutes)
You’re in the middle zone where moisture is still present in the wood but surface drying has started. Light sanding with 220-grit followed by spot re-staining of dark areas becomes possible. You’re working against the clock here. Probably should have opened with this section, honestly — most people panic around the 20-minute mark when streaks look permanent but aren’t.
Stain fully dry (over 2–4 hours depending on temperature)
Water-based products fully set within 2–4 hours at 70°F; oil-based takes 8–24 hours. Once stain cures, blending is off the table. You’re committed to either light sanding the streaky zones and re-staining, or full stripping and starting over. What you choose depends on how visible the streaks are and what type of wood you’re working with.
Do a touch test on a hidden edge. If your fingernail leaves no impression, the stain is set. If it’s slightly tacky, working time remains.
Blending Out Wet Stain Streaks in Real Time
Caught the problem early? Here’s the exact sequence I use every time.
Step 1: Assess the brush situation
If you applied the stain with a cheap foam brush or synthetic bristles, stop immediately. Cheap brushes shed fibers and create uneven contact with the wood, amplifying streaking. You’re better off starting over with proper technique rather than trying to salvage it. Grab a natural bristle brush — Purdy, Bestt Liebco, or Wooster are reliable at $12–$18 — or use a cotton rag for the next attempt.
Step 2: Wring out a clean cotton rag to “damp” condition
Not dripping wet. Damp. If water is pooling, you’ll dilute the stain. A slightly damp rag lifts and redistributes wet stain evenly without creating new problems.
Step 3: Blend along the grain, always
This is non-negotiable. Stroke the damp rag in the direction of the grain, overlapping your strokes slightly. On an oak tabletop where grain runs lengthwise, your blending strokes run lengthwise. Going sideways doesn’t fix anything — it makes it worse. Use light pressure and let the wood absorb the redistributed stain.
Step 4: Return to dry brush if needed
After 5–10 minutes, if dark spots remain but the overall shine looks even, use a dry (completely dry) natural bristle brush or foam brush to feather out any remaining puddles. One or two light strokes following grain direction. Stop.
Timing matters here. Wait much past the 15-minute mark and the stain becomes tacky enough that you’re dragging dried particles across the surface instead of blending. This creates new texture problems. If you miss the window, let it cure fully.
Fixing Streaks in Dried Stain Without Full Resanding
You didn’t catch it in time. The stain is cured and streaky. Before reaching for paint stripper, try this damage-control approach.
Light sanding of just the streaky zones
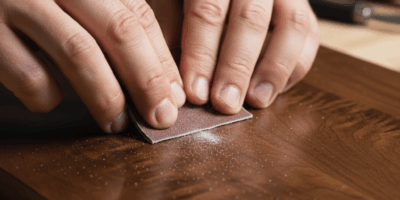
Use 220-grit sandpaper and sand only the darker, streaked areas. Don’t try sanding the whole surface — that defeats the purpose and creates new problems. Sand lightly in the direction of the grain using a sanding block for even pressure. The goal: remove just enough finish to feather the edge between dark and normal areas. This takes about 30 seconds per problem zone on a typical tabletop.
After sanding, vacuum and tack-cloth the dust away completely. Any grit left behind will embed in your next coat and be visible forever.
Apply wood conditioner before re-staining (softwoods only)
If you’re working with pine, poplar, or similar softwoods that blotch easily, this step prevents creating new streaks while fixing the old ones. A proper conditioner — Minwax, Varathane, or similar pre-stain wood conditioner — seals the surface partially so the new stain absorbs more uniformly. Follow package directions, usually 15 minutes of drying time. This single step has fixed more pine projects than any technique I know.
Re-stain the sanded zones using wet-edge technique
Mix a slightly thinned version of your original stain (add 10–15% thinner — mineral spirits for oil-based, water for water-based). This weaker mixture helps you feather edges without creating a new dark line where new stain overlaps old.
Brush along the grain. Overlap your strokes by about one inch into already-stained areas to create a seamless transition. The thinned stain will blend into the existing color. Let it cure fully before judging the results.
Avoid this common mistake: spot-staining with full-strength product
I tried this once. It created a darker patch where the new stain went down. The lesson: feathering only works with slightly reduced stain concentration. Full strength will always look like a repair.
Prevent Streaky Stain on Your Next Project
Two things actually matter for preventing this problem. Not ten golden rules. Two.
Raise the grain before staining
Wet the bare wood with distilled water, let it dry, then sand with 220-grit in the grain direction. This opens pores uniformly so they absorb stain evenly instead of in random waves. It takes 30 minutes total — not optional for softwoods, highly recommended for everything else. This single step eliminates about 60% of streaking problems I see.
Use wood conditioner on softwoods without exception
Pine, poplar, fir — apply pre-stain wood conditioner 15 minutes before staining. Hardwoods like oak and maple? Skip it; they don’t need it. But if you’re staining anything soft, the conditioner seals blotchy-prone pores enough to prevent directional absorption from creating visible streaks. Minwax Pre-Stain Wood Conditioner runs about $7 per quart and lasts forever. That’s the cheapest fix for the biggest problem.
That’s it. Two habits. The rest is technique — and technique only matters if your wood is prepped correctly. I’ve seen people spend hours perfecting brush skills on wood that was never raised or conditioned, then wonder why streaks keep happening. Start with the wood, not the tool.



Stay in the loop
Get the latest fine finish wood working updates delivered to your inbox.