“`html
How to Prevent Wood Grain Raising Before Staining
I’ve sanded a finish four times on the same project because I didn’t understand wood grain raising. The first time I stained a piece of oak, the grain seemed completely smooth. Twenty-four hours later, I ran my hand across it and felt tiny bumps all over the surface—like someone had glued sandpaper fibers to my careful work. That’s when I learned that preventing grain raise isn’t something you fix after the fact. You prevent it before you ever touch the stain.
Most woodworkers treat grain raising like an inevitable annoyance. They sand smooth, stain, sand again, stain again, and hope it stops. That approach costs time and material. The real solution lives in the preparation phase — specifically in making the wood fibers swell deliberately before you apply any stain. Once you understand that, the whole process shifts from reactive to proactive.
Why Grain Raising Happens (And Why You Can’t Skip Prevention)
Wood is full of tiny fibers that live in a relatively stable state. When you sand your project smooth, you’re really just cutting those fibers flush with the surface. Everything looks perfect until moisture touches the wood.
Here’s what actually happens. Stain contains moisture — either water or solvent-based liquids that act like water on the wood. That moisture penetrates the surface and causes the wood fibers to absorb it and swell. The longer fibers swell upward faster than the shorter ones, creating an uneven texture. Your perfectly smooth surface suddenly feels like it has tiny whiskers all over it.
The frustrating part? You can’t see this happening. The grain raising happens as the stain dries, not during application. By the time you feel it, it’s too late for that coat.
The prevention strategy flips this problem on its head. Instead of letting the stain introduce moisture for the first time, you introduce it deliberately during prep work. You wet the wood, let it dry, sand it again, and then apply stain to wood that’s already been through the swelling cycle. The grain raises during your preparation — when you can control it with sandpaper — not during your stain application.
The Wet-Raising Technique That Stops It Before Staining
This is the actual process I use now, and I haven’t had to resand a stained piece in three years.
Start with wood that’s already been sanded to your final grit — typically 120 to 150 for stain work on hardwoods. Don’t use 220 or higher. Fine grits seal the surface slightly and can actually reduce wood conditioner absorption later, which matters if you need it.
Step one: wet the wood deliberately. Use distilled water, not tap water. Tap water contains minerals that can stain wood differently than your actual stain will. Distilled water runs about $2 per gallon at any grocery store. Dampen a sponge or cloth and wipe the entire surface evenly. You’re not soaking it. You want the wood visibly wet but not dripping. Take a piece of pine 2×4 and wipe one side — that’s your reference point for how much moisture you need.
This is where I made my second mistake, honestly. I used a spray bottle once and created uneven moisture absorption. Sponge application gives you better control over the process.
Step two: let it dry completely. This takes 24 to 48 hours depending on humidity and wood thickness. If your shop runs 35% relative humidity, it dries faster. If you’re at 60% humidity, plan for 48 hours. Don’t shortcut this. The wood needs to stabilize at its raised state before you touch it again.
Step three: sand the raised grain away. This is the critical part that most people skip. Use 150-grit sandpaper or one grit finer than your final prep sanding. Sand lightly — you’re not trying to flatten the wood again. You just need to shear off the raised fibers at the surface. This takes maybe five minutes on a small piece. You’ll see the dust color change slightly as you hit fresh wood fiber instead of just the lifted fibers.
After this sanding pass, the wood fibers have already experienced moisture stress and settled. When your stain touches the surface, the fibers react far less dramatically. You’ll still get minimal grain raising — it’s impossible to prevent entirely — but you’ll go from visible bumps to barely-noticeable texture.
Step four: remove all dust and apply stain. Use a tack cloth. Vacuum first if you have one in your shop, then tack cloth. I use Minwax brand ($3.50 per cloth), and one lasts through multiple projects if you store it sealed. Any dust left on the surface becomes a nib when stain dries over it, and those nibs amplify the appearance of whatever grain texture exists.
Wood Conditioner vs. Sanding Sealer vs. Nothing
This section exists because I almost convinced myself I needed all three, and I want to save you that money and confusion.
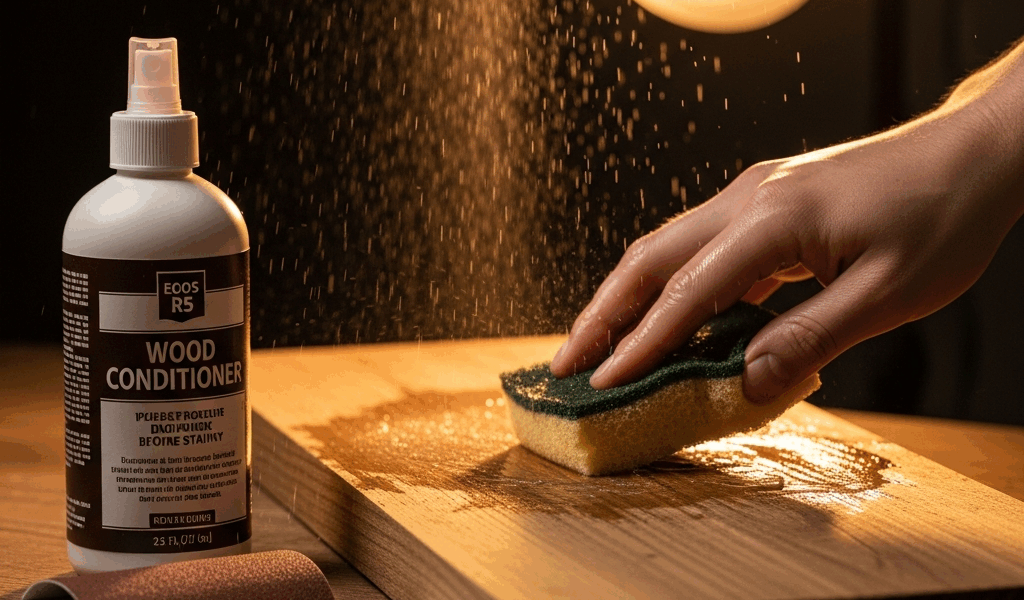
Wood conditioner is a thin, pre-stain sealer that evens out stain absorption on uneven wood. It works best on softwoods like pine, fir, and poplar that have dense grain lines alternating with softer grain areas. The conditioner soaks into soft areas and reduces absorption, so you get even color. Price runs $8-12 per quart. Minwax and Varathane both make standard versions that work fine.
Here’s the honest truth: if you’ve already wet-raised your grain, you’ve partially solved the problem that conditioner addresses. The wood fibers are already settled and less prone to differential absorption. On hardwoods like oak, cherry, or walnut, conditioner makes minimal difference. On pine or poplar, it still helps, but you get less benefit than if you’d skipped the wet-raising step entirely.
My rule now: wet-raise on hardwoods without conditioner. Wet-raise on softwoods AND use conditioner for that extra insurance against blotchy color.
Sanding sealer is different. It’s a thick coating meant to prevent stain from soaking in too fast, which lets you wipe and manipulate the stain for even color. It doesn’t prevent grain raising — it actually moves the problem downstream. You seal with sanding sealer, stain over it, and then if you get grain raising, you have to sand through both layers. Don’t use it for this specific problem.
Nothing — just wet-raising and sanding — works fine on closed-grain woods like maple and ash. These woods don’t absorb unevenly, so conditioner won’t help. Wet-raising handles the grain-raising issue, and you’re done.
Material Prep That Prevents Grain Raising
Before you even think about wetting anything, your initial surface preparation matters more than you’d think.
Start sanding progression at 80-grit if the wood is rough. Move to 120-grit, then finish at 150-grit for stain or 180-grit if you’re painting. Don’t skip grits. If you go from 80 straight to 150, you leave deeper scratches that telegraph through stain and become permanent problems.
Sand with the grain, always. Across-the-grain sanding leaves scratches that stain darkens, and no amount of grain-raising prevention fixes that mistake.
After your final sand and before wetting, blow off dust with compressed air or vacuum. Any dust left in the pores will swell with the wood fibers and become part of the raised texture.
Environmental control matters here. Your shop humidity affects how fast the wet-raised wood dries and how stable it becomes. If you’re at 40-50% humidity, you get ideal drying and excellent results. If you’re above 60%, the wood stays swollen longer and the grain raises more dramatically when you sand. If you’re below 30%, the wood dries too fast and can cup or check.
Store wood flat before staining. Any wood stored upright absorbs moisture unevenly, which causes some grain to raise more than others.
Real-World Workflow to Stay Ahead of Grain Raising
Here’s the exact sequence I follow now:
Day 1 (Tuesday morning, as an example): Sand to 150-grit. Vacuum and tack. Dampen entire surface with distilled water on a sponge. Let dry.
Day 2 (Wednesday morning): Sand with 150-grit to remove raised fibers. Vacuum and tack again. Apply wood conditioner if using pine or poplar (wait 15 minutes minimum per product instructions). Conditioner dries clear and doesn’t stain your timeline — it just evens absorption.
Day 2 afternoon (same day as conditioner, but after it dries): Apply stain. One coat usually suffices after wet-raising. Let dry per stain instructions (typically 4-24 hours depending on the product).
Day 3: Light sand with 220-grit to remove any minor grain raise, then topcoat.
That’s four days from rough prep to topcoat-ready. Without wet-raising, I’d sand, stain, resand, restain, and hit day 5 or 6 still frustrated with bumpy grain.
Temperature and humidity notes: Stain below 50°F and above 85°F causes slow or uneven drying. Run your shop between 60-75°F and 40-60% humidity for predictable results. If you’re staining in a garage in January or August, expect extra drying time or uneven absorption patterns.
The checklist that actually works:
- Initial sand progression, 80→120→150-grit
- Vacuum and tack
- Dampen wood with distilled water
- Wait 24-48 hours for drying
- Sand raised grain with 150-grit
- Vacuum and tack again
- Apply conditioner if softwood (wait drying time)
- Apply stain
- Light sand with 220-grit after stain dries
- Topcoat
This workflow costs nothing extra beyond materials you already have. It takes one extra day of waiting. The payoff is a finish that looks professionally smooth and doesn’t need resanding. Once you’ve done it once, it becomes automatic, and you’ll never go back to ignoring grain raising.
“`


Stay in the loop
Get the latest fine finish wood working updates delivered to your inbox.