Why Dried Drips Happen — and Why They’re Completely Fixable
Finishing woodwork has shifted noticeably with all the conflicting advice flying around. As someone who ruined a walnut dresser on a Tuesday afternoon, I sat down and learned fixing dried polyurethane drips. Today, I will share it all with you.
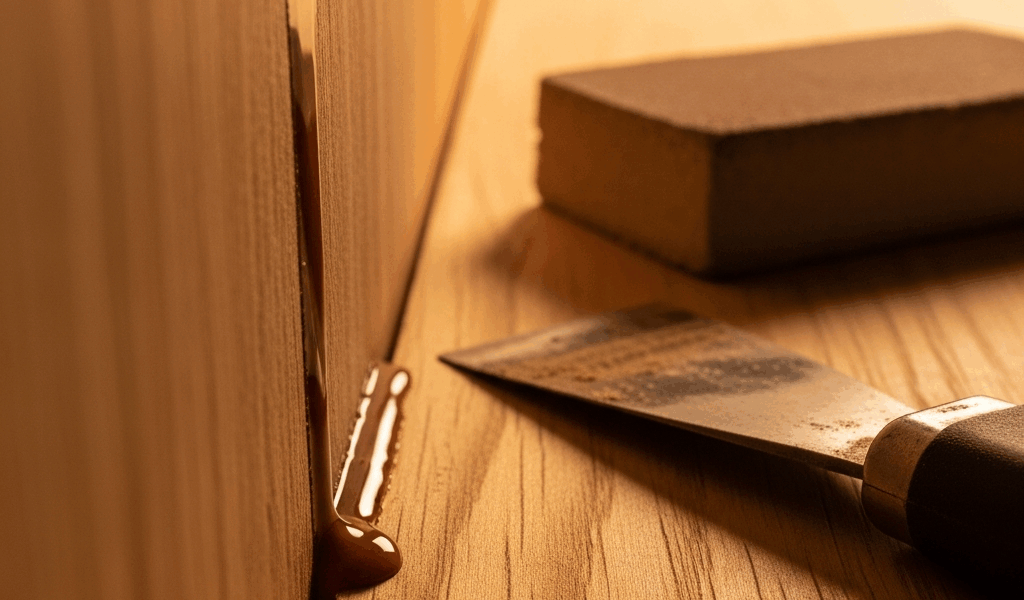
That dresser situation still stings. Three days of staining, careful prep, and then — a quarter-inch curtain of sag running straight down the leg. Fully cured. I stood there staring at it for probably four minutes before I started Googling.
So why do drips happen at all? You overload the brush. The coat goes on too thick. Gravity wins on vertical surfaces — every time. Polyurethane is also thinner than paint but somehow behaves heavier, pooling in corners and along edges where you’d expect it to flow flat. That’s a cruel trick nobody warns you about.
But here’s the thing: dried drips are genuinely among the most fixable finish problems you’ll face. Not crazing. Not adhesion failure. Not wood movement that’s split the substrate. The polyurethane is just sitting there, hardened, waiting to be flattened. This is a skill issue — not a disaster. Completely reversible.
Check How Bad the Drip Actually Is Before You Touch It
Quick note before the rest of this.
Before you grab anything sharp, do the fingernail test. Press your fingernail firmly into the suspect area. No indent, no dent — you’re cured and ready to work. If you’re not sure, wait another day. Polyurethane is deceptive that way. It feels dry after 4–6 hours, but full cure through the film takes a solid 24 hours at 70°F with normal humidity. Trying to repair semi-cured poly is how you end up with cloudy soft spots. Skip the misstep I made.
Once you’ve confirmed it’s hard, figure out what you’re actually dealing with.
- Single, small drip — isolated run about the size of your pinky fingernail or smaller, barely visible under normal room light. Almost always worth fixing in place.
- Medium drip or run — visible to the naked eye, maybe a quarter-inch wide and an eighth-inch tall. Fixable, but it’ll ask something of your patience and your lighting setup.
- Multiple runs or a sag curtain — several drips scattered across the surface, or a continuous drip line running 6 inches or more. Repair is possible, but this is where the full-redo conversation starts.
- Dark finish, visible spot — kitchen cabinet face, tabletop, anything at eye level. Even a perfect repair will catch light differently if the finish ages don’t match.
I’ve watched people spend two hours sanding a drip that would have taken 20 minutes to sand off completely and just recoat. Triage is the job. Do it first.
How to Remove a Dried Drip Without Damaging the Surrounding Finish
Frustrated by that dresser sag and armed with a card scraper I’d never actually used properly, I removed the drip using the method that still works for me today: scrape close, then sand level.
Start with a sharp card scraper or a single-edge razor blade — the kind that comes in a yellow dispenser box for around $4 at any hardware store. Hold it at a shallow angle to the surface, roughly 20 to 30 degrees. Angle matters more than force here. Too steep and you catch the finish and gouge. Too shallow and you’re just smearing. Use a pencil grip, not a death grip. You’re relying on the blade’s sharpness, not its weight.
Work slowly across the drip in thin shavings. You want to knock it down to within a whisper of flat — not obliterate it in one aggressive pass. Check progress by running your fingertip across the edge. You want to feel a subtle bump, not a ridge.
When the card scraper stops cutting efficiently, switch to 400-grit wet-dry sandpaper. Wrap it around a small flat block — a rubber sanding block works fine, or a piece of hardwood with a cork face. Never sand freehand without a block. You’ll round the edge and feather the surrounding finish right into the wood. I’m apparently someone who learned this the hard way twice, and the cork-faced block works for me while bare-handed sanding never does anything useful.
Set up raking light — a flashlight or shop light angled low across the surface. This shows you the high spots with brutal honesty. Sand those only. You’re not refinishing the whole surface, just the drip and maybe an inch or two around it. Circular motions, frequent checks.
The mistake I see most often: sanding through the finish entirely, hitting bare wood or bare stain underneath. This happens when people get impatient or skip the block. Once you cut through the poly into the substrate, you’ve traded a drip repair for a stain touch-up. Much harder to blend. Stop when the drip feels level — your fingernail should glide across with no catch whatsoever.
How to Blend the Repaired Spot Back Into the Finish
The sanded area will look dull and obvious. That’s expected. This is the blending phase — where the repair becomes invisible.
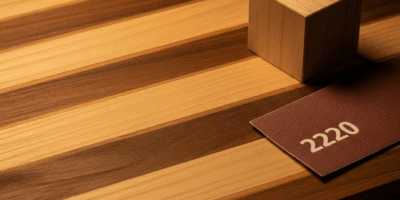
Work up through the grits. From 400, move to 600-grit wet-dry, then 800-grit if you have the patience for it. Light pressure only. You’re refining surface texture now, not removing material. Wet the paper and the surface as you go — this clears the dust and lets you actually see what you’re doing instead of guessing through a white haze.
For oil-based polyurethane, the move is a light buffing with automotive rubbing compound afterward. Mothers California Gold works well here. 3M also makes a marine-grade version — slightly more aggressive, which helps on thicker finishes. Buff with a soft cloth in circular motions. You’re not trying to restore gloss. You’re matching the sheen of the surrounding finish. Those are different goals.
Another option — and this one works particularly well for poly — is a thin recoat over the repair area using a quality brush. A Purdy XL for oil-based, a Wooster Pro for water-based. Feather the recoat edges outward about 2 to 3 inches from the original drip. Then tip off: drag a nearly dry brush across the wet boundary to soften the transition line between new coat and old.
Water-based polyurethane is trickier to recoat. It raises grain and can expose color differences you weren’t expecting. If you go this route, sand to 800-grit, apply a single thin coat, and accept that the repair will look slightly visible for the first few weeks. The sheen equalizes as everything hardens. It’s not a permanent flaw — just a temporary one.
Under raking light, a good blend shows no shadow line, no dull spot, no hard edge where new meets old. Under normal room lighting, you shouldn’t be able to point to the repair without really trying.
When It Makes More Sense to Strip and Recoat the Whole Surface
Be honest with yourself here. That’s what makes this craft endearing to us woodworkers — knowing when to stop chasing a patch job.
More than three or four drips scattered across a single surface — a table leaf, a cabinet door, a dresser top — and you’re probably better off sanding the whole thing to 150-grit and applying one fresh coat. Individual repairs will take longer. You’ll also end up with a patchwork of micro-repairs that catch light in different ways, even if every single one of them is technically good.
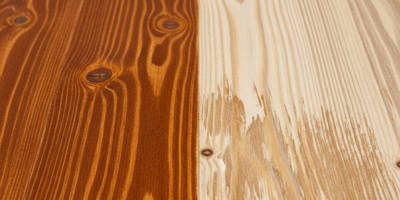
If the drip sits on a dark finish in a visible spot, think about the age of the existing finish. Polyurethane shifts in sheen as it cures and ages over years. A 10-year-old ebonized cabinet with a brand-new repair blend — that’ll catch your eye every single time you walk past it. Full strip and recoat is a better outcome than living with that.
Multiple runs on vertical surfaces also suggest a technique problem worth fixing before the next coat. While you won’t need to rebuild your entire process from scratch, you will need a handful of adjustments — a stiffer brush, thinner loads, better lighting during application. A 2-inch Purdy XL Cub for oil-based, or a Wooster Diplomat for water-based, might be the best option, as vertical work requires a brush that holds less finish. That is because a brush loaded too heavily doesn’t give you any margin before gravity takes over.
First, you should thin your applications — at least if you’re working on doors, legs, or any surface that isn’t horizontal. Then walk away once it starts to tack. Never return to a surface after the solvents begin flashing off. That’s how drips become sags. And sags become this whole article.
So, without further ado — or any more of my Tuesday afternoon cautionary tales — do the triage, work slowly, and you’ll have a finish worth keeping.

Stay in the loop
Get the latest fine finish wood working updates delivered to your inbox.