Workshop organization has gotten complicated with all the “buy more storage” solutions flying around when the actual problem is almost always layout, not storage. As someone who’s spent years working in, thinking about, and completely reorganizing a woodworking shop, I’ve learned everything there is to know about what actually changes how you work — and what the single most impactful change typically is. Today, I’ll share it all with you.
There’s a before and after in most woodworkers’ development — a specific change to their workspace that shifted how they work. For me, it was reorganizing the shop around workflow rather than around the tools themselves. The difference sounds subtle. The effect wasn’t.
The Tool-Centric Layout Problem
Most woodworkers organize their shops around the major tools: the table saw goes here, the jointer goes there, the planer against that wall, the workbench along the window. This feels logical because the tools are the anchors — they’re heavy and they have specific power and dust collection requirements.
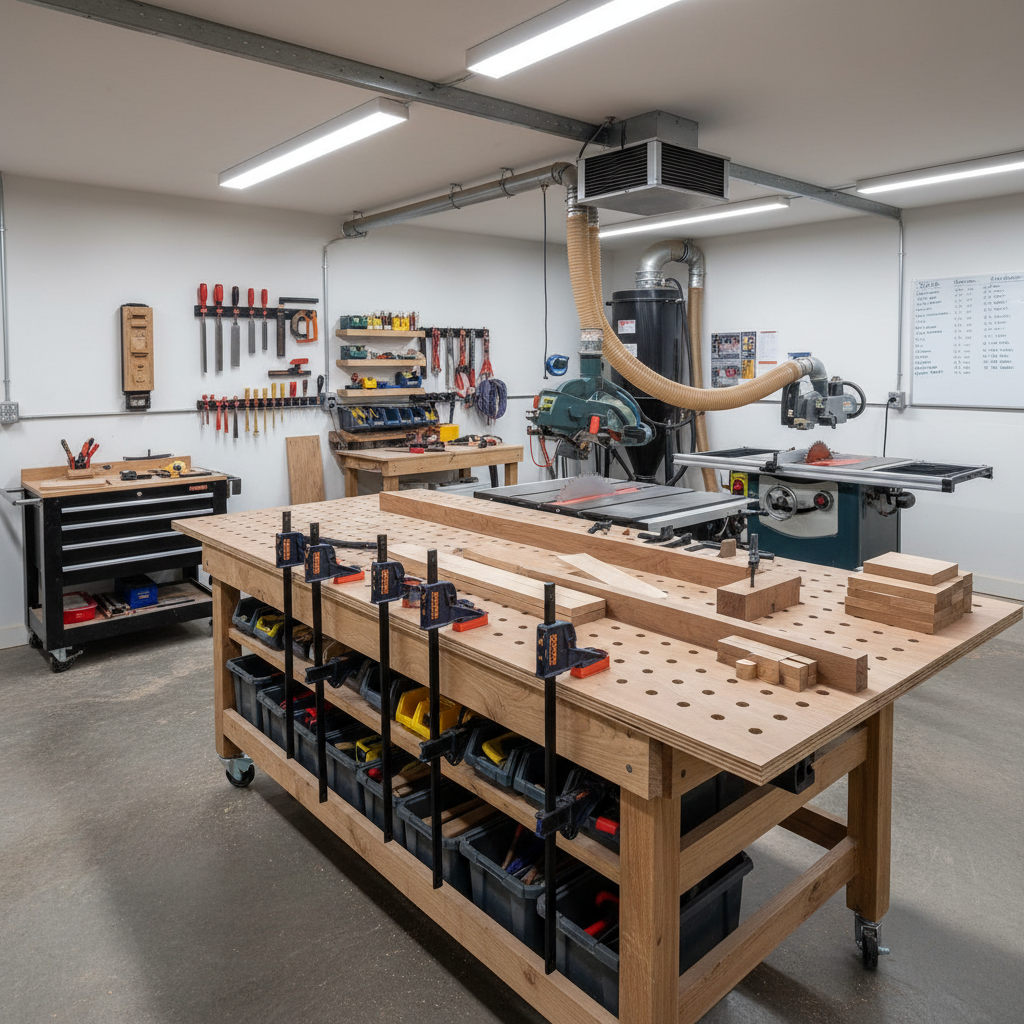
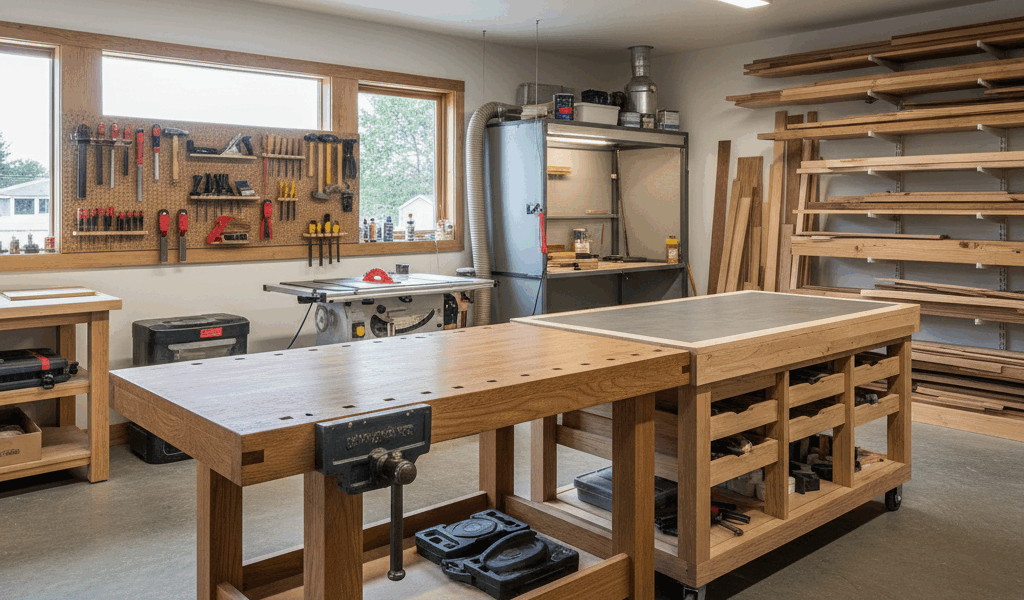
The problem is that organizing around tools ignores the material flow through the shop. Wood comes in rough and long and gets progressively dimensioned, shaped, and finished. If your jointer and planer require you to wrestle boards past your table saw to reach them, you’ve created friction in the most common workflow sequence. Frustrated by constantly working against my own shop layout, I mapped out the five most common workflows I actually used and arranged the shop so that material moves through those sequences with minimum backtracking. The table saw moved. The planer moved. The workbench changed orientation. The result was disruptive to build and immediately obvious in daily use. That’s what makes workflow-based layout endearing to us who’ve done the reorganization — it keeps paying off every day.
The Outfeed Table: The Single Biggest Impact Change
Probably should have led with this, honestly — if you have a table saw without an adequate outfeed table, adding one is the single change most likely to improve both safety and capability. Running full sheets or long boards through a table saw without supported outfeed requires either a helper or dangerous workarounds — the board tipping down as it exits the blade, the blade catching as the material pivots, or the board falling off the saw before the cut is complete.
A proper outfeed table — at precisely the same height as your saw table, large enough to support a full sheet past the blade — allows you to work alone on operations that would otherwise require an assistant. It also allows you to mill lumber more efficiently by eliminating the setup time for temporary support. The outfeed table doesn’t need to be beautiful. Torsion box construction from MDF is stable, flat, and inexpensive. Add a few coats of finish for slipperiness and bolt it to the saw so it moves with the table saw if you ever need to reposition.
Clamp Storage: Function Determines Form
Clamps are the furniture of the shop — you need far more than you think, they need to be instantly accessible during glue-ups, and the way you store them determines whether you actually use the ones you have. Clamps that are hard to reach or tangled with others don’t get deployed.
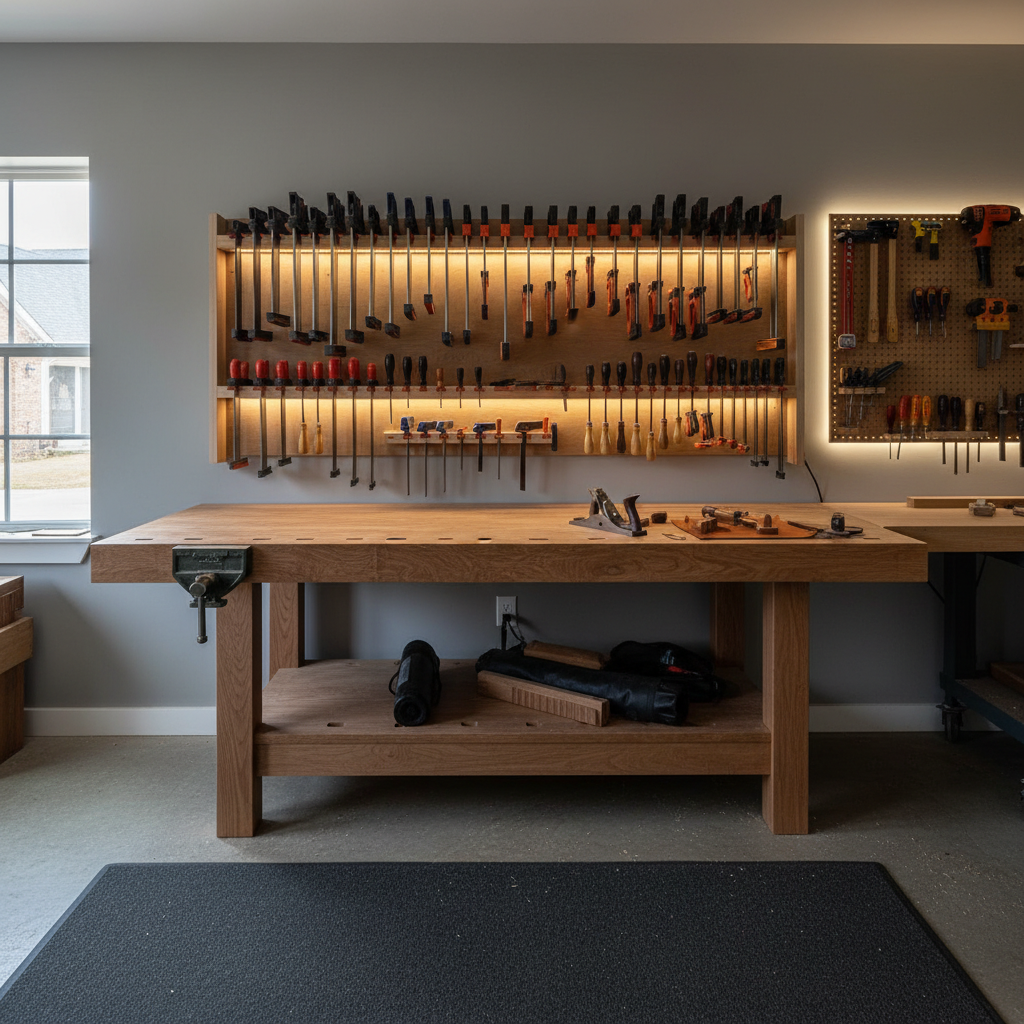
I’m apparently one of those woodworkers who put clamp racks in the wrong location for years, storing them where there was space rather than where I used them. The practical solution: build clamp racks where you actually use clamps, not where there’s space. If you do most of your assembly at the workbench, clamp storage belongs adjacent to the workbench. The distance between where clamps live and where you use them correlates directly with whether you’ll use them correctly during time-sensitive glue-ups.
Lighting: The Underinvested Area
Most shops are underlit. The combination of a general overhead fluorescent and a task light on the bench sounds adequate until you’re trying to see a subtle tear-out pattern on a figured maple board, checking a mortise for squareness, or reading pencil lines on dark walnut. Frustrated by missing defects I should have caught earlier, I upgraded my lighting and immediately noticed the difference in work quality.
The upgrade that delivers the most for the cost: LED strip lights mounted along the underside of upper shelves or ceiling joists, providing low-angle raking light across work surfaces. Raking light — at a low angle relative to the work surface — reveals surface texture, pencil lines, and defects that flat overhead lighting flattens out. At the workbench, a dedicated adjustable LED task light on an articulated arm provides control over lighting angle during hand tool work. The total cost of a proper lighting upgrade for a typical one-car garage shop runs $200-400. The impact on work quality is immediate and significant.
The Change That Compounds Everything Else
The organizing principle that made the biggest difference was treating the shop as a production system rather than a collection of tools. Every improvement to workflow layout compounds with the improvements already made — a better-positioned jointer makes the improved outfeed table more useful, the improved lighting makes the better tool positions more productive.
You don’t need a large shop for this to apply. A single-car garage can be organized as a production system or as a collection of tools stored randomly. The difference in output — in what you can accomplish in the same amount of time, with the same tools — is substantial. Most woodworkers discover this through one significant reorganization that changes how they think about the space permanently.


Stay in the loop
Get the latest fine finish wood working updates delivered to your inbox.