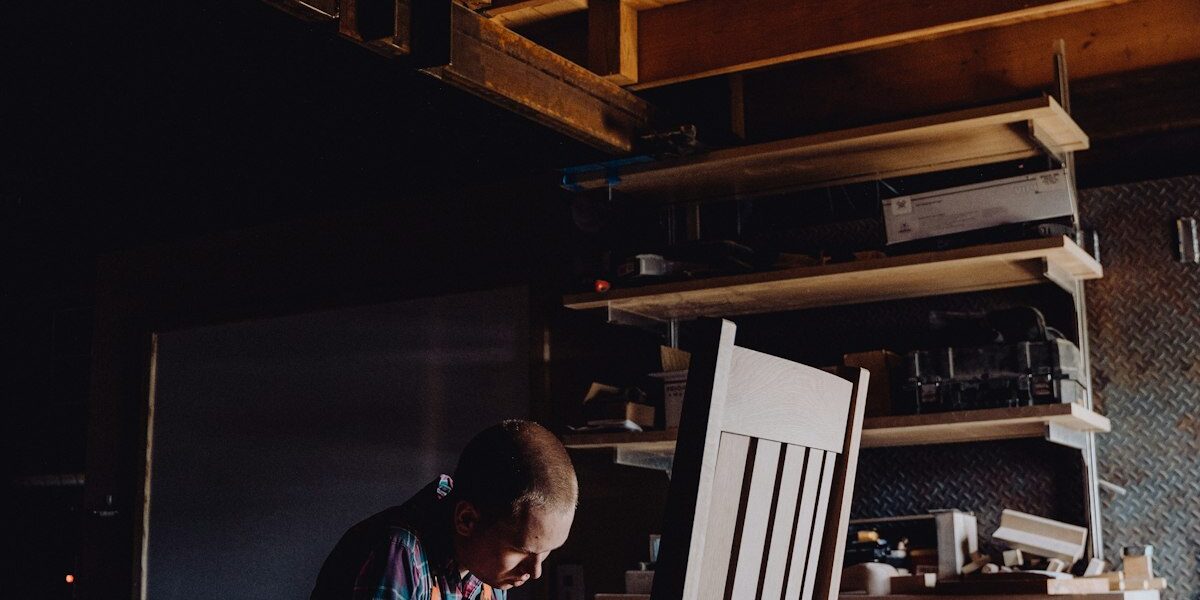
The Client’s Impossible Request
The call came on a Tuesday. A homeowner needed three new dining chairs to match a set her grandmother had purchased in 1974. The existing finish had aged beautifully over fifty years – a warm amber tone with that distinctive patina that only decades of use can create.
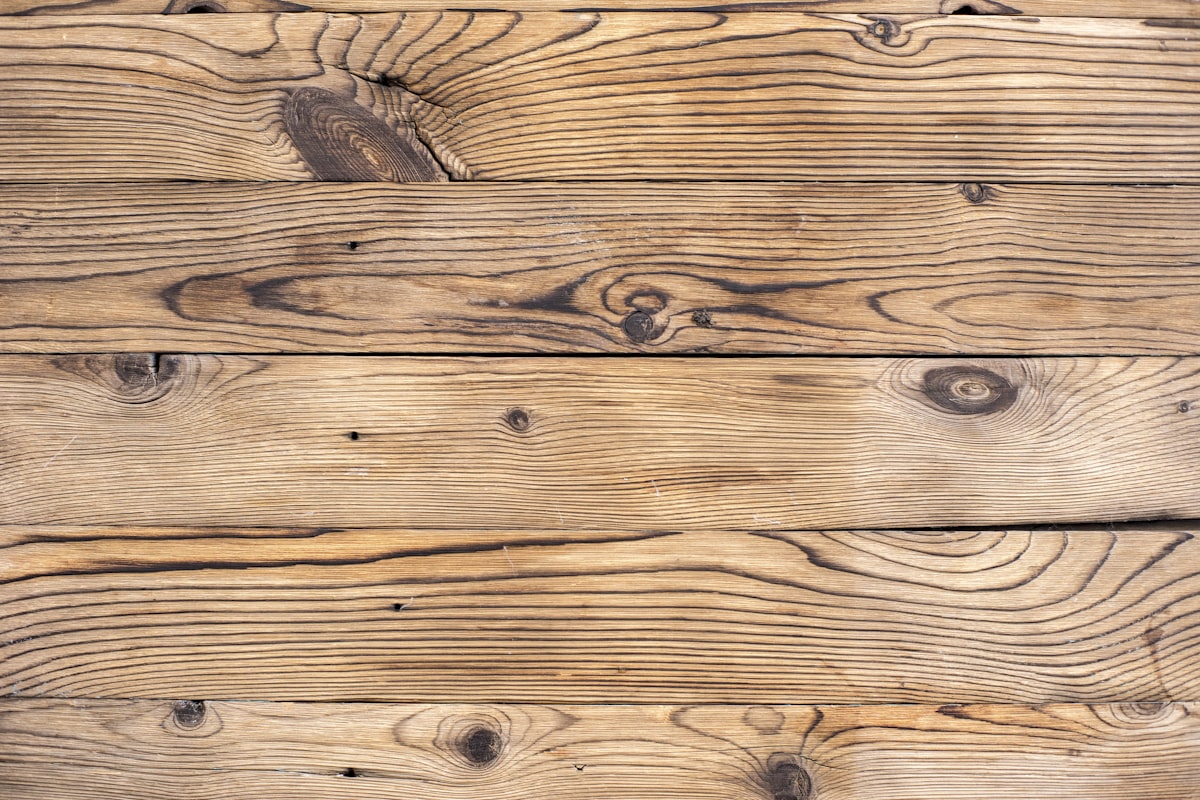
Matching a finish this old isn’t about finding the right stain at the hardware store. It’s about understanding how finishes change over time and working backward to recreate that evolution.
Why Old Finishes Look Different
Wood finishes don’t stay static. Several factors transform them over the decades:
- UV exposure – Sunlight darkens some woods (cherry, mahogany) while bleaching others (walnut). The finish itself yellows, especially oil-based polyurethanes and varnishes.
- Oxidation – Air slowly changes the chemical composition of both wood and finish, typically warming the overall tone.
- Wear patterns – High-contact areas develop a different sheen than protected surfaces.
- Accumulated wax and polish – Decades of furniture polish create subtle depth.
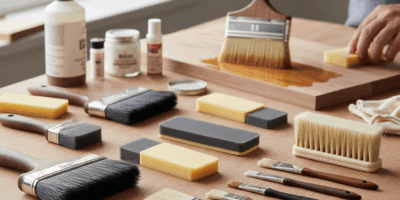
The Color Matching Process
Step 1: Analyze the Original
Before mixing anything, study the existing piece in different lighting conditions. Natural daylight reveals the truest colors, but the furniture will live under artificial light too. Note:
- Base wood tone (is it still visible through the finish?)
- Amber or yellow cast from aged finish
- Any orange or red undertones
- Depth of color saturation
Step 2: Start With the Wood
If possible, use the same species. Different woods absorb stain differently, so matching cherry to oak creates problems no amount of clever finishing can solve. For the grandmother’s chairs, we tracked down period-appropriate hard maple.
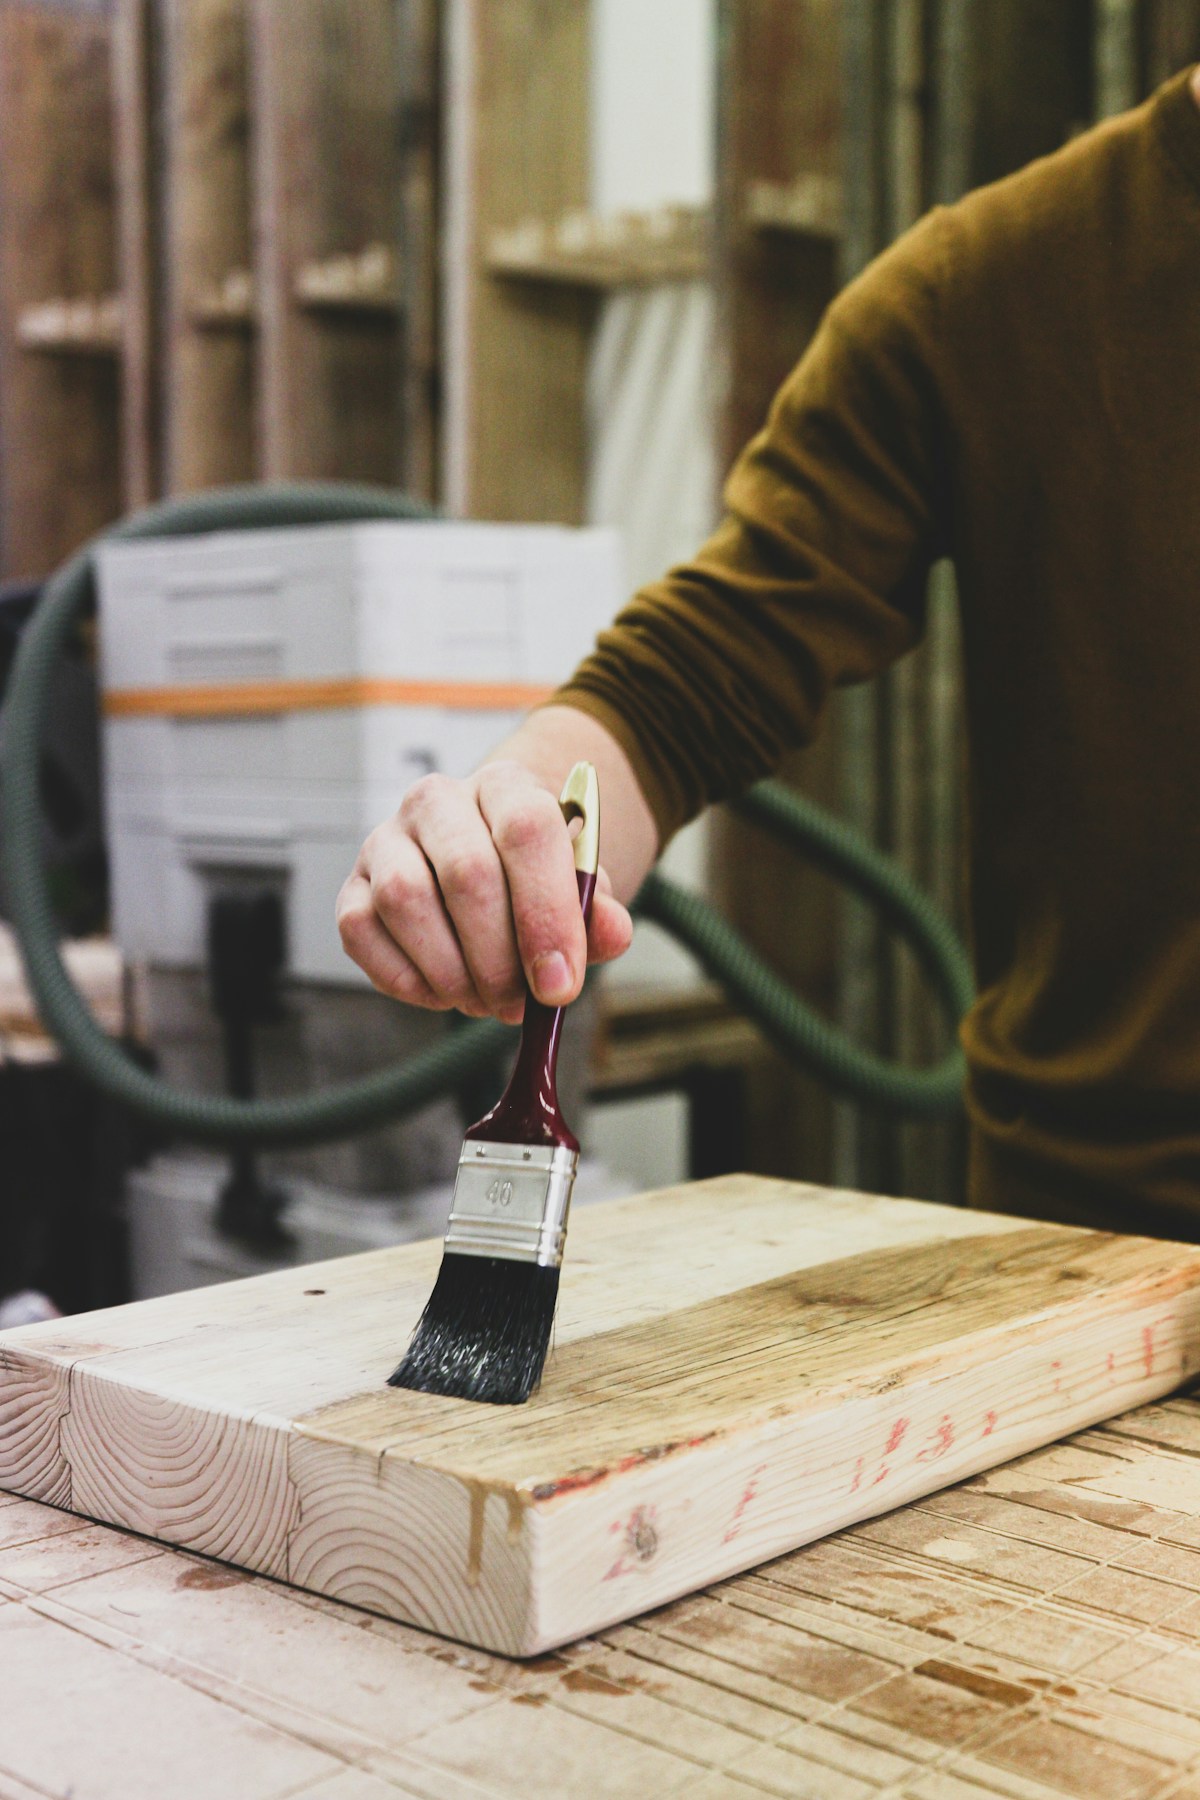
Step 3: Build Color in Layers
The secret to matching aged finishes: don’t try to hit the color in one coat. Old finishes built their complexity over time, so should yours.
A typical layering approach:
- Base stain – Get the underlying wood tone right. Usually lighter than the target.
- Toning coat – Add warmth with amber-tinted shellac or tinted lacquer.
- Glaze – Build depth in corners and carved details.
- Final topcoat – Match the sheen of the original.
Step 4: Add Age Appropriately
New finishes look new. To blend with fifty years of patina, consider:
- Toning – A light amber toner between clear coats mimics yellowed finish.
- Burnishing – Rubbing the cured finish with 0000 steel wool and paste wax creates that worn-in feel.
- Strategic distressing – Subtle wear marks where hands would naturally rest.
The Test Panel Method
Never apply your color formula directly to the project. Create test panels from the same wood stock and work through your finishing schedule. Make at least five panels with slight variations – you’ll likely find one that’s closer than your first attempt.
Compare panels to the original piece at different times of day. Colors that match at noon may diverge under evening lamplight. The human eye detects color temperature shifts that colorimeters miss.
Common Mistakes to Avoid
Going too dark too fast. You can always add more color. Removing it means starting over.
Ignoring sheen. A perfect color match in satin looks completely wrong against the original’s semigloss surface.
Forgetting the edges. Stain penetrates end grain more deeply. Seal edges first or apply stain more sparingly there.
Rushing the cure. Freshly applied finishes look different than fully cured ones. Wait the full cure time before final evaluation.
When Perfect Isn’t Possible
Sometimes an exact match is impossible. The original wood species isn’t available. The finish was a custom mix long forgotten. In these cases, aim for harmonious rather than identical. Pieces don’t need to match perfectly – they need to look like they belong together.
The grandmother’s chairs? After eleven test panels and three rounds of adjustments, we achieved a match close enough that the homeowner couldn’t tell new from original without examining the underside. The secret wasn’t one magic stain color – it was patience and layered complexity.


Stay in the loop
Get the latest fine finish wood working updates delivered to your inbox.