
Updated January 2026 | Tested on Eastern white pine, sugar pine, and Ponderosa pine
Mistake I Made: My first pine bookshelf looked like it had a skin disease. I had spent 20 hours building it, then slapped on Minwax Dark Walnut without conditioner. The blotching was so bad I ended up painting over it. Learn from my failure.
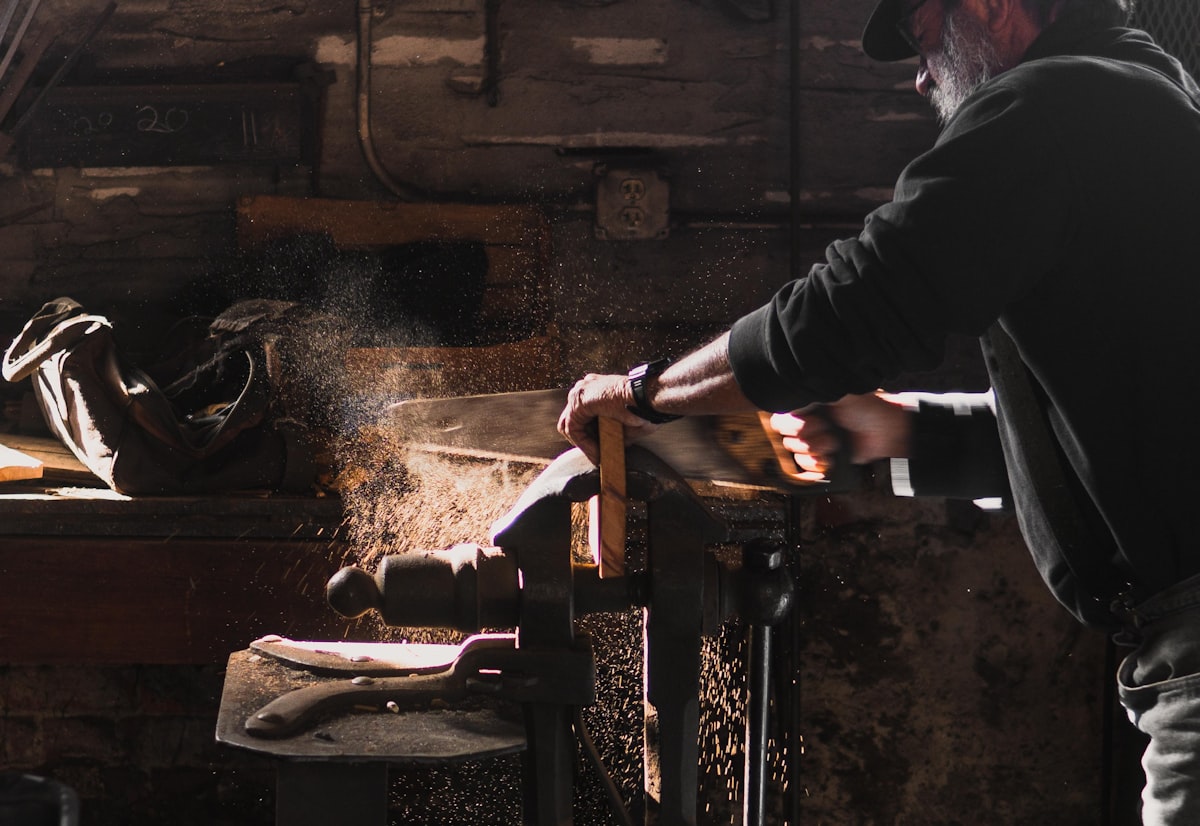
The Most Frustrating Wood in the Shop
Pine is everywhere. It’s affordable, readily available, and easy to work with hand or power tools. Home improvement stores stack it in every dimension. Beginning woodworkers build their first projects from it. And then they try to stain it.
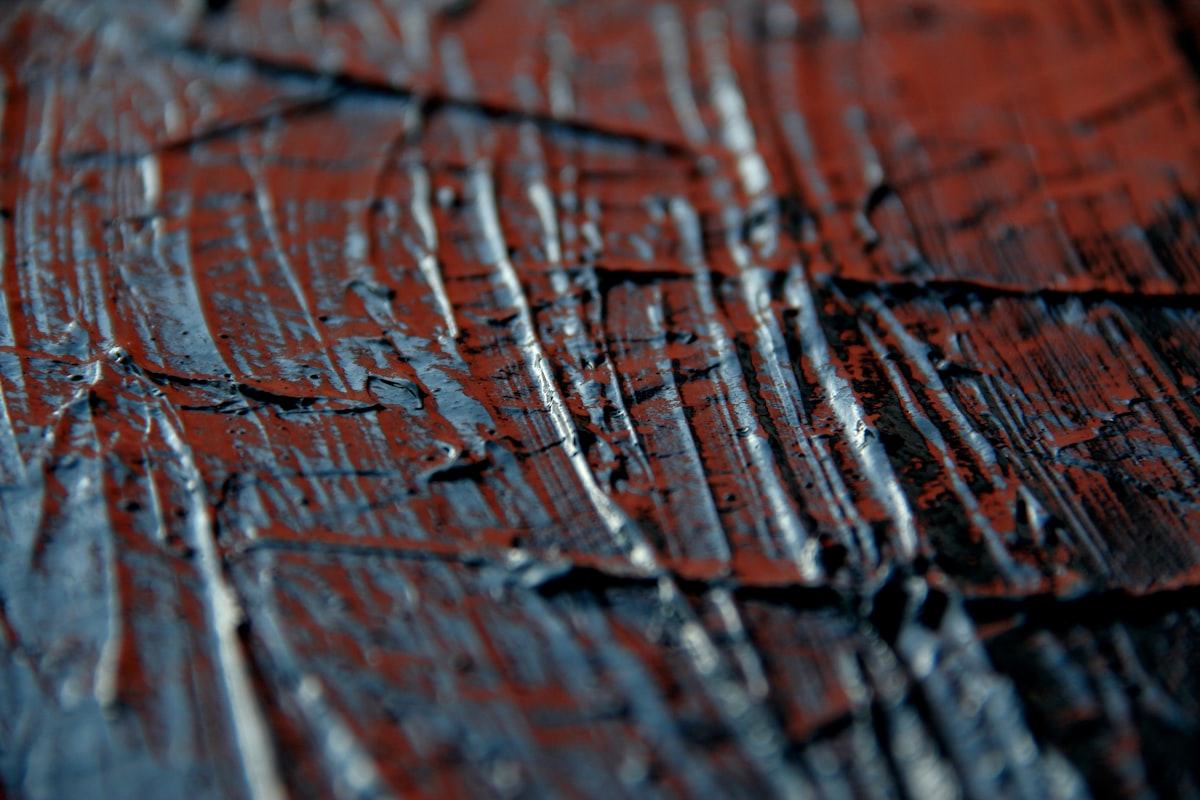
The result is almost universally disappointing. Dark blotches appear randomly across the surface. Some areas drink up stain while others barely take any color. A board that looked uniform before staining reveals hidden density variations that create a leopard-spotted disaster.
This isn’t your fault. It’s pine being pine. But there are solutions.
Why Pine Blotches
Pine has two distinct types of wood within each board. The lighter areas are early growth—soft, porous cells that grew quickly during spring. The darker streaks are late growth—denser cells that formed slowly during summer and fall.
When you apply stain, the soft early growth acts like a sponge. It absorbs stain deeply and appears dark. The dense late growth resists penetration and stays lighter. But the pattern isn’t predictable. Soft areas hide invisibly throughout the board until stain reveals them.
The grain pattern you see isn’t the density pattern you’re staining. That disconnect creates blotching.
The Pre-Stain Conditioner Solution
Wood conditioner partially seals the wood surface before staining. It penetrates more deeply into the soft areas than the dense areas, evening out the absorption rates. When stain follows, both areas accept color more uniformly.
Apply conditioner according to the manufacturer’s directions—typically brush or wipe on, wait 5-15 minutes, then wipe off excess. The timing matters: too long and the conditioner dries fully, becoming a complete sealer that blocks stain entirely. Too short and it hasn’t penetrated enough to help.
Stain must be applied before the conditioner cures completely—usually within two hours. The two products work together only when the conditioner is still active in the wood.
Gel Stain: The Thicker Alternative
Gel stains have a pudding-like consistency that prevents deep penetration. Instead of soaking into the wood, gel stain sits on top. Since it can’t dive into soft areas, it can’t create the dark blotches that liquid stains produce.
Apply gel stain with a rag, working it into the grain. The color builds on the surface, creating an even appearance regardless of underlying wood density. Multiple coats deepen the color while maintaining uniformity.
The trade-off: gel stains partially obscure grain pattern since they coat the surface rather than penetrating it. The wood looks colored but slightly less natural than penetrating stains on cooperative woods.
Shellac as a Barrier Coat
A thin coat of dewaxed shellac before staining creates a partial barrier that evens absorption. Thin the shellac significantly—a 1-pound cut works well. Brush it on, let it dry, then sand lightly with 320 grit to create tooth for the stain.
Shellac seals the most absorbent areas more effectively than less absorbent areas, creating more uniform stain uptake. The technique works well but requires experimentation with shellac concentration for your specific pine.
The Dye Stain Approach
Water-soluble aniline dyes penetrate based on wood chemistry rather than porosity. The dye molecules are small enough to enter both dense and soft areas, though the color intensity still varies somewhat.
Dyes work better than pigmented stains on pine but don’t eliminate blotching entirely. Combining dye with a subsequent gel stain can produce excellent results—the dye provides base color while the gel evens out any remaining variation.
Embrace the Character Instead
Some finishers take the opposite approach: skip the stain entirely. Clear-finished pine shows its natural color variation, which can be attractive when expected rather than disappointing when unwanted.
Oil finishes like tung oil or danish oil enhance pine’s natural warmth without the blotching problems of stain. The wood darkens slightly and develops amber tones over time. If you can accept pine’s natural look, this path eliminates blotching entirely.
Choosing the Right Approach
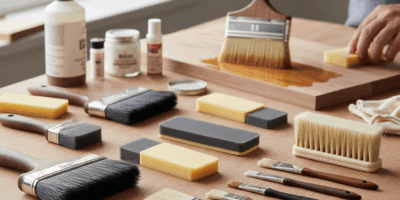
For specific dark color on pine, use conditioner followed by stain, or use gel stain alone. Test your method on scrap pieces first—pine varies dramatically between boards, and even the same techniques produce different results on different pieces.
For moderate darkening with visible grain, consider dye stains or amber-tinted oil finishes.
For maximum uniformity with darkest colors, apply gel stain over conditioned wood, combining both approaches.
Accept Testing as Mandatory
No finishing advice works universally on pine. The species varies too much. Always test your planned approach on offcuts from your actual project material. What worked on yesterday’s pine may fail on today’s.
Keep your test samples. Build a reference library showing how different techniques work on different pieces. Over time, you’ll develop intuition for which approach each board needs—but that intuition still requires confirmation testing before committing to your project.
Pine’s reputation for terrible finishing isn’t inevitable. It’s just demanding. With proper technique selection and mandatory testing, pine can look beautiful. Just never expect it to behave like walnut.


Stay in the loop
Get the latest fine finish wood working updates delivered to your inbox.