The Transformation That Adds Value
Take a freshly painted furniture piece worth $300. Apply wax properly using antiquing techniques, and that piece may now command $500. The difference isn’t in the materials—wax costs a few dollars. The difference is in perceived age, character, and the sense of handcrafted authenticity that waxed painted furniture conveys.
Wax over paint has been a finishing technique for centuries because it works. It protects the paint, creates beautiful depth, and enables controlled aging effects impossible with paint alone. Mastering this technique transforms painted furniture from ordinary to exceptional.
Understanding the Effect
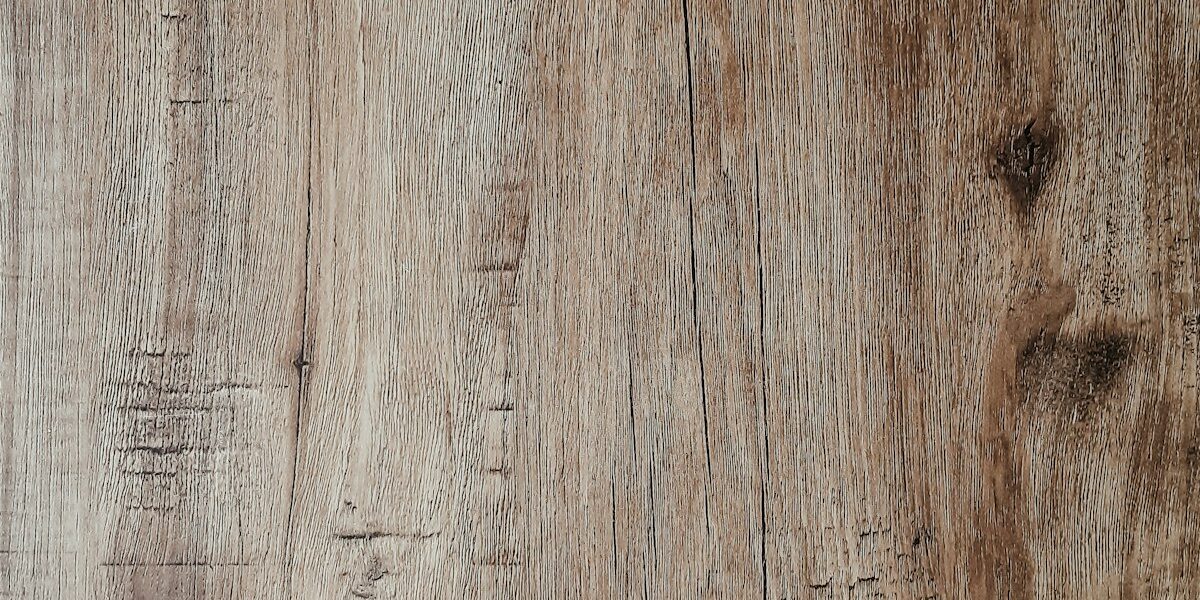
Paint alone sits flat and uniform on the surface. It looks new because it is new—factory-fresh and without character. Wax changes this in multiple ways:
Wax creates depth. Light penetrates the wax layer, reflects off the paint beneath, and returns through the wax again. This double passage through the wax creates visual richness that paint alone lacks.
Wax enables burnishing. Rubbing wax-over-paint polishes the surface while creating micro-texture variation. This replicates the uneven polish that develops over years of hands touching furniture.
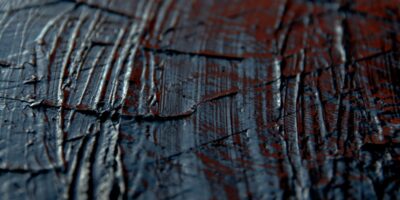
Wax holds colorants. Dark wax settling into crevices and distressed areas creates instant antiquing effects. The wax doesn’t just cover—it emphasizes.
Choosing Your Wax
Clear paste wax: Protects without adding color. Use when you want the paint color unchanged but desire the depth and protection wax provides. Butcher’s wax, Johnson’s paste wax, or specialty furniture waxes all work.
Dark wax: Contains brown or black pigment that settles into low spots, carved details, and distressed areas. This is the primary antiquing wax—it creates the aged appearance customers pay premium prices for.
White wax: Contains white pigment that settles into details. Creates a limed or pickled effect on darker paint colors.
Annie Sloan’s brand popularized colored waxes for chalk paint, but many brands now offer similar products. General Finishes, Fusion, and others provide quality alternatives.
The Two-Wax System
Professional antiquing typically uses two waxes in sequence:
Step 1: Clear wax base. Apply a thin coat of clear wax over the entire painted surface. Work it into all details and corners. Let it begin to dry—usually 15-20 minutes—but don’t buff yet.
Step 2: Dark wax for antiquing. Working in sections, apply dark wax directly over the clear wax. Concentrate on areas where age and grime would naturally accumulate: corners, carved details, distressed spots, edges.
Step 3: Blend the transition. Where dark wax meets areas you want cleaner, blend the edge using clear wax on a soft cloth. This softens the transition from dark to light, preventing obvious lines.
Step 4: Buff everything. After both waxes have set (approximately 30-60 minutes), buff the entire piece with a clean, soft cloth. Buffing brings up the sheen and evens out the wax distribution.
Controlling Antiquing Intensity
The antiquing effect is adjustable. Fresh dark wax can be removed with clear wax if you’ve applied too much. Work clear wax into the over-dark area, then wipe—the clear wax lifts and dilutes the dark pigment.
For subtle aging, apply dark wax sparingly, only to genuine low spots and distressed areas. For dramatic antiquing, apply liberally across the surface, then remove most of it from flat areas while leaving depth in details.
Build the effect gradually. Multiple light applications of dark wax create more controlled results than one heavy application. You can always add more; removing too much requires starting the section over.
Distressing Before Waxing
The wax-over-paint technique works dramatically well with distressed furniture. Sand through the paint at edges and high-wear areas to expose bare wood or underlying paint layers. When dark wax is applied, it settles into these distressed areas, emphasizing them and creating authentic-looking worn edges.
The combination of physical distressing plus dark wax aging is the core technique behind the farmhouse furniture aesthetic commanding premium prices today.
Curing and Maintenance
Wax cures slowly—full hardness takes several weeks. During this period, the furniture remains susceptible to fingerprints and marks. Advise clients to use pieces gently for the first month.
Waxed surfaces are renewable. As they wear over time, simply apply another coat of wax. This easy maintenance is part of wax’s appeal—unlike polyurethane that requires complete stripping to refinish, wax can be touched up indefinitely.
The Value Addition
Why does this technique add $200 to furniture value? Because it creates uniqueness. Every waxed piece is slightly different. The hand-rubbed finish feels different from factory surfaces. The antiquing tells a visual story of age and character.
Customers don’t just want furniture—they want furniture with personality. Wax over paint creates that personality reliably and repeatably, turning ordinary painted pieces into items worth paying premium prices to own.

Subscribe for Updates
Get the latest articles delivered to your inbox.
We respect your privacy. Unsubscribe anytime.