The Difference Between Good and Flawless
You’ve applied your first coat of finish. It looks good. You’re tempted to add another coat and call it done. But the professionals who produce furniture with that impossible glass-smooth feel do something between coats that transforms ordinary results into extraordinary ones: they sand with 320 grit.
This single step, taking perhaps ten minutes per coat, makes the difference between finish you accept and finish you admire.
Why Intercoat Sanding Matters
Every coat of finish you apply has imperfections. Dust particles land during drying. Brush strokes create slight texture. Spray application produces orange peel. Even perfectly applied finish develops tiny bubbles and irregularities as solvents evaporate.
These imperfections compound. Apply another coat without addressing them, and you’ve sealed in problems while potentially adding new ones. Three unsanded coats produce a wavy, textured surface that no amount of final buffing can fully correct.
Sanding between coats eliminates each layer’s imperfections before adding the next. Each subsequent coat starts on a perfectly smooth foundation. The final result shows no accumulated texture—just pure, even clarity.
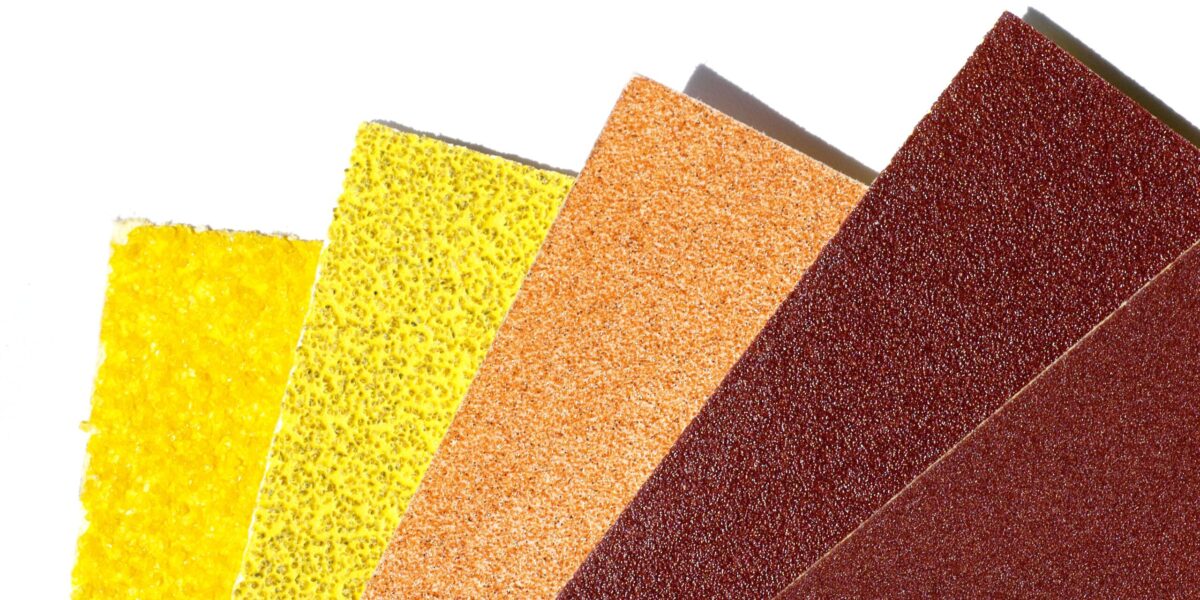
Why 320 Grit Specifically
The grit selection isn’t arbitrary. Here’s what different grits accomplish:
220 grit: Too aggressive for most finishes. Creates visible scratches that may show through subsequent coats. Removes more material than necessary.
400 grit: Too fine for effective leveling. Polishes more than it cuts. Won’t remove raised nibs or level brush marks efficiently.
320 grit: The perfect middle ground. Aggressive enough to level imperfections and remove dust nibs. Fine enough to leave a surface that subsequent coats cover without visible scratch patterns. Creates ideal mechanical adhesion for the next coat.
For most finishes—lacquer, polyurethane, shellac, waterborne acrylics—320 grit is the answer. Experienced finishers keep a stack of 320-grit sheets or sanding discs within arm’s reach at all times.
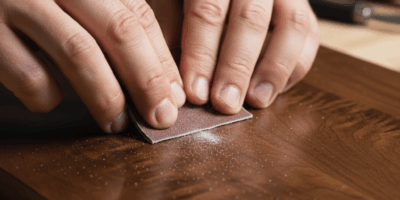
The Proper Technique
Timing matters. The previous coat must be fully dry, not just touch-dry. For lacquer, wait at least two hours. For oil-based polyurethane, wait overnight. For waterborne finishes, follow manufacturer recommendations—usually 2-4 hours depending on humidity.
Pressure matters. Light pressure only. You’re knocking down imperfections, not sanding through the coat. The goal is a uniformly dull, matte surface with no glossy spots remaining.
Pattern matters. Sand with the grain, never across it. Use long, even strokes covering the entire surface systematically. Overlap each pass slightly to ensure complete coverage.
Inspection matters. Work in good lighting. Raking side light reveals any glossy patches you’ve missed. Those spots indicate untouched imperfections that will show in your final finish.
Sanding Different Finish Types

Lacquer: Sands easily when dry. Light touch prevents loading the sandpaper. Can be sanded after 1-2 hours in most conditions.
Oil-based polyurethane: Requires more patience. Wait a full 24 hours between coats for proper curing. The finish should powder when sanded, not gum up. If gumming occurs, wait longer.
Shellac: Sands beautifully when dry. Loads sandpaper quickly though—have extra sheets ready. Can typically be sanded within an hour of application.
Waterborne finishes: May raise grain slightly even between coats. Use stearated (anti-clog) sandpaper to prevent loading. Follow manufacturer’s cure time recommendations carefully.
Dust Removal Is Critical
After sanding, you’ve created fine white powder covering your piece. This dust must be completely removed before the next coat, or you’ve just created new problems to replace the old ones.
Use a tack cloth gently. Don’t press hard or drag slowly—light, quick wipes pick up dust without depositing the cloth’s sticky residue. Some finishers prefer a slightly damp lint-free cloth followed by complete drying.
Inspect again under raking light. Any remaining dust particles will show as bumps in your next coat.
How Many Coats Need Sanding
Sand every coat except the last one. Three coats of finish means sanding after coat one and coat two. Your final coat goes on over a perfectly smooth foundation and becomes your finished surface.
If you choose to rub out the final coat to a specific sheen, you’re essentially doing a version of intercoat sanding at the end—but that’s a different technique for a different purpose.
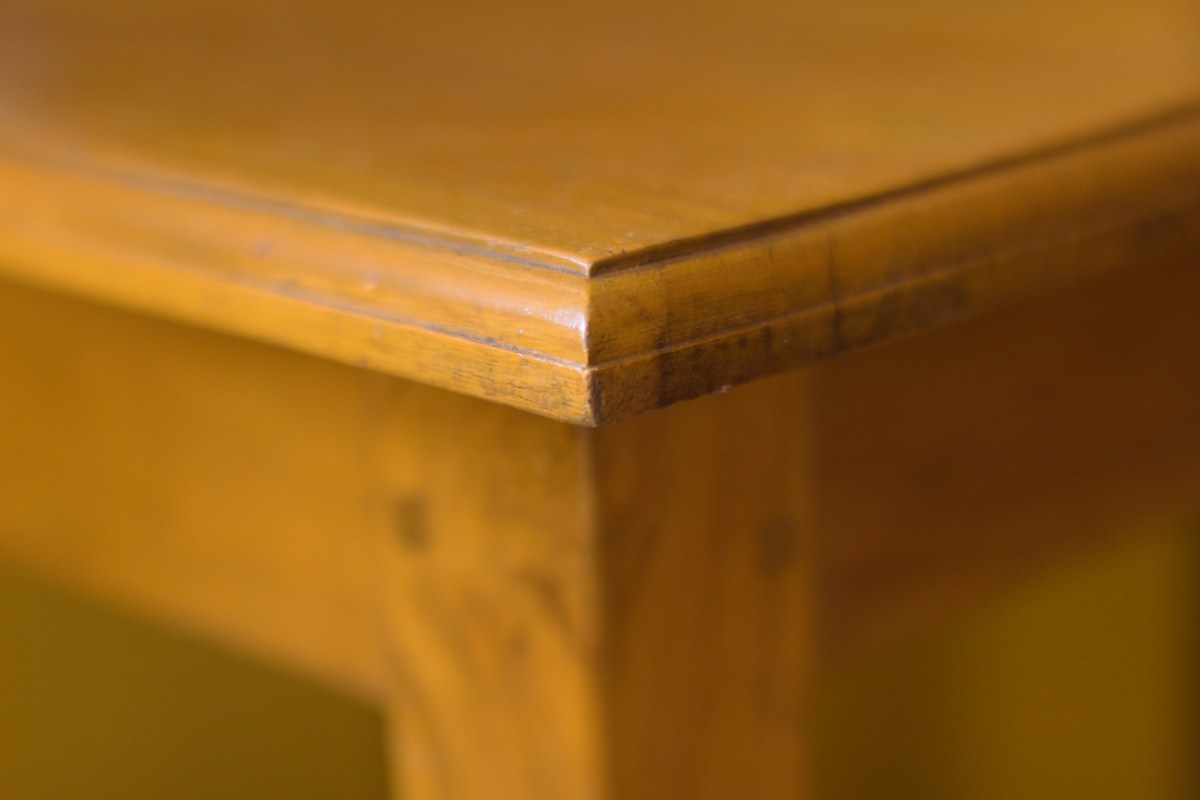
The Visible Difference
Hold a piece of properly sanded multi-coat finish next to one that wasn’t sanded between coats. The difference is immediately apparent. Sanded work shows depth and clarity. Unsanded work looks hazy and textured, even if both used identical materials.
Ten minutes of sanding per coat. That’s all it takes to move from amateur results to professional quality. Once you experience the difference, you’ll never skip this step again.


Stay in the loop
Get the latest fine finish wood working updates delivered to your inbox.