How to Fix Raised Grain After Staining Wood
Raised grain after staining has changed quite a bit thanks to the contradictory advice flying around. Sand it. Don’t sand it. Wait 24 hours. Do it while it’s wet. Everyone’s got an opinion, and most of them are half-right at best.
As someone who has ruined more than a few pine boards chasing a smooth finish, I figured out how to handle raised grain the hard way — sanding through stain on a cabinet door I’d spent three hours on. Today, I will share it all with you.
The core issue is timing. What you do in the next hour versus the next day versus after you’ve already topcoated — these are three completely different problems. Get the timing wrong and you’re either pulling color or making the blotchiness worse than the original grain ever was.
Why Staining Raises the Grain in the First Place
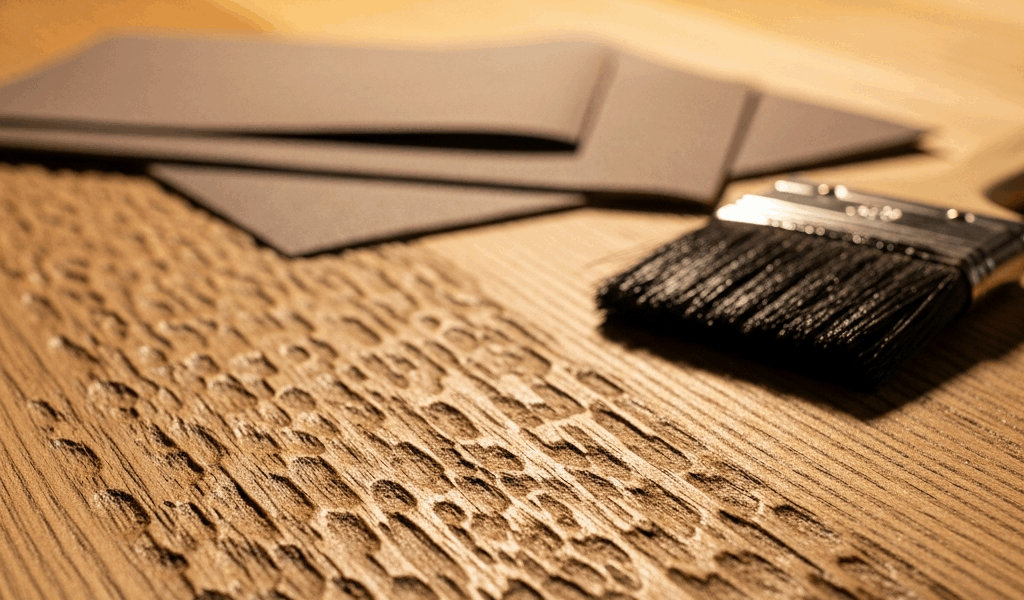
But what is raised grain, exactly? In essence, it’s wood fibers swelling from moisture and then drying unevenly. But it’s much more than that — it’s also a signal about your prep work and your stain choice.
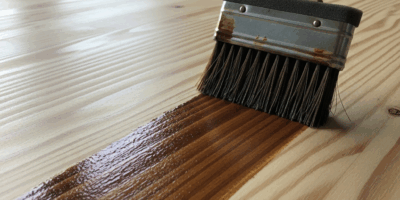
Water-based stains are the main offender. Brush them on and the moisture drives straight into the wood fibers, swelling them outward. They dry unevenly, leaving tiny peaks across what was supposed to be a glass-smooth surface. That’s not bad technique — that’s just physics.
Oil-based stains can do it too, though usually only when prep got skipped. Dust left on the surface, residue from a previous finish, sanding that stopped at 150-grit instead of 180 or 220 — any of that traps moisture and creates the same swelling effect. Softwoods like pine and alder are especially prone. Their grain structure is more porous, more reactive. A Minwax water-based stain on a pine board is basically a worst-case scenario if you haven’t pre-raised the grain first.
That’s what makes understanding the cause endearing to us woodworkers — once you know why it happens, you stop blaming yourself and start fixing it strategically. So, without further ado, let’s dive in.
Assess the Damage Before You Touch Anything
Stop. Do not grab sandpaper yet.
The wrong move at the wrong moment either pulls your stain color up with it or creates light blotchy patches that look considerably worse than the raised grain ever did. I’ve done both. Don’t repeat what I did.
Ask yourself three questions:
- Is the stain still visibly wet or tacky to a light touch?
- Is it dry but you haven’t applied any topcoat yet?
- Have you already sealed it with polyurethane, lacquer, or another finish?
Each answer opens a different window — with a different risk level attached. Figure out where you are before anything else.
How to Fix It When the Stain Is Still Drying
This is your golden window. Damp stain means options the other scenarios simply don’t have.
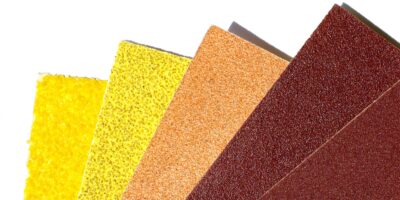
Grab 320-grit sandpaper or a grey Scotch-Brite pad — I prefer the pad because it’s more forgiving and won’t leave visible scratches across your grain. Sand lightly, in the direction of the grain only. Minimal pressure. You’re not removing anything; you’re leveling those tiny fiber peaks before they harden in place.
Wipe the dust with a tack cloth or a barely-damp cotton rag. Look at the color. Even and rich means you’re done. Light spots mean the stain is thin there — let it dry fully, then lay down a second coat before topcoating.
Why does this work without pulling the color? The stain hasn’t fully cured into the wood yet. Solvents are still active, so you’re not cutting through hardened finish — you’re smoothing a surface that’s still slightly soft. Do this after the stain has dried to touch but before it goes rock-hard. Ideally within 2–4 hours, though humidity and brand matter here. General Finishes water-based stains, for instance, can skin over faster on a dry day than you’d expect.
How to Fix Raised Grain After Stain Has Dried
Worth flagging before going further. This is where most people end up.
The stain is hard now. Full cure might take 24 hours, but it’s set enough that buffing it smooth is off the table. You’re going to sand — carefully.
Start with 320-grit. Sand in the direction of the grain with light to moderate pressure. The raised fibers disappear quickly — that’s exactly the point. Sand the entire surface evenly rather than just hitting the problem areas. Sanding only the rough spots creates a dull patch surrounded by shinier unsanded finish, and that looks worse than where you started.
After a few passes, wipe the dust and look. Raised spots gone? Good. Now check the color. Uniform stain color means you’ve stayed shallow. Light areas mean you’ve sanded through the stain layer into bare wood — that happens when pressure gets too heavy, usually when someone’s frustrated and pushing too hard.
Stayed shallow? Move to 400-grit and do one or two final passes. The jump from 320 to 400 is subtle but real — it closes the surface just enough for topcoat adhesion without overdoing the cut.
Now address color. Even tone means you’re ready for topcoat. Slightly lighter in one area means apply a thin second coat of stain over the whole panel — foam brush, quick passes, you’re evening out tone rather than deepening color. Let it dry fully, then assess again before you even open the poly.
What If You’ve Already Applied a Topcoat?
This is where the panic usually hits hardest. Raised grain locked under polyurethane or lacquer, with hardened finish sitting right on top of those peaks.
Here’s the truth: fixable, but riskier. You’ll need to sand through topcoat and stain together to reach smooth wood, then refinish that area. Large surfaces get messy fast — matching sheen and gloss level across a panel that’s been partially refinished is genuinely difficult.
Minimal, localized raised grain? Sand directly over the topcoat with 320-grit and light pressure. You’re knocking down the peaks without creating a dull crater in your otherwise glossy finish. Delicate work. Once smooth, recoat just that area with topcoat — feather the edges into the surrounding finish so the repair blends rather than announces itself.
Extensive raised grain under a full topcoat? Honestly, strip the whole piece and start over with grain pre-raising built into the process. It hurts. But it’s faster than trying to patch-fix a surface that’s rough in seventeen different spots.
How to Prevent It on the Next Project
While you won’t need a full water-raising station or special equipment, you will need a handful of basic supplies — distilled water, a soft sponge or brush, and 220-grit sandpaper.
First, you should wet the entire surface with distilled water — at least if you’re working with pine, alder, poplar, or any other softwood that drinks moisture aggressively. Let it dry overnight. Then sand everything back to 220-grit following the grain. That controlled wet-and-sand cycle removes the loose fibers before stain ever gets near them.
I’m apparently sensitive to this step in a way not everyone is, and doing this pre-raise works for me while skipping it never ends well. Costs maybe 20 minutes. Eliminates the vast majority of raised grain problems on the back end.
Water-based stains might be the best option for interior projects, as woodworking requires low VOC options in many shops. That is because ventilation is often limited and water-based formulas dry faster — but they demand this prep step on softwoods. Non-negotiable.
Oil-based stains need it less. But honestly, doing it anyway never hurts. Pre-raise the grain, sand it smooth, then stain knowing you’ve already handled the problem before it started.

Stay in the loop
Get the latest fine finish wood working updates delivered to your inbox.