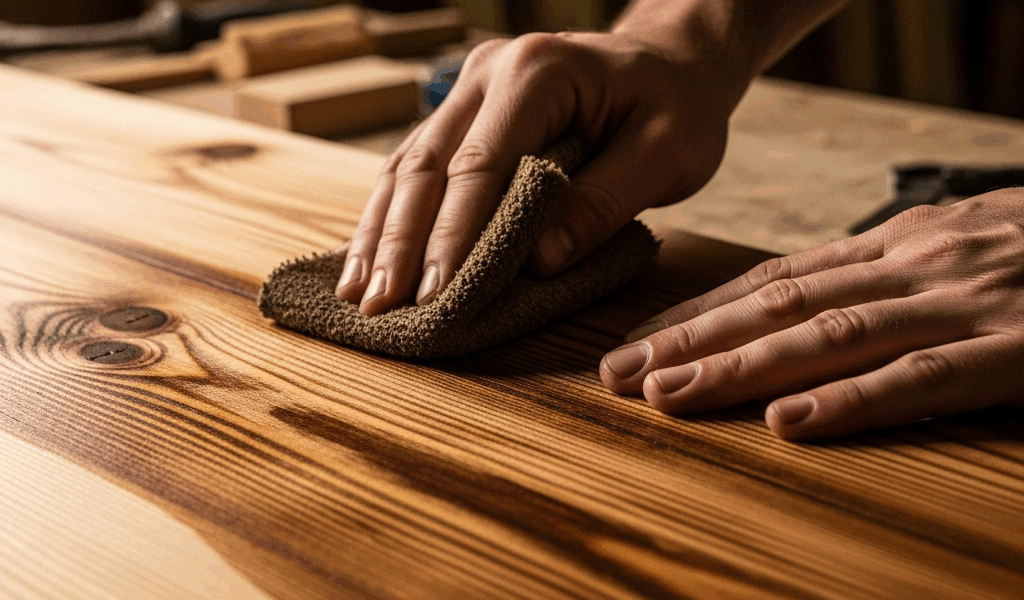
You sanded the pine perfectly, wiped it down, brushed on a coat of stain — and now every other board has dark blotchy patches that look like water damage. The piece looks ruined. Or at least it feels that way standing in the shop staring at it.
Here is the thing though: it is not ruined, and you did not mess up the application. Pine blotches because of its internal structure, not because of anything you did wrong. The fix depends on what finished look you are going for — and there are three approaches that genuinely work.
Why Pine Blotches and Why It Is Not Your Fault
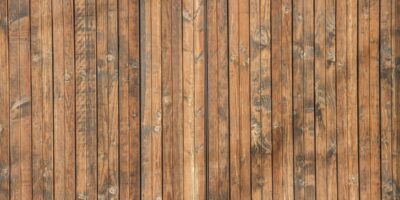
Pine has alternating bands of earlywood and latewood running through every board. The earlywood grew fast during spring — it is porous and soft. Stain soaks deep into it. The latewood grew slowly during summer — dense, tight grain. Stain barely penetrates the surface.
When you brush on a penetrating stain, those porous bands drink up way more pigment than the dense bands. Dark patches next to light patches. That is the blotching you are seeing.
Every pine board does this. Every single one. It is not a defect in your particular lumber and no amount of extra sanding changes the internal pore structure. The solution is controlling how the stain interacts with those variable-density bands — three different ways, each with real trade-offs worth understanding.
Solution 1: Pre-Conditioner (Reduces Blotching, Does Not Eliminate It)
A pre-stain wood conditioner partially fills the porous earlywood before you stain. The stain then absorbs more evenly across the board. Minwax Pre-Stain Wood Conditioner and Varathane are the two most available options — both work on the same principle.
Brush it on generously, wait 15 to 30 minutes, wipe off the excess. Here is the detail that trips people up: do not let the conditioner dry completely before staining. You want the wood partially sealed, not fully sealed. If it dries out, you have essentially created a barrier and the stain sits on top doing nothing.
Set realistic expectations. Pre-conditioner reduces blotching by roughly 50 to 70 percent. You will still see grain variation — that is pine doing what pine does. But those ugly dark splotches that make you want to throw the piece in the burn pile should be gone. I have used this on pine shelving where I wanted a warm walnut tone with the grain still showing through. The color variation was subtle enough that nobody noticed unless I pointed it out.
Solution 2: Gel Stain (Most Control Over Color, No Blotching)
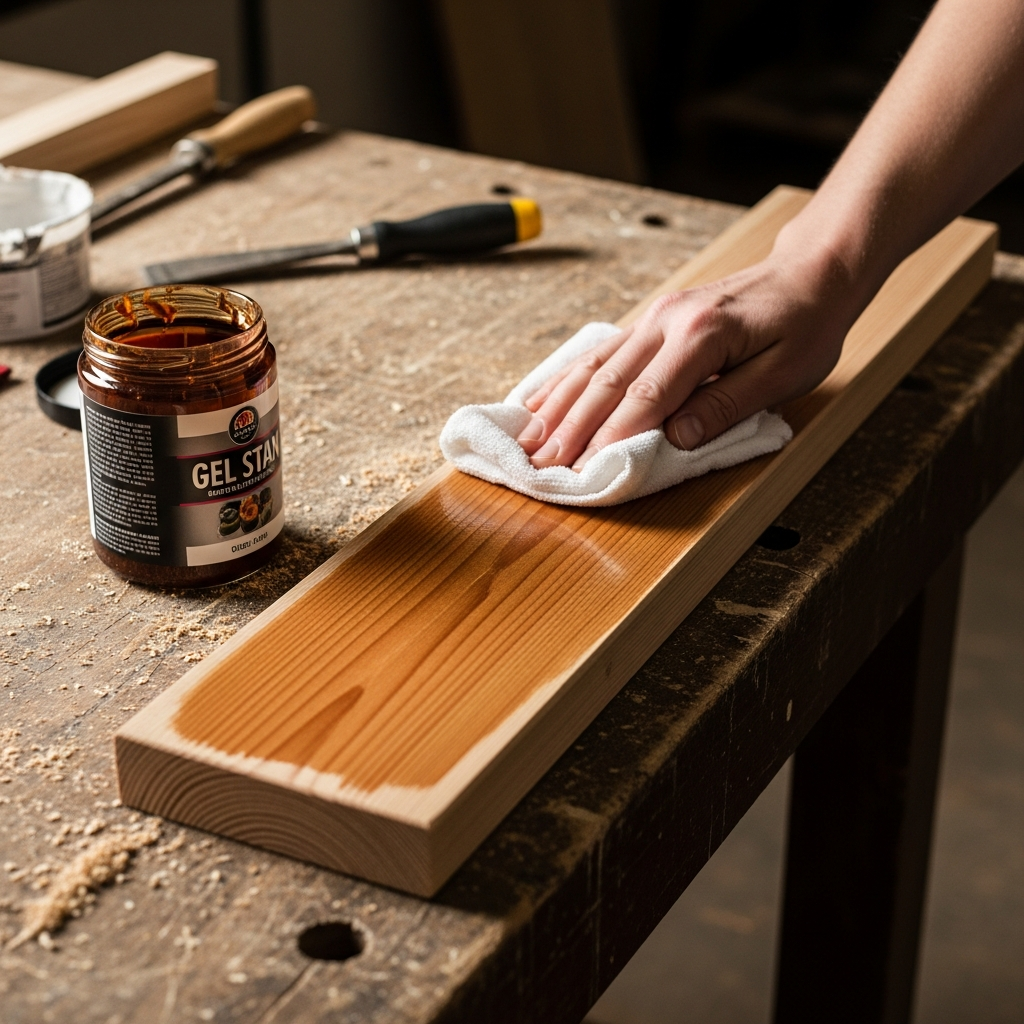
Gel stain sits on the wood surface instead of soaking into it. Because it never penetrates into the porous earlywood, you get even color. Zero blotching. General Finishes Gel Stain is what most woodworkers reach for, and the color selection is solid.
The trade-off is real though. Gel stain produces a slightly heavier appearance — you lose some of that translucent grain character a penetrating stain gives you. On pine, honestly, this is usually a feature. The uniform color looks clean and intentional, especially on furniture where consistent finish matters more than rustic grain character.
Apply generously, let it sit for a few minutes, wipe off the excess with a clean cloth. Let it tack up before a second coat. Two coats of gel stain on pine give you a rich, even color that genuinely looks like a more expensive hardwood. I built a pair of nightstands from regular construction-grade pine and finished them with General Finishes Java gel stain. People consistently assumed they were walnut. At six bucks a board foot versus forty, that felt like a win.
Solution 3: Skip the Stain and Use a Shellac Seal Coat
For natural pine without any stain color added, a shellac seal coat is what the professionals use. One coat of Zinsser Bulls Eye shellac — the 1-pound cut, diluted 50/50 with denatured alcohol — seals the variable porosity across the whole board. Once sealed, the porous earlywood absorbs finish at the same rate as the dense latewood.
The result is a warm honey-colored natural pine finish with clear grain definition and no blotching. Put an oil-based polyurethane topcoat over the shellac seal and you get durability plus a slight amber warmth that looks genuinely beautiful on pine. This shellac-and-poly combination is the same sequence professional furniture makers use on natural pine. Faster and more reliable than fighting blotching with stain products.
I switched to this method after wrecking the top of a pine dresser with penetrating stain for the third time in my shop. The shellac seal coat took ten minutes. Dried in under an hour. The poly coats went on perfectly even. Kicked myself for not trying it years earlier.
Clear Finish for Pine: The Sequence That Works
Whatever approach you pick, the prep and topcoat application determine whether the result holds up over time or falls apart in six months. Here is the full sequence for the most durable natural pine finish.
Sand the bare wood to 220 grit. Do not skip grits — work through 120, then 150, then 220. Jumping from 80 to 220 leaves scratches that show under finish. Wipe down with a tack cloth. Apply the shellac seal coat — one thin coat, diluted 50/50. Let it dry one hour. Sand lightly with 320 grit, just enough to knock down raised grain. Wipe again.
Apply two to three coats of oil-based polyurethane. Thin the first coat about 10 percent with mineral spirits — this helps it bite into the sealed surface as a bond coat. Each coat after that goes on full strength. Sand lightly with 320 between coats. Give each coat a full 24 hours, even when the surface feels dry much sooner. Patience here is what separates a finish that lasts from one that peels.
The number everyone ignores: full cure takes 30 days. Your pine piece will feel dry and look completely done after 48 hours. The polyurethane is still hardening internally for a full month. Do not stack books on it, do not set drinks on it without a coaster, and do not assume full durability until that month has passed. A coffee table finished on Saturday that catches a stack of textbooks on Monday morning will carry those dents permanently.
Three thin coats with real dry time between them will always outperform one heavy coat that looks great initially. The product on the shelf matters far less than the patience behind the brush.


Stay in the loop
Get the latest fine finish wood working updates delivered to your inbox.