Finishing Methods: What Took Me Years to Understand
When someone first explained finishing methods to me, they threw around terms like thermal finishing and mechanical finishing like everyone knew what those meant. I nodded along pretending I understood. Spoiler: I did not.
It took years of actually doing the work before the different approaches started making sense. So here is my attempt to break down finishing methods without assuming you already know everything.
What is a Finishing Method Anyway?
Basically, it is any process that changes how a material looks, feels, or performs on the surface. We are talking about everything from sanding wood smooth to powder coating metal to treating fabric to make it water resistant.
Different industries use different methods depending on what they are making and what properties they need. Woodworking has its own set of techniques that I actually understand, so I will focus there.
Mechanical Methods
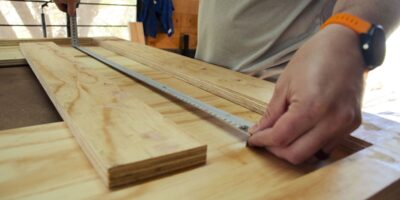
This is the physical stuff – changing the surface through abrasion, cutting, or pressure. The most common for woodworkers is sanding, obviously. But there is more to it than just rubbing sandpaper on wood.
Sanding progressively with finer grits (say, 80 to 120 to 180 to 220) creates a smoother surface than jumping straight to fine paper. The coarse grits remove material and level things out. The fine grits refine the surface. Skip steps and you end up with scratches that show through your finish.
I also use steel wool and abrasive pads for final smoothing between finish coats. Gives that silky feel without leaving obvious sanding marks.
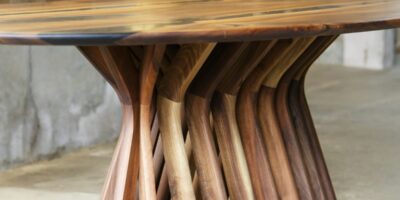
Burnishing is another mechanical method – basically rubbing the surface so hard it compresses and becomes shiny. Works on dense hardwoods. I have done it on ebony and it actually creates a usable finish without adding any product.
Chemical Methods
Anything that changes the surface through chemical reactions. For wood, this includes things like:
Bleaching to lighten color. I have used this to even out mismatched wood tones or to prep for a different stain color.
Ebonizing with iron acetate (basically rusty vinegar) to turn tannin-rich woods black. Makes oak look like ebony for way less money.
Ammonia fuming to darken wood through a controlled chemical reaction. Traditional technique for Arts and Crafts furniture. I tried it once and nearly gassed myself. Wear a respirator.
Most wood stains are chemical processes too – dyes reacting with wood fibers to change color.
Coating Methods
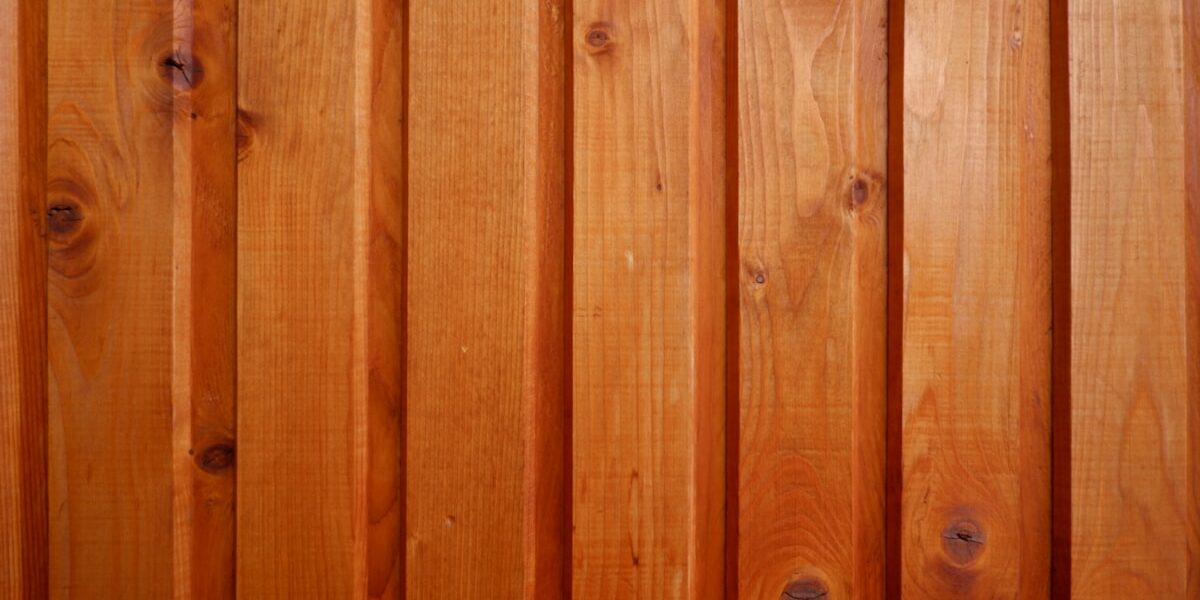
This is the big category for woodworkers. We are talking about applying something to the surface – oils, waxes, varnishes, lacquer, polyurethane, paint. All the stuff I spend most of my finishing time with.
Application techniques matter a lot here. Brush, spray, wipe, dip – each works better for certain products and situations.
Brushing is the default for most hobbyists. Cheap, accessible, works for most finishes. But brush marks are hard to avoid completely.
Spraying gives the smoothest results but requires equipment and practice. I spray lacquer and water-based finishes when I can.
Wiping is super forgiving – just flood the surface and wipe off the excess. Works great for oils and wiping varnishes. Hard to mess up if you follow directions.
Thermal Methods
Using heat to change surface properties. In woodworking, this mostly means wood burning (pyrography) for decoration, or using heat to raise wood fibers before sanding for a smoother final surface.
Some finishes cure with heat too – like powder coating on metal, though that is not really a woodworking thing. Proper curing temperatures matter for certain products, which is why the instructions say stuff like do not apply in direct sunlight.
My Practical Approach
For most wood projects, I combine methods. Mechanical sanding to prep the surface. Maybe chemical staining if I want color. Then coating with some kind of protective finish – usually oil or poly depending on the project.
The order matters. Sand before stain, stain before finish. Skip steps or do them wrong and problems cascade. I know because I have done it wrong plenty of times.
Surface prep is probably 80% of a good finish. Rushing the sanding to get to the fun part of applying finish results in disappointing results. I learned to embrace the prep work. It makes everything else easier.
Picking the Right Method
What you are making determines which methods make sense. Furniture needs durability – probably polyurethane or lacquer. Kitchen items need food-safe options – oils or waxes. Outdoor projects need weather resistance – spar varnish or marine finishes.
Your skill level matters too. Spray finishing looks amazing but has a learning curve. Start with wipe-on products if you are new. Build up to more demanding techniques as you get comfortable.
And budget is real. A $10 can of danish oil can finish a lot of projects. A spray setup with booth and compressor runs into serious money. Start simple and upgrade as needed.
The Experimental Mindset
Every new finish and technique requires experimentation. Make test pieces. Try things on scrap wood before committing to important projects. Build a collection of sample boards showing what different products look like on different woods.
I still do this after decades of woodworking. Especially with new products or unfamiliar wood species. The five minutes spent on a test can save hours of heartache on the real project.
Finishing is equal parts science and art. There are rules, but also lots of room for personal preference and creativity. That is part of what makes it interesting.


Stay in the loop
Get the latest fine finish wood working updates delivered to your inbox.