DIY Wood Finish: A Comprehensive Guide has gotten complicated with all the options and conflicting advice flying around. As someone who has spent years working with wood finishes in my own shop, I learned everything there is to know about this subject. Today, I will share it all with you.
DIY Wood Finish: A Comprehensive Guide
Working with wood provides a satisfying blend of creativity and craftsmanship. An essential part of this process is the application of finish. A wood finish enhances the appearance and provides protection. There is a wide selection of oils, varnishes, and waxes to choose from. Understanding how they work can improve the look and lifespan of your projects.
Types of Finishes
Probably should have led with this section, honestly.
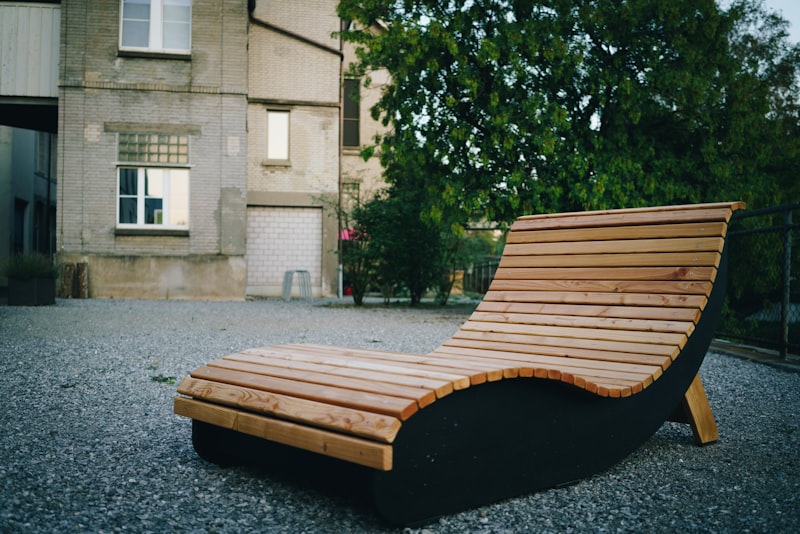
Common finishes include linseed oil, tung oil, polyurethane, shellac, lacquer, and wax. Each type has unique characteristics suited for different needs. Choosing the right one depends on the wood type, the use of the item, and the desired look.
Linseed Oil
Derived from the seeds of the flax plant, linseed oil is a traditional choice. It penetrates the surface to enhance the grain. It’s available in raw or boiled form. Raw linseed oil takes longer to dry and is more suitable for indoor furniture. Boiled linseed oil contains drying agents for faster application.
Tung Oil
Made from the seeds of the tung tree, this oil has water-resistant properties. It penetrates wood fibers and hardens upon drying, creating a durable surface. Tung oil is ideal for items that may contact moisture. The application requires patience due to multiple coats needed to achieve the desired finish.
Polyurethane
A synthetic finish, polyurethane forms a protective layer on the surface. It’s available in oil-based and water-based formulations. Oil-based polyurethane offers a warm, amber glow, while water-based dries clear. This finish provides excellent resistance to heat and scratches.
Shellac
Shellac is a natural resin secreted by the lac bug. It’s dissolved in alcohol before application. It dries quickly and adds a warm finish to wood. Shellac is suitable for antique furniture restoration due to its traditional look.
Lacquer
Lacquer offers a hard, durable finish. It dries faster than other finishes, and multiple coats can be applied in a single day. Lacquer provides a glossy, high-profile finish that is resistant to solvents.
Wax
Wax is a great topcoat for adding luster to already sealed surfaces. It can be applied over other finishes such as oil or shellac. Waxes offer limited durability but are good for low-traffic items or decorative pieces.
Preparation Before Finishing
Preparing wood before applying finish is crucial for achieving best results. This involves sanding, cleaning, and possibly staining.
- Sanding: Sanding smooths the wood surface, making it ready for finishing. Start with a coarse grit and work up to a fine grit.
- Cleaning: Use a tack cloth or a damp rag to remove dust created by sanding. A clean surface ensures the finish adheres properly.
- Staining (optional): If altering the wood’s color is desired, staining before applying finish is necessary. Choose a stain that complements the wood type.
How to Apply Finishes
Each finish requires unique application techniques. Proper application improves not only appearance but also longevity.
Applying Linseed Oil
Ensure the wood is clean and dry. Pour a small amount of linseed oil onto a soft cloth. Rub into the wood following the grain. Allow time for absorption, usually 15 to 30 minutes. Wipe off excess oil with a clean cloth. Let the oil cure for at least 24 hours before applying additional coats.
Applying Tung Oil
Similar to linseed oil, tung oil application begins by cleaning the wood. Apply using a clean, lint-free cloth or a natural bristle brush. Rub or brush the oil along the grain, ensuring even coverage. Allow it to penetrate for about 15 minutes then remove excess. Wait 24 to 48 hours between coats as tung oil cures slowly.
Applying Polyurethane
- Oil-based: Stir the polyurethane, but avoid shaking it to prevent bubbles. Apply with a natural bristle brush. Use long, even strokes, going with the grain. Allow 4 to 6 hours to dry before sanding lightly and applying additional coats.
- Water-based: Use a synthetic brush or foam applicator. Apply in thin layers. Drying time is shorter, about 2 to 4 hours between coats.
Applying Shellac
Mix shellac flakes with denatured alcohol or use pre-mixed shellac. Apply with a brush or pad. Shellac dries quickly, taking about 30 minutes. Additional coats can be applied after light sanding.
Applying Lacquer
Lacquer can be applied using a brush, spray, or cloth. Brush applications use a natural bristle brush. Spraying requires a well-ventilated area. Lacquer can dry in about 15 minutes, allowing multiple coats in a day. Wet sanding between coats improves the final sheen. Buffing out the final coat can enhance the gloss.
Applying Wax
Use a soft cloth or nylon pad to apply wax in thin, even layers. Allow it to dry until it hazes. Buff the surface with a clean cloth to bring out the shine. Wax as a topcoat should only be used over another finish to offer protection.
Maintaining Finished Wood
Proper maintenance prolongs the beauty and durability of wood items. Dust regularly with a soft, dry cloth. Avoid using silicone-based polish which can break down some finishes.
- Linseed and Tung Oil: Re-oiling may be necessary every few months, depending on use.
- Polyurethane: Clean with a damp cloth and mild soap. Recoat when the surface dulls.
- Shellac and Lacquer: Dust regularly and use a damp cloth for cleaning. Shellac can handle only mild detergent if needed.
- Wax: Refresh the wax layer when sheen diminishes.
Environmental and Safety Considerations

When dealing with finishes, safety is a significant concern. Many contain solvents that may produce harmful fumes. Always work in a well-ventilated area.
- Protective Gear: Use gloves, masks, and eye protection as necessary.
- Proper Disposal: Follow guidelines for disposing of rags and brushes that contain oil finishes. They can combust spontaneously if not handled correctly.
- Consider Water-Based Products: They provide a safer alternative to traditional solvents.
Creating your own finish offers both control and satisfaction. Mastery comes with practice and patience. Exploring different finishes can lead to a better understanding of how wood works. Your next project presents an opportunity for creativity and learning. Finishing is as much an art as it is a science.
Recommended Woodworking Tools
HURRICANE 4-Piece Wood Chisel Set – $13.99
CR-V steel beveled edge blades for precision carving.
GREBSTK 4-Piece Wood Chisel Set – $13.98
Sharp bevel edge bench chisels for woodworking.
As an Amazon Associate, we earn from qualifying purchases.
