
Penetrating Oils: What I Use and Why has gotten complicated with all the options and conflicting advice flying around. As someone who has spent years working with wood finishes in my own shop, I learned everything there is to know about this subject. Today, I will share it all with you.
Penetrating Oils: What I Use and Why
Probably should have led with this section, honestly.
I got into penetrating oil finishes about ten years ago after getting frustrated with polyurethane. Too much work, too many coats, and when it scratched there was no good way to touch it up. Someone at a woodworking meetup suggested trying Danish oil and I have not looked back since.
Here is my honest take on the different penetrating oils out there – what they are good for, what they are not, and how I actually use them in my shop.
What Makes Penetrating Oils Different
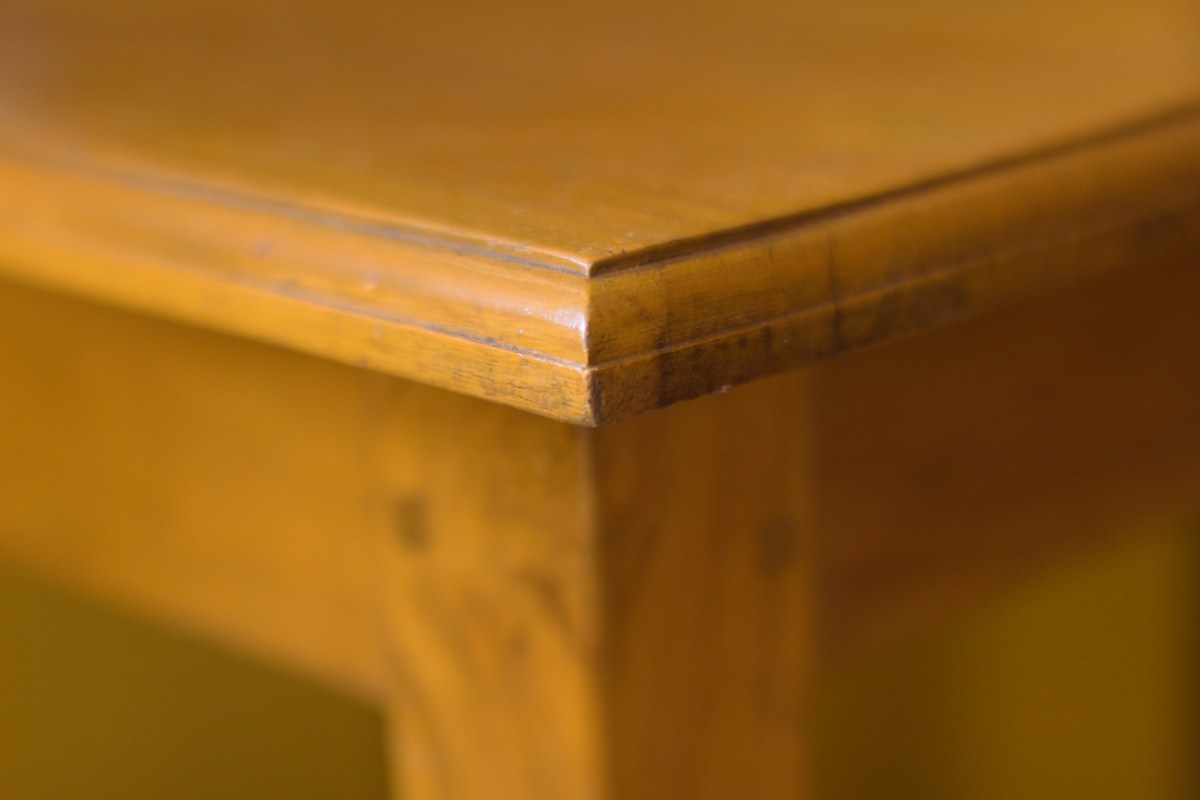
Most finishes sit on top of the wood like a plastic wrapper. Penetrating oils do the opposite – they soak into the wood fibers and harden there. The wood IS the finish, in a way.
This means no peeling, no flaking, and scratches just add character instead of looking like damage. It also means less protection from water and wear than a film finish. Trade-offs, like everything.
Linseed Oil: The Traditional Choice
This stuff has been around forever. Your great-grandfather probably used it. It comes from flax seeds and has a nice, natural feel.
Raw linseed oil takes ages to dry – we are talking weeks, sometimes. I do not use it. Life is too short.
Boiled linseed oil is what most people mean when they say linseed oil. It has metallic driers added to speed things up. A coat will be dry to touch in about 24 hours.
I use boiled linseed oil when I want a warm, amber tone and I am not in a hurry. It darkens the wood noticeably and continues to darken over years. Some people love this. If you want your wood to stay light, look elsewhere.
One thing nobody mentions: rags soaked in linseed oil can spontaneously combust. I am not joking. Lay them flat to dry or submerge them in water before throwing them away. I keep a metal bucket with water in my shop just for finish rags.
Tung Oil: My Personal Favorite
Tung oil comes from the nuts of the tung tree. It is more expensive than linseed but I think it is worth it for most projects.

Why I like it: Better water resistance than linseed. Dries harder. Does not amber as much – the wood stays closer to its natural color. And once fully cured, it is food safe, which matters for a lot of my kitchen projects.
The downsides: It is slower to cure than linseed (though faster than raw linseed). The first coat looks weird – kind of milky and uneven – until it soaks in properly. And you need to make sure you are getting the real stuff, not tung oil finish which is a totally different product.
For application, I thin the first coat about 50/50 with mineral spirits or citrus solvent. This helps it penetrate deeper. Subsequent coats get less thinning. Three coats minimum, more for stuff that will see heavy use.
Danish Oil: The Easy Option
Danish oil is not really an oil – it is a blend of oil and varnish. Think of it as a penetrating oil with some film-forming properties mixed in.
This is what I hand to people who are new to finishing or who want something dead simple. Apply it, wipe off the excess, wait overnight, repeat two more times. Done. Pretty foolproof.
The finish is harder than pure oil but not as tough as spar varnish. Works great for indoor furniture, cutting boards (make sure to get food-safe formulation), and anything else that does not face weather exposure.
I use Watco Danish Oil more than any other brand. It is consistent, available everywhere, and I have never had a bad can. Not a paid endorsement, just what I actually use.
Application: What Actually Works
My process is basically the same for all penetrating oils:
Sand the wood properly. 120, 150, 220 grit in sequence. Do not skip grits. Wipe off all dust with a tack cloth or dry rag.
Apply a liberal coat with a clean rag or brush. Work it into the wood – really massage it in there. Let it soak for 15-30 minutes depending on how thirsty the wood is.
Wipe off ALL the excess. This is important — probably should have led with this, honestly. Any oil left on the surface will get gummy instead of curing properly. I use clean shop towels and wipe until nothing more comes off.
Wait. At least 24 hours between coats, longer if the air is humid. You can do a light scuff sand with 320 grit between coats if you want an extra smooth finish, but it is not strictly necessary.
Repeat until you like how it looks. Usually three coats, sometimes four for end grain or really porous wood.
Common Mistakes I See
Not wiping off excess. Seriously, this is number one. A wet, gummy, never-quite-cured surface because someone left too much oil sitting there.
Only doing one coat. One coat is a start, not a finish. The wood soaks up that first coat completely and you are basically left with nothing.
Applying thick. Thick coats do not soak in properly. Multiple thin coats is always the answer with oil finishes.
Expecting it to handle water like poly. Oil finishes are water-resistant, not waterproof. Coasters still matter. Wipe up spills promptly.
Maintenance Is Part of the Deal
Oil finished pieces will need occasional attention. The finish wears, the wood dries out, things happen.
The good news: maintenance is easy. Just wipe on another coat of oil when things start looking dull or dry. No sanding, no stripping, no drama. Takes five minutes.
I have pieces in my house that I oil once or twice a year. They look better now than when I first made them – a warm, lived-in patina that you cannot get any other way.
Bottom Line
Penetrating oils are not the right finish for everything. But for furniture, cutting boards, bowls, and anything where you want to feel and see the wood rather than a layer of plastic on top, they are hard to beat.
Start with Danish oil if you are new to this. Graduate to tung oil when you want better durability. Use linseed when you want that classic amber glow.
And wipe off the excess. Seriously. Wipe it off.
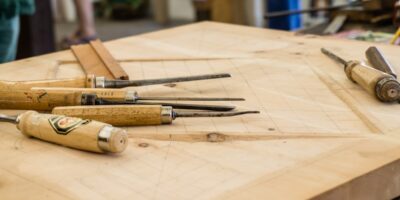
Recommended Woodworking Tools
HURRICANE 4-Piece Wood Chisel Set – $13.99
CR-V steel beveled edge blades for precision carving.
GREBSTK 4-Piece Wood Chisel Set – $13.98
Sharp bevel edge bench chisels for woodworking.
As an Amazon Associate, we earn from qualifying purchases.


Stay in the loop
Get the latest fine finish wood working updates delivered to your inbox.