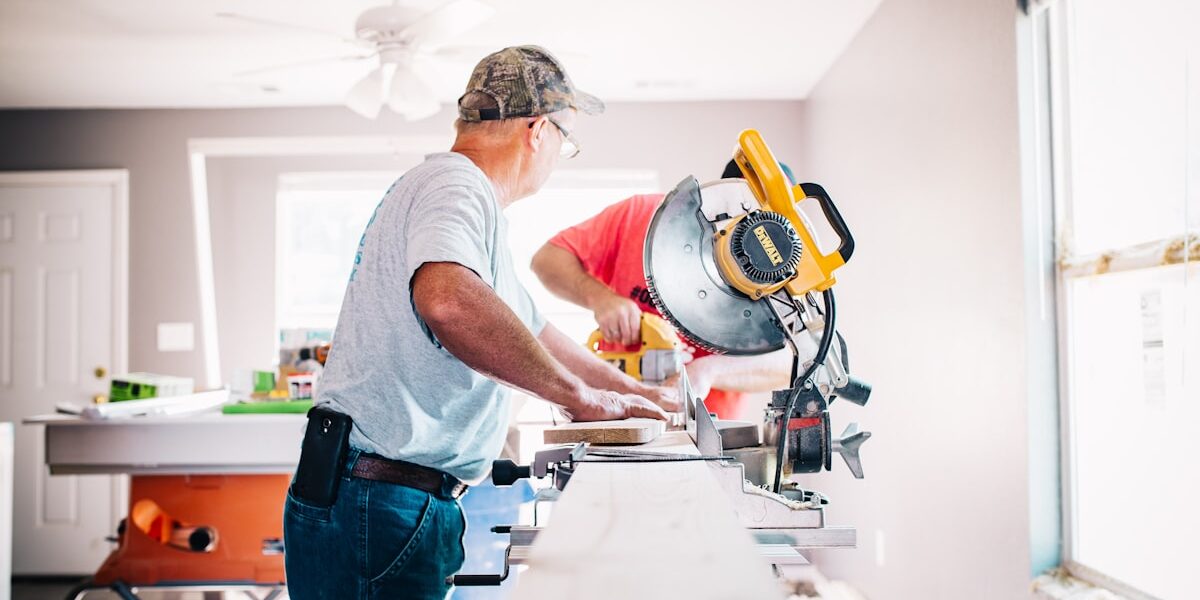
Choosing a wood finish has gotten complicated with all the options flying around at the hardware store. As someone who ruined more projects than I care to admit before figuring this out, I learned everything there is to know about finishes the hard way. Today, I will share it all with you.
The truth is, there’s no “best” finish. What works on a walnut jewelry box will fail spectacularly on a kitchen table. What protects outdoor furniture will look terrible on fine indoor pieces. The right finish depends on the wood, the use, and honestly, your patience level.
I spent years grabbing whatever polyurethane can was on sale, wondering why my projects looked different from the furniture in magazines. Turns out finish selection is half the battle. Once you understand what each finish actually does, the choices become clearer.
How Finishes Actually Work

Every finish does two things: protect the wood and change how it looks. They shield against moisture, dirt, UV damage, and physical wear while enhancing (or altering) the wood’s natural color and grain figure.
The critical distinction that took me too long to learn: some finishes soak in, some sit on top. That difference matters more than most people realize when selecting the right product for a project.
Penetrating Finishes
These soak into the wood fibers and harden inside the wood itself. No film on the surface—just enhanced wood. Pure oils and oil-wax blends work this way. They become part of the wood structure rather than a separate layer.
The good: Easy to apply, impossible to peel, repairs are simple (just add more). The wood still feels like wood when you run your hand across it. No “plasticky” sensation that some people hate about film finishes.
The bad: Less water protection, needs refreshing every year or so, won’t stop a toddler with a fork. Limited defense against physical wear compared to harder film finishes.
Film-Forming Finishes
These cure into a hard shell on top of the wood. Polyurethane, lacquer, shellac, and varnish all build films of varying thickness and hardness.
The good: Superior moisture barrier, excellent wear resistance, can go years between maintenance. Some film finishes resist heat, chemicals, and abrasion that would destroy an oil finish.
The bad: When they fail, they peel or chip. Repairs often mean stripping everything and starting over. Some skill required to apply without brush marks, drips, or dust contamination. Learning curve is steeper.
The Penetrating Oils
Tung Oil
This comes from tung tree nuts and has been around for centuries. I reach for it when I want wood to look like wood, not like plastic furniture from a big box store. That’s what makes tung oil endearing to us hand-tool woodworkers—it honors the material.
Flood it on liberally, wait 15-30 minutes for it to soak in, then wipe off absolutely everything that didn’t absorb. Repeat daily for a week or until the wood stops accepting more oil. Yes, it takes forever. Each coat needs 24-48 hours minimum before recoating. Full cure takes 30+ days. Patience required.
The finish slightly darkens wood and adds a warm amber glow. Low sheen, very natural appearance that many describe as “hand-rubbed.” Moderate durability for a penetrating finish—better water resistance than most oils but still needs annual maintenance on heavily used surfaces.
Great for tool handles, turned pieces, sculptural work, anything you’ll actually touch with your hands. Projects where tactile feel matters more than bulletproof protection.
Probably should have led with this: “Tung oil finish” products at the hardware store are mostly varnish with a little tung oil for marketing purposes. Read the label carefully. Real pure tung oil lists tung oil as the only ingredient. Don’t let the name fool you—there’s a big difference.
Linseed Oil
The old-school woodworker’s oil, pressed from flax seeds. This is what your grandfather probably used. Available as raw linseed oil (extremely slow drying) or boiled linseed oil (treated with metallic driers for faster cure).
Application is similar to tung oil. Apply, wait, wipe excess. Multiple coats build protection over time. Raw linseed takes weeks per coat—not practical for most. Boiled linseed dries overnight but still takes weeks for full cure.
Fair warning: linseed yellows over time, sometimes significantly. Works great on walnut or oak where amber warmth is welcome. On maple or ash, you might not love what happens after a year. Consider whether yellowing fits your project before committing.
Best for historic restorations, outdoor furniture when you’re committed to regular renewal, and projects where traditional materials matter. Many period furniture restorers insist on linseed for authenticity.
One thing I learned the scary way: linseed-soaked rags can spontaneously combust. The oil generates heat as it cures, and a wadded-up rag provides the insulation for ignition. Spread them flat outside to dry or dunk them in water before tossing in the trash. This isn’t fear-mongering—it actually happens. Every year some woodworker’s shop burns down because of this.
Danish Oil
Despite the name, this isn’t one specific product from Denmark. It’s a category—oil-varnish blends that every manufacturer formulates differently. Usually some combination of tung or linseed oil, varnish, and mineral spirits for easier application.
Flood the surface, let it soak, wipe off excess. Easier than pure oils because the varnish content speeds drying. Usually recoat-ready overnight rather than days. Slightly more sheen than pure oils too—builds a thin protective layer with multiple coats.
Better protection than straight oil, less hassle than film finishes. A solid middle ground for everyday furniture when you want oil ease with somewhat better durability. My go-to recommendation for woodworkers who want something foolproof.
Film-Forming Finishes
Shellac
Made from lac bug secretions dissolved in alcohol. Sounds weird, looks beautiful. Fine furniture has been protected with shellac for centuries. The French polish technique—padding on dozens of micro-thin layers—produces a depth and glow that’s hard to replicate with anything else.
The magic: it dries in minutes, you can recoat in 30-60 minutes, and it produces this warm, glowing finish that photographs can’t capture. Orange shellac adds amber warmth to any wood. Blonde or super-blonde shellac stays clearer for light woods. Any sheen from high-gloss to satin depending on application method and final rubbing.
The catch: not water-resistant. A wet glass leaves a white ring, though these can often be removed with alcohol. Not alcohol-resistant either—there goes your cocktail party, and forget about using it on a bar top. Perfect for pieces that won’t see heavy abuse.
Best for fine furniture, antique restoration (historically accurate), as a sealer coat under other finishes, and quick projects needing fast turnaround. Works great as a barrier coat between stain and topcoat too.
Also: shellac has a shelf life. Old shellac won’t dry right—stays tacky forever. Buy fresh or buy dry flakes and mix your own with denatured alcohol. The flakes last indefinitely until mixed.
Lacquer
What furniture factories have used for decades. Dries by solvent evaporation, extremely fast. Each coat partially melts into the previous one, so adhesion between coats is never a problem and repairs blend seamlessly.
Almost always sprayed—you need HVLP or conventional spray equipment for this. Brushing lacquer exists but isn’t common and requires fast technique. The result is crystal clear, water-white, won’t yellow like oil-based finishes. Any sheen from dead flat to mirror gloss. Dust-free in minutes, recoatable in 30 minutes, handling-ready in hours.
Good scratch resistance, moderate water resistance. Best for production work when speed matters, light-colored woods where yellowing would be a problem, and professional shops that have spray booths set up.
The fumes are serious. Proper ventilation and respiratory protection aren’t optional—we’re talking real health hazards here. Don’t use this outdoors either—UV degrades it rapidly. Interior projects only.
Polyurethane
The hardware store standard and probably what most weekend woodworkers reach for. Available in oil-based (amber warmth, slow cure) and water-based (crystal clear, fast dry) formulations with different characteristics.
Oil-Based Polyurethane:
Durable, forgiving, readily available at any home center. Brush or wipe it on—wipe-on poly is just oil poly thinned for rag application. Technique matters to avoid runs and brush marks but it’s not brain surgery. Moderate skill level.
Needs 24+ hours between coats, a full 30 days for complete cure. Adds amber tone that deepens over time—works well on many woods but can look orange on light species like maple or ash. High-gloss versions have that classic “furniture store” sheen some people love and others hate.
Best water and wear resistance you’ll find in a can at Home Depot. Kitchen tables, countertops, high-traffic surfaces—this is the answer when durability matters most. Will yellow over time though, so factor that into light wood decisions.
Water-Based Polyurethane:
Modern formulas have caught up to oil-based in durability. Much faster—recoat in 2-4 hours, handling-ready overnight. Stays crystal clear forever, no amber shift. The trick is working quickly because it dries fast. Over-brushing as it starts to tack leaves marks that are hard to sand out.
Best for light-colored woods where you want to preserve natural color, when you need fast turnaround, low-VOC requirements, or indoor air quality concerns. Cleanup is just soap and water—no mineral spirits needed.
For kitchen tables and anything that sees real use, polyurethane is usually my answer. Water-based if the wood is light, oil-based if I want to add warmth.
Varnish
Traditional long-oil varnish remains the gold standard for outdoor protection. Marine varnishes are the toughest—designed for boats that actually live in water and face constant UV exposure.
Brush it on thin, wait 24-48 hours between coats, curse at every speck of dust that lands on the tacky surface. Slow process requiring controlled environment. Warm amber tone builds to deep lustrous depth with multiple coats—6-8 coats on a brightwork project isn’t unusual.
Excellent UV resistance, flexibility to handle outdoor temperature swings without cracking, outstanding water protection. Outdoor furniture, exterior doors, boats, anything facing sun and weather—this is the finish. Interior use works fine but the slow cure time sends most people toward faster options.
Specialty Options
Wax
Wax alone barely protects anything—minimal water or wear resistance. But applied over another finish? Adds a hand-rubbed feel and subtle sheen that’s hard to beat. Many high-end furniture pieces get wax as a final layer.
Rub on with cloth or #0000 steel wool, let haze for 10-15 minutes, buff to desired sheen. Needs refreshing every few months on used surfaces. Best for final layer over harder finishes, pieces that will see minimal use, and achieving that classic hand-rubbed look.
Conversion Varnish
Two-part catalyzed finish for professional shops. Mix a catalyst with the finish, apply within the pot life window, achieve extremely durable results. Kitchen cabinet shops use this extensively.
Requires spray equipment, proper mixing ratios, and expertise to apply correctly. Not a weekend warrior option. Best for professional production, commercial furniture, and high-wear commercial applications.
Epoxy
Two-part pour-on finish that cures glass-hard and thick. Popular for bar tops and those river tables flooding Instagram. Mix parts precisely per manufacturer instructions, pour and spread, let self-level, torch to remove bubbles.
Excellent moisture and wear resistance. Some yellowing with UV exposure eventually—keep away from sunny windows. Best for bar tops, river tables, encasing objects (bottle caps, coins, etc.), and any situation needing thick waterproof buildup.
Matching Finish to Project
By Use Case
Kitchen tables and counters: Polyurethane. Period. Oil or water-based depending on color goals. Durability is non-negotiable for surfaces that see daily abuse.
Fine furniture display pieces: Shellac for warmth and traditional appearance. Lacquer for production efficiency. Oil poly for maximum durability when the piece will see use.
Outdoor furniture: Marine varnish or exterior-rated products designed for UV and moisture exposure. Penetrating oils work but need constant renewal—monthly in harsh climates.
Cutting boards and bowls: Mineral oil or walnut oil for items that get washed constantly. Fully cured pure tung oil is food-safe too. Avoid anything that forms a film—it’ll crack and harbor bacteria.
By Wood Species
Light woods (maple, ash, birch): Water-based finishes preserve the natural pale color. Oil-based products add amber you may or may not want—always test first.
Dark woods (walnut, mahogany): Oil-based finishes enhance the depth and warmth. Amber shift usually welcome and expected on these species.
Open-pored woods (oak, ash, walnut): Need pore filler for glass-smooth film finishes. Or embrace the texture—penetrating finishes follow the grain naturally and some people prefer that honest look.
By Skill Level
Just starting out: Danish oil or wipe-on poly. Nearly impossible to mess up. Wipe on, wipe off, repeat.
Some experience: Brushed polyurethane, shellac. Technique matters but mistakes can be corrected with sanding between coats.
Been at this a while: Sprayed lacquer, traditional varnish, French polish. Requires equipment, controlled environment, and practice to master.
The Part Nobody Wants to Hear
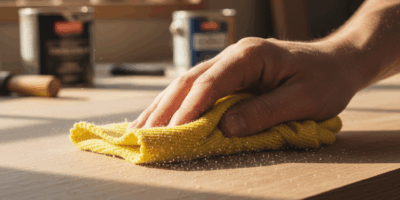
Preparation matters more than which finish you pick. I’ve seen gorgeous finishes ruined by lazy prep, and mediocre finishes look great because the surface underneath was perfect.
Sand progressively through the grits—100, 150, 180, 220 for most finishes. Don’t skip grits trying to save time. Vacuum thoroughly, then tack cloth to remove the fine dust vacuum misses. Raise the grain with a damp rag before water-based finishes, then knock down the fuzz with 220 before applying. Use pre-stain conditioner on blotch-prone woods (cherry, pine, maple) before staining.
And always—always—test on scrap of the same wood species first. What looks good on oak might look terrible on maple. Find out before committing to your actual project.
Rushing preparation shows in the final result every single time. The finish can only be as good as what’s underneath it. Spend the time here and the topcoat goes on easy.
Bottom Line
Stop searching for the “best” finish—it doesn’t exist as a universal answer. Figure out what the piece needs to resist: water, wear, sun, heat, chemicals. Narrow down by your skill level and available equipment. Then pick based on the look you want to achieve.
When you think about it that way, with those filters in mind, the choice usually becomes obvious. The right finish for each project exists. You just have to match the requirements to the options.


Stay in the loop
Get the latest fine finish wood working updates delivered to your inbox.