How to Repair Damaged Wood Finish
Repairing wood finishes has gotten complicated with all the products and techniques flying around. As someone who’s fixed more scratches, water rings, and heat marks than I can count over the years, I learned everything there is to know about bringing damaged finishes back to life. Today, I will share it all with you.
Here’s the good news — most finish damage looks worse than it actually is. I’ve saved pieces that looked hopeless, and nine times out of ten it took less time than I expected.
Assess the Damage (Probably should have led with this)
Before diving into repairs, it’s essential to understand the type and extent of the damage. Examine the wood to determine whether the finish is scratched, stained, chipped, or worn away. Identifying the material and original finish—whether it’s varnish, lacquer, shellac, or polyurethane—will also dictate the repair method.
Gather Essential Tools and Materials
- Fine-grit sandpaper (220-grit or higher)
- Steel wool (0000 grade for delicate work)
- Wood finish (matching the original, if possible)
- Tack cloth or microfiber cloth
- Wood filler or wax stick (for deeper scratches)
- Paintbrush or rag for applying finish
- Mineral spirits
- Protective gloves and mask
Repair Superficial Scratches
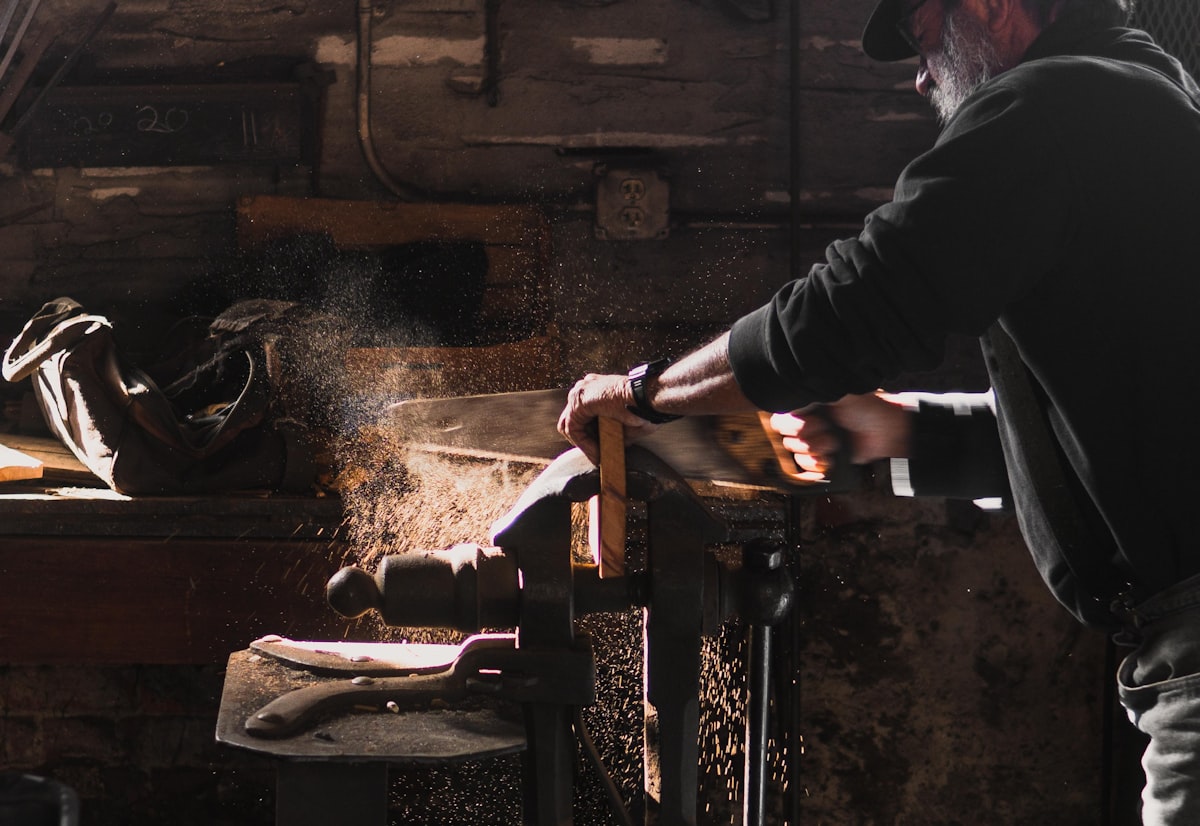
Minor scratches often require only a touch-up. Begin by cleaning the area with a damp cloth and mild soap to remove any dirt and debris. Let the wood dry thoroughly. Use a matching wood repair pen or marker to fill in the scratch. These products are designed to blend seamlessly with existing finishes. Apply light pressure, following the direction of the wood grain. For a more polished look, you may buff the area gently with a clean cloth.
Address Deeper Scratches and Gouges
Deeper scratches or gouges call for a bit more effort. Start by slightly sanding down the edges of the scratch using fine-grit sandpaper. This creates a smooth transition between the damaged and undamaged areas. Next, use a wax filling stick or wood filler. Press it into the scratch, removing any excess with a putty knife or card. Allow the filler to set as per the instructions. Sand the repaired area lightly once it’s dry, ensuring a smooth, even surface. Reapply wood finish to match the surrounding area, blending the edges carefully.
Remove Surface Stains and Watermarks
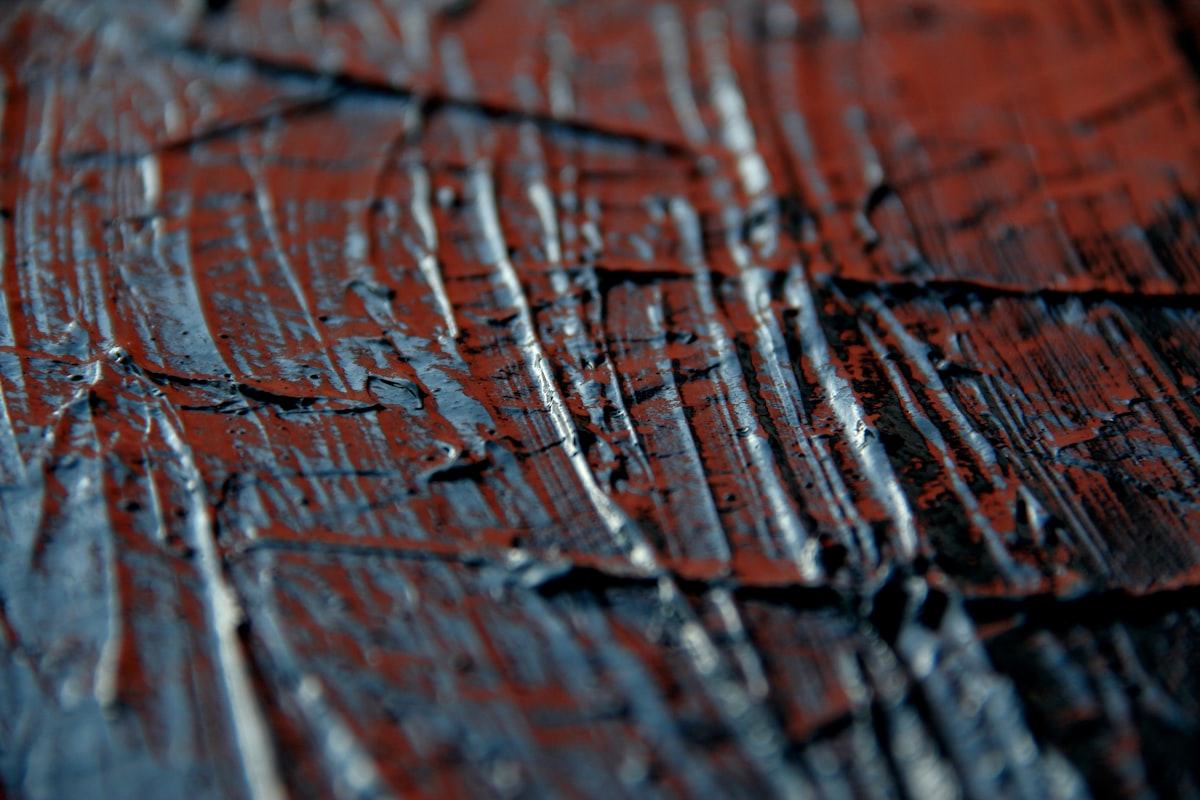
Watermarks and surface stains are common in households. They often occur due to moisture penetrating the finish. For white watermarks, try rubbing a mixture of equal parts baking soda and non-gel toothpaste with a soft cloth. Another method involves applying heat with a hairdryer or a clothes iron (set to low heat) over a piece of dry cloth. This method can draw out moisture trapped beneath the finish. If the stain persists, lightly sand and refinish the affected area with a matching product.
Repair Chips and Flaking Finish
Chipping or flaking occurs when the finish has deteriorated, usually due to wear or exposure. Begin by sanding the area gently to remove any loose or peeling finish. Clean the area with a tack cloth to remove dust. Apply new finish using a brush or sponge, ensuring even coverage. It might take several coats to adequately cover bare wood. Allow each coat to dry according to the manufacturer’s instructions. Lightly sand between coats for a smoother finish. Buff the final coat with steel wool and apply a protective wax or polish.
Revitalize Dull Surfaces
Over time, wood surfaces can become dull due to environmental factors or frequent usage. Begin by thoroughly cleaning the surface with a gentle cleaner designed for wood. Once dry, rub the surface with 0000 steel wool dipped in paste wax. Follow this by buffing with a soft cloth to restore luster. Alternatively, consider applying a commercial restorer or rejuvenator. These products are formulated to revive the shine without stripping the surface entirely.
Handling Small Cracks
Small cracks need attention to prevent further spread. Use a wood filler or a mixture of sawdust and wood glue to fill the crack. Apply with a putty knife, smoothing the surface level with the surrounding wood. Allow to dry thoroughly before sanding. Reapply the finish carefully to match the rest of the piece. Keep an eye on such repairs, especially in high-traffic areas or with fluctuating humidity levels.
Regular Maintenance Tips
- Dust surfaces with a soft, dry cloth regularly to prevent buildup.
- Use coasters and mats to protect surfaces from water and heat.
- Avoid harsh chemicals; instead, use cleaners designed for wood.
- Apply a small amount of furniture polish occasionally to preserve luster.
- Control room humidity to prevent wood from warping or cracking.
Wood finishes can endure for years with proper care and attention. Regular inspection and immediate repairs of small damages can prevent larger issues. Using these methods, you can maintain the beauty and integrity of your wood furniture, ensuring it remains a cherished part of your home for generations.
