
How to Fix a Damaged Finish on Your Wood Table (What Actually Works) has gotten complicated with all the options and conflicting advice flying around. As someone who has spent years working with wood finishes in my own shop, I learned everything there is to know about this subject. Today, I will share it all with you.
How to Fix a Damaged Finish on Your Wood Table (What Actually Works)
Look, I have ruined more table finishes than I care to admit. Spilled red wine at a dinner party. Left a hot pizza box right on my grandmother antique. And don not get me started on the time my kid decided permanent markers belonged on the dining room table.
The good news? Most finish damage is fixable. I have spent way too many weekends figuring this stuff out, so let me save you some trial and error.
First Things First: What Are You Actually Dealing With?
Probably should have led with this section, honestly.

Before you grab the sandpaper and go to town, take a breath. I made this mistake early on – sanded right through a perfectly good finish because I thought a water ring was way worse than it actually was.
Run your fingernail across the damage. Can you feel it? If it is just a white haze or ring, you are probably dealing with moisture trapped IN the finish, not actual damage to the wood. That is great news – it is usually an easy fix.
Deep scratches where you can see raw wood? That is a different story, but still totally doable at home.
The Stuff You Will Need
Here is what I keep in my shop for finish repairs:
- Clean rags (old t-shirts work great)
- Mild dish soap
- Mineral spirits (the unsung hero of finish repair)
- Fine sandpaper – I like 220 grit for most repairs
- 0000 steel wool (get the super fine stuff)
- Wood stain if you need to match color
- Your finish of choice – I usually grab polyurethane for tables
- Foam brushes or a lint-free cloth
- Paste wax for the final touch
Cleaning: Do Not Skip This Part
I know, I know – you want to fix the problem, not clean. But trust me here. A lot of what looks like finish damage is actually just gunk buildup. I once spent an hour prepping to refinish a coffee table that just needed a good cleaning. Felt pretty dumb about that one.
Wipe down the whole surface with a damp cloth and a tiny bit of dish soap. Dry it immediately – we are not trying to add more water damage. If there is sticky residue or old wax buildup, dampen a cloth with mineral spirits and gently work those areas. Test a hidden spot first just to be safe.
Light Scratches and Scuffs
For surface scratches that have not gone through the finish, 0000 steel wool is magic. Go WITH the grain – always with the grain – and use light pressure. I like to add a little paste wax while I am rubbing. It lubricates and fills at the same time.
Buff it out with a clean cloth. Most minor scratches just… disappear. Still blows my mind every time.
Those Annoying Water Rings
White rings from glasses are weirdly satisfying to fix. The moisture is trapped in the finish, and you just need to help it escape.
My go-to method: mix a tiny bit of non-gel toothpaste with baking soda. Yeah, really. Rub it gently into the ring with a soft cloth. The mild abrasive releases the moisture. Wipe clean and apply some paste wax.
If that does not work, try hitting the area with a hair dryer on low heat for a few minutes. Sometimes that is all it takes.
Deeper Damage That Needs More Work
Okay, so you have got actual gouges or the finish is completely shot in spots. Here is where we roll up our sleeves.
Sand the damaged area with 220-grit. Stay in the damaged zone – no need to sand the whole table unless the finish is failing everywhere. Always go with the grain. I cannot stress this enough. Cross-grain sanding leaves scratches that will show through your new finish like neon signs.
For deep gouges, grab some wood filler that matches your wood tone. Pack it in there, let it dry completely (I usually give it overnight even though the can says 30 minutes), then sand it flush.
When It Is Time to Strip Everything
Sometimes a table is just too far gone for spot repairs. If the finish is peeling, alligatoring, or damaged in too many places, bite the bullet and strip it.
I use chemical strippers for this. Apply it thick, let it sit according to the directions, and scrape it off with a plastic scraper. Metal scrapers can gouge the wood – learned that one the hard way on a beautiful walnut piece.
After stripping, you will need to sand the whole surface. Start around 100 or 120 grit and work your way up to 220. Clean off all the dust with a tack cloth before finishing.
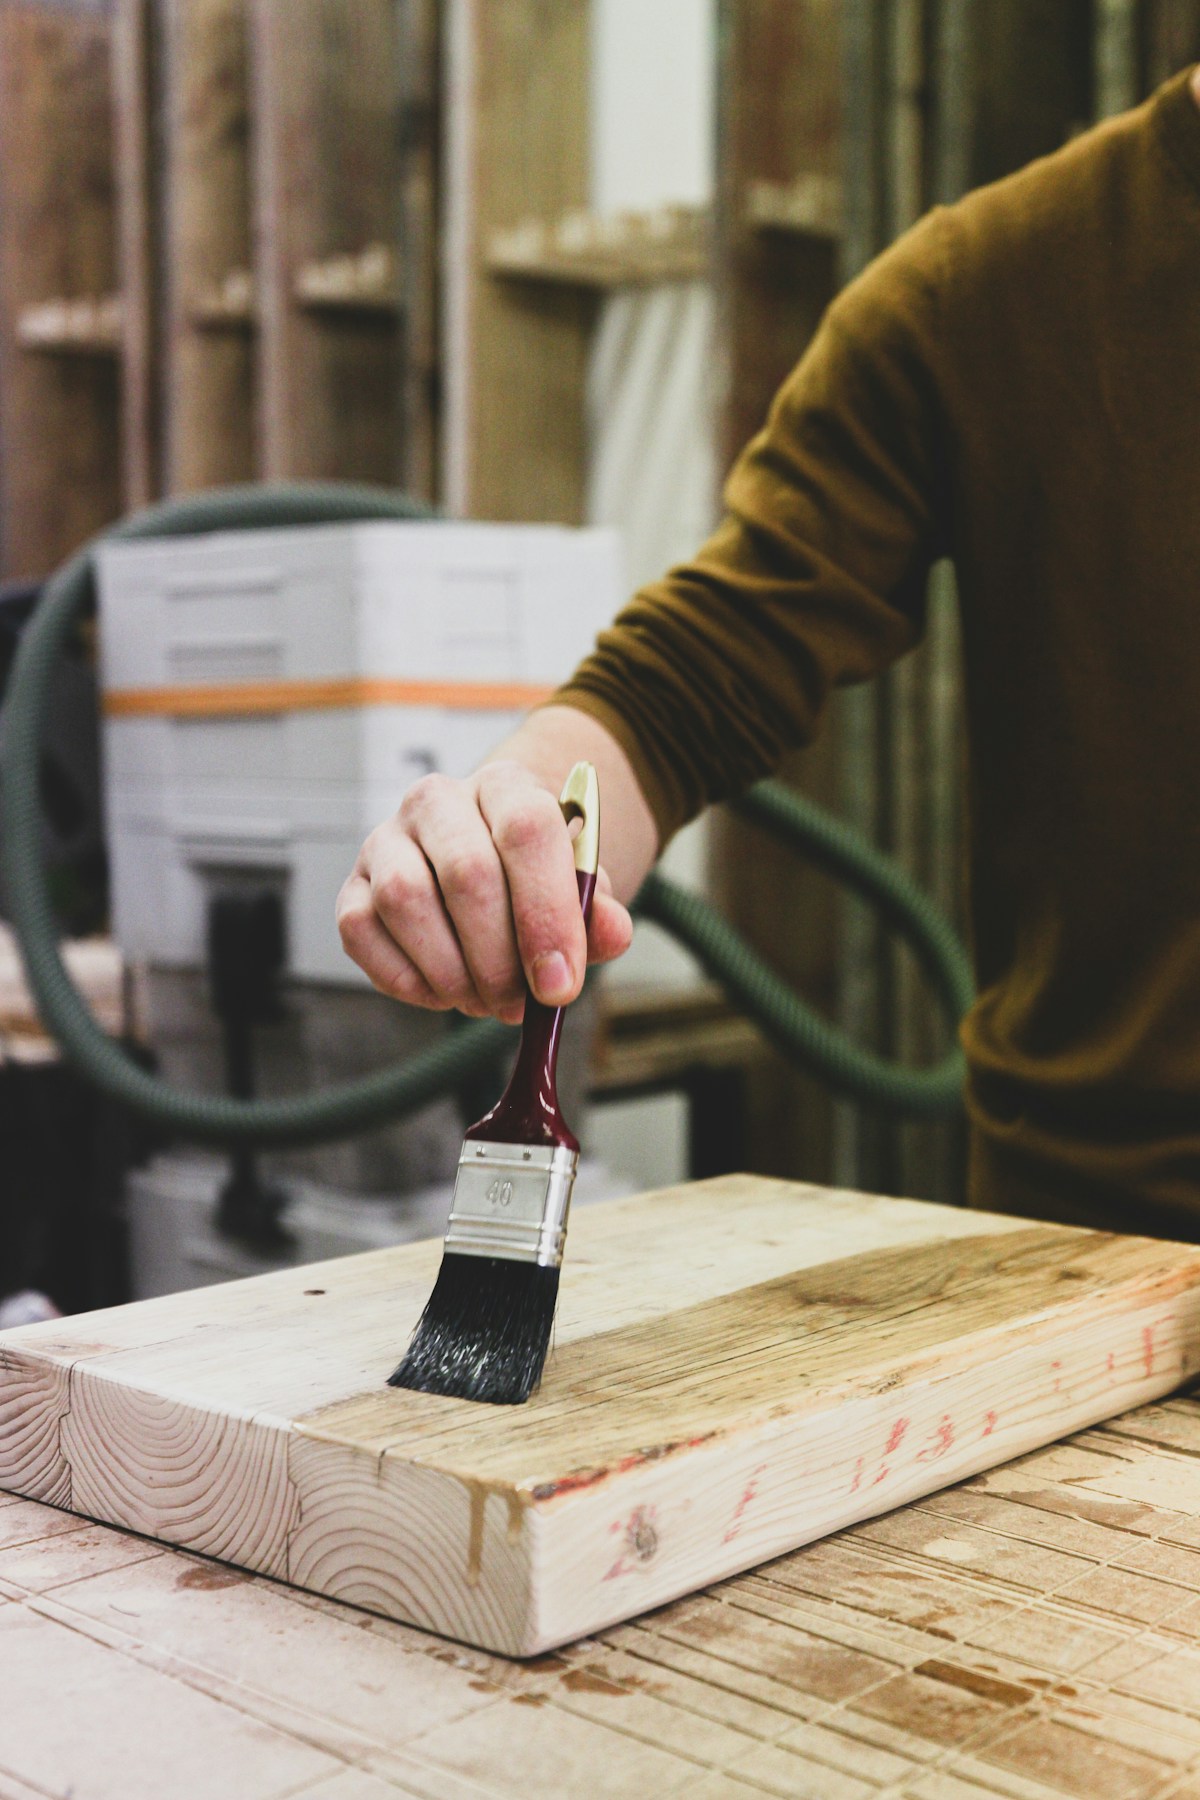
Putting on the New Finish
For a table that sees daily use, I almost always recommend polyurethane. It just holds up better than most alternatives. Oil-based poly gives you a warmer, amber tone. Water-based stays clearer and dries faster.
Thin coats are better than thick ones. Every single time. Thick coats sag, bubble, and take forever to dry. Ask me how I know.
Apply with a foam brush or lint-free cloth, going with the grain. Let it dry completely – and I mean completely, not just dry to touch. Then scuff lightly with 320-grit sandpaper or 0000 steel wool, wipe off the dust, and apply another coat. Two or three coats is usually right for a tabletop.
Final Polish
Once your last coat has fully cured (give it a few days for poly), buff on a thin layer of paste wax. This adds a little extra protection and makes the surface feel amazing. Plus it makes future cleaning way easier.
Keeping It Nice
After all that work, do not wreck it again. Use coasters. Put felt pads under lamps and vases. Wipe up spills right away instead of getting to it later. Your future self will thank you.
Every table has a different history and different damage. These techniques have gotten me through dozens of repairs, but you might need to adapt based on what you are working with. Start with the gentlest approach and only escalate if you need to. It is way easier to do more than to undo too much.
Recommended Woodworking Tools
HURRICANE 4-Piece Wood Chisel Set – $13.99
CR-V steel beveled edge blades for precision carving.
GREBSTK 4-Piece Wood Chisel Set – $13.98
Sharp bevel edge bench chisels for woodworking.
As an Amazon Associate, we earn from qualifying purchases.


Stay in the loop
Get the latest fine finish wood working updates delivered to your inbox.