
Dealing with dust nibs in finishes has gotten complicated with all the miracle products and conflicting methods flying around. As someone who’s battled dust in my shop for years — and my shop is in a garage, so trust me, I know dust — I learned everything there is to know about preventing and fixing this common finishing headache. Today, I will share it all with you.
A reader asked last week why their freshly applied finish felt rough instead of smooth. The answer is almost always the same: dust nibs. I get this question constantly, and the fix is easier than you’d think.
What Are Dust Nibs?

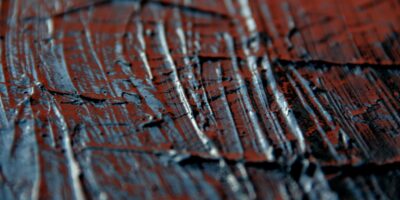
Dust nibs are tiny particles that get trapped in wet finish as it dries. Airborne dust lands on tacky surfaces and gets locked in place. The result feels like fine sandpaper instead of glass. It’s frustrating, especially when you’ve put real effort into the project.
Prevention Is Everything
Probably should have led with this section, honestly. The best solution is preventing dust from landing in the first place. Here’s what I do:
- Clean your workspace thoroughly before finishing — I mean really clean, not just a quick sweep
- Wet the floor to keep dust down (this one trick made a huge difference in my garage shop)
- Wear clean clothes — no fuzzy sweaters, no flannel, nothing that sheds
- Filter your finish through a paint strainer before applying
- Work in still air — no fans, no open windows, no walking around stirring things up
The Fix When It Happens Anyway

Despite best efforts, some dust always finds its way in. I’ve accepted this. Here’s how I deal with it:
Between coats: Once the finish has fully cured, sand lightly with 320-grit paper. This levels the nibs without cutting through to bare wood. Wipe with a tack cloth before the next coat. Easy.
On the final coat: Let the finish cure completely — at least a week for oil-based finishes, don’t rush this. Then rub out with 0000 steel wool and paste wax, or sand progressively through higher grits (400, 600, 800) and buff. The results are worth the patience. I’ve salvaged finishes this way that I thought were ruined.
When to Accept Imperfection
That’s what makes finishing endearing to us woodworkers — knowing when to chase perfection and when to let it go. Perfect glass-smooth finishes require near-cleanroom conditions that most of us don’t have. For most furniture, a few tiny nibs are invisible at normal viewing distance. Spend your effort on proper preparation and application technique rather than obsessing over microscopic imperfections that only you’ll notice. Life’s too short, and there’s another project waiting.


Stay in the loop
Get the latest fine finish wood working updates delivered to your inbox.