What Makes Poplar Tricky has gotten complicated with all the options and conflicting advice flying around. As someone who has spent years working with wood finishes in my own shop, I learned everything there is to know about this subject. Today, I will share it all with you.
Alright, let me tell you about poplar. I have got this love-hate relationship with the stuff. On one hand, it is cheap, it is everywhere, and it cuts like butter. On the other hand, finishing it can be a real headache if you do not know what you are getting into. I learned that the hard way on a bookcase I built maybe ten years back – stained it without any prep and it came out looking like a spotted cow.
What Makes Poplar Tricky
Probably should have led with this section, honestly.
So poplar is technically a hardwood but it does not really act like one. It is soft. Like, you can dent it with your thumbnail soft. That is fine for paint-grade projects, but it causes issues when staining because the density varies throughout the board. Some spots suck up stain like a sponge while others barely take any color at all. Result? Blotchy mess.
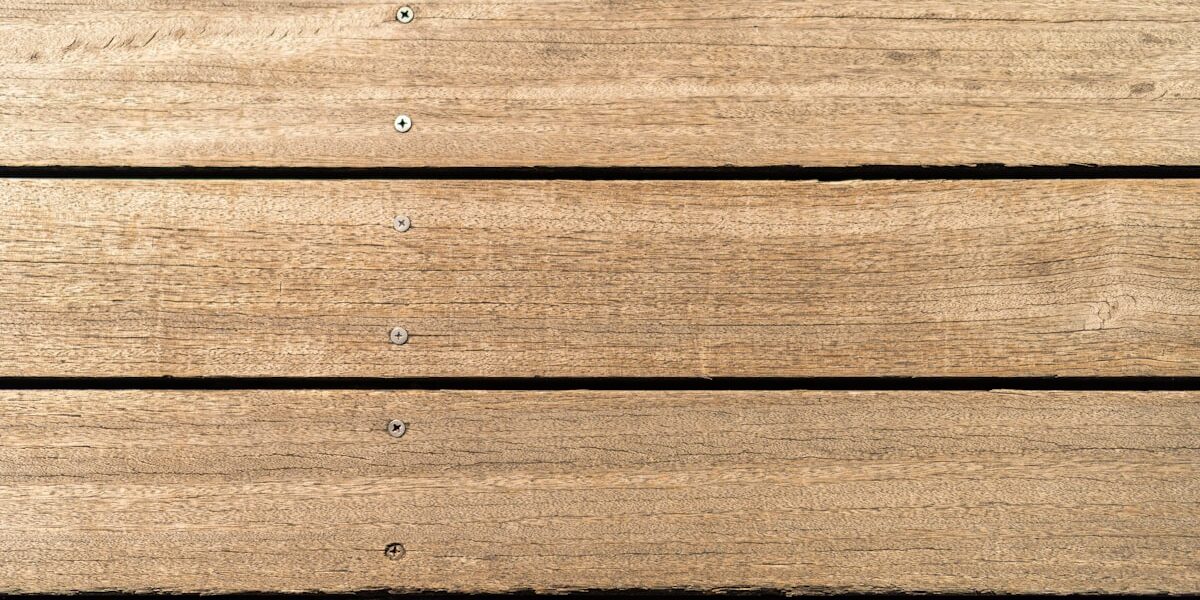
The wood itself is usually pale, kind of creamy colored, sometimes with these weird green or purple streaks running through it. Personally I do not mind the streaks – they can look cool on the right project. But if you are going for a uniform look, those color variations will definitely show through a clear finish.
Prepping Poplar (Do This Right)
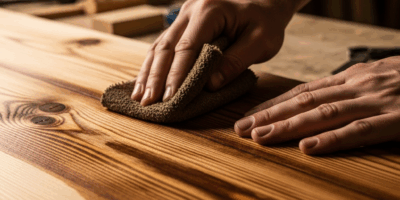
Sanding poplar is easy since it is so soft, which is nice. But that softness means you can also sand right through it if you are not paying attention. I start at 120 grit and work up to 180, then 220. Do not need to go higher than that really.
Here is my big tip: sand with the grain and use even pressure. Poplar shows scratches really easily, and cross-grain sanding marks will haunt you forever once you put finish on. I ruined a jewelry box once because I got impatient and sanded diagonally. Those scratches jumped right out under the stain.
After sanding, vacuum it off and wipe with a tack cloth. Poplar creates a lot of fine dust so really get in there and clean it good.
Staining Poplar Without the Blotches
Okay this is the secret right here: pre-stain conditioner. I cannot stress this enough. If you try to stain poplar without it, you are gonna have a bad time. The conditioner partially seals the wood so the stain absorbs more evenly. It is like eight bucks a can and it saves so much frustration.
Apply the conditioner, wait about fifteen minutes (check your can for the exact time), then wipe off excess. Do not let it dry completely or you will seal the wood too much and the stain will not take at all. Then apply your stain within a couple hours while the conditioner is still active.
Another thing I have learned – gel stains work way better on poplar than regular liquid stains. Gels sit on top of the wood more than they soak in, so you get more control over the final color. They are a bit pricier but totally worth it for poplar projects.
When staining, work in manageable sections. Brush on with the grain, let it sit for a few minutes (longer equals darker), then wipe off the excess with clean rags. I keep a pile of old t-shirts for this. Let it dry overnight before adding more coats or moving to a topcoat.
Why Paint Is Often the Smart Move

Honestly? If I am building something from poplar and it does not need to show the wood grain, I just paint it. Poplar is one of the best woods for paint because it has this nice closed grain that takes primer and paint really smoothly. Cabinet makers use it all the time for painted pieces.
My process: sand to 180, prime with a good quality primer (I like Zinsser shellac-based primer for sealing poplar natural oils), sand lightly after the primer dries, then two coats of paint. For a really smooth finish, I will spray it, but brush and roller work fine too – just use quality tools.
The key with paint is thin coats. Three thin coats look way better than one thick globby coat. And sand lightly between coats with 220 grit to knock down any nibs or brush marks.
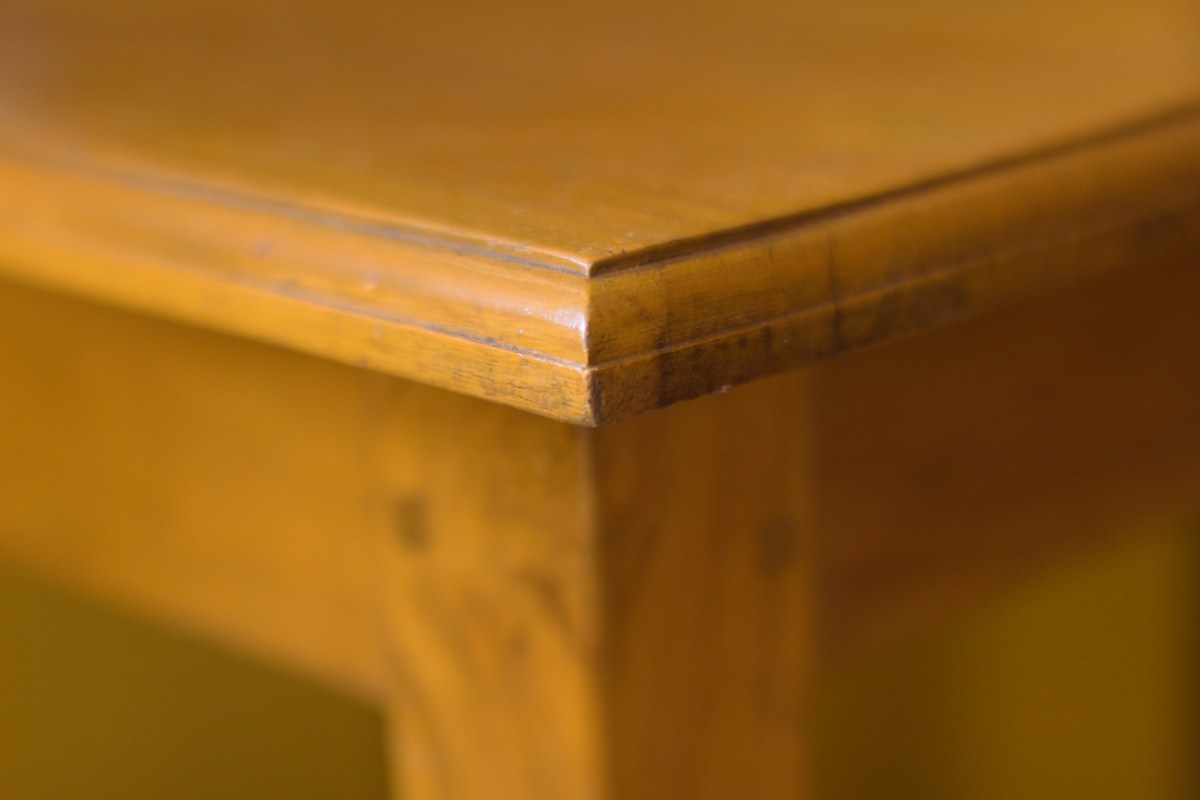
Going with a Clear Finish
Sometimes you want to show off poplar natural color – or at least whatever color yours happens to be. Polyurethane works fine, either water-based or oil-based. Keep in mind that oil-based poly will amber a bit over time, which can actually look nice on poplar. Water-based stays crystal clear.
Apply thin coats with a good brush or wipe it on with a rag. Let each coat dry completely, sand lightly with 320 between coats, and build up three or four layers for good protection.
Danish oil is another option I have used on small poplar projects. It gives this warm, natural look and feels really nice to the touch. Just be aware that it does not offer as much protection as a film finish like poly.
Dealing with Those Green and Purple Streaks
The weird colored streaks in poplar are actually called mineral streaks and they come from minerals the tree absorbed while growing. Some boards have tons of them, others have almost none. Unfortunately there is no way to predict what you will get until you cut into the wood.
If you are staining dark, the streaks usually disappear. Light stains or clear finishes will show them. Personally I have started picking boards specifically for the interesting streaking patterns – makes each piece unique. But if you hate them, either go dark with your stain or paint the piece.
The Weather Factor
One thing that bit me once – I was finishing poplar during a really humid week and the finish took forever to dry and came out kind of cloudy. Learned my lesson: try to finish when humidity is below 60 percent and temps are between 50 and 80 degrees. Same goes for any wood finish really, but poplar seems extra sensitive.
My Honest Take on Poplar
It is not my favorite wood to finish but it has its place. For paint-grade furniture, trim work, and projects where budget matters, poplar is hard to beat. Just do not expect it to take stain like oak or walnut – those hardwoods have grain patterns that absorb stain evenly. Poplar needs a little extra help.
Once you understand its quirks though, poplar can look really nice. That bookcase I mentioned earlier? After the disaster stain job, I sanded it back and painted it white instead. Still have it in my daughter room eight years later and it looks great. Sometimes you just gotta work with what the wood gives you.
Recommended Woodworking Tools
HURRICANE 4-Piece Wood Chisel Set – 13.99
CR-V steel beveled edge blades for precision carving.
GREBSTK 4-Piece Wood Chisel Set – 13.98
Sharp bevel edge bench chisels for woodworking.
As an Amazon Associate, we earn from qualifying purchases.


Stay in the loop
Get the latest fine finish wood working updates delivered to your inbox.