My Cutting Board Finishing Disasters (And What Finally Worked) has gotten complicated with all the options and conflicting advice flying around. As someone who has spent years working with wood finishes in my own shop, I learned everything there is to know about this subject. Today, I will share it all with you.
My Cutting Board Finishing Disasters (And What Finally Worked)
Probably should have led with this section, honestly.
Alright, confession time: I ruined a lot of cutting boards before I figured this out. And I mean a lot. We are talking cracked boards, stinky boards, boards that left oil residue on everything they touched. It was not pretty.
But after years of screwing up, I have finally got a system that works. And the boards I finish now? They look great and actually last.
Why Bother Finishing At All?
I asked myself this early on. Like, it is just a cutting board, right? Wrong. So wrong.
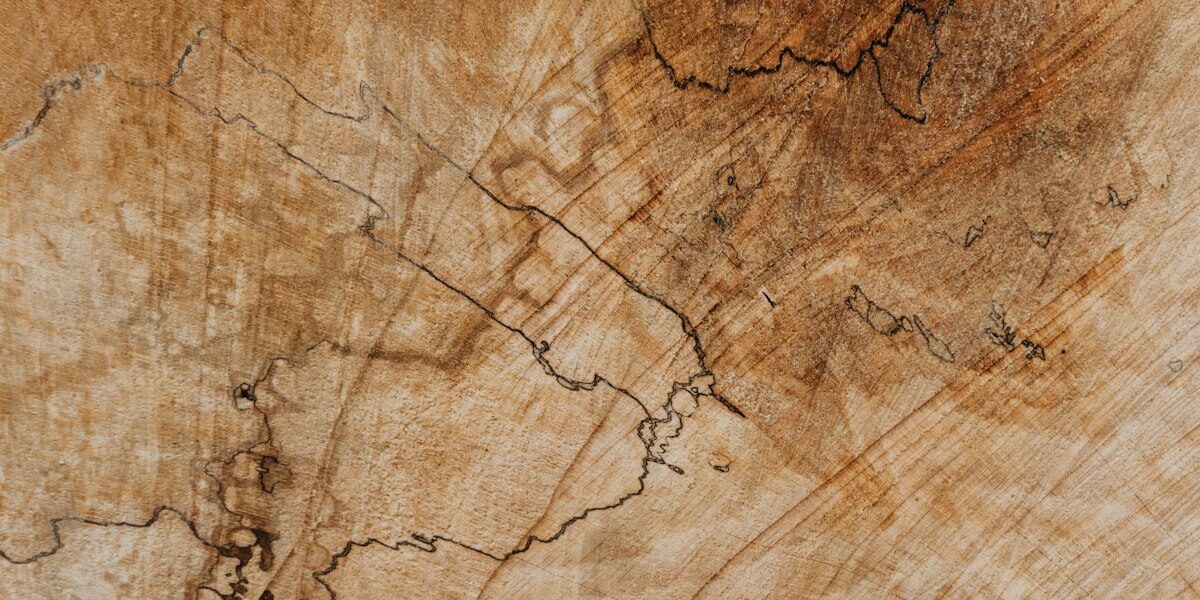
Unfinished boards absorb everything. Water, onion juice, raw chicken liquid – it all soaks right in. Then you have got bacteria growing in there, funky smells that never go away, and eventually the wood dries out and cracks.
A good finish seals those wood pores (mostly) and gives you a fighting chance at keeping things sanitary. Plus the board looks way nicer. Win-win.
What NOT To Use
Before we get to the good stuff, let me save you some trouble. Do not use vegetable oil or olive oil. I know, I know – they are in your kitchen already, seems convenient. But they go rancid. Your board will smell like old french fry grease. Not appetizing.
Also skip the polyurethane and lacquer. Yes, they create a hard protective surface, but they chip and flake off eventually. Then you have got plastic bits in your food. No thanks.
The Finishes That Actually Work
Mineral Oil
This is my default for most boards. Cheap, available everywhere, completely food safe. I buy the big bottles at the pharmacy – same stuff they sell as cutting board oil at kitchen stores but way cheaper.
Apply it liberally, let it soak overnight, wipe off the excess. Repeat a few times for a new board. Easy peasy.
The only downside is you have to keep reapplying it. Every month or so for boards you use regularly. I keep a bottle under the kitchen sink specifically for this.
Beeswax Blends
Mix beeswax with mineral oil and you get something even better. The wax creates a harder surface that repels water better and lasts longer between treatments.
You can buy premade blends (usually called board butter or wood cream) or make your own. I melt beeswax in a double boiler, add warm mineral oil – roughly 1 part wax to 4 parts oil – stir it up and let it cool. Turns into this nice paste consistency.
Rub it into the board, let it sit, buff with a cloth. Makes the wood feel silky smooth.
Tung Oil
For boards I want to be extra nice, I go with pure tung oil. Once cured, it creates a really tough finish that is still food safe. Water beads right off.
Fair warning though: patience required. We are talking multiple thin coats with days of drying between each one. And several weeks before the board is ready for actual use. I usually start this process in fall for boards I want to give as Christmas gifts.
Linseed Oil
Raw or boiled linseed (make sure it says food grade) works similarly to tung. Slightly less durable in my experience, but more forgiving to apply. Deepens the wood color nicely.
I avoid the hardware store linseed oil though – it has drying agents added that are not food safe. Look for stuff specifically sold for kitchen use.
How I Do It Now

For most cutting boards, here is my process:
Clean the board and let it dry completely. Like, really dry. Overnight at least. Wet wood does not absorb finish well.
Light sand with 220 grit. Nothing aggressive, just enough to open up the pores a bit. Wipe off all the dust.
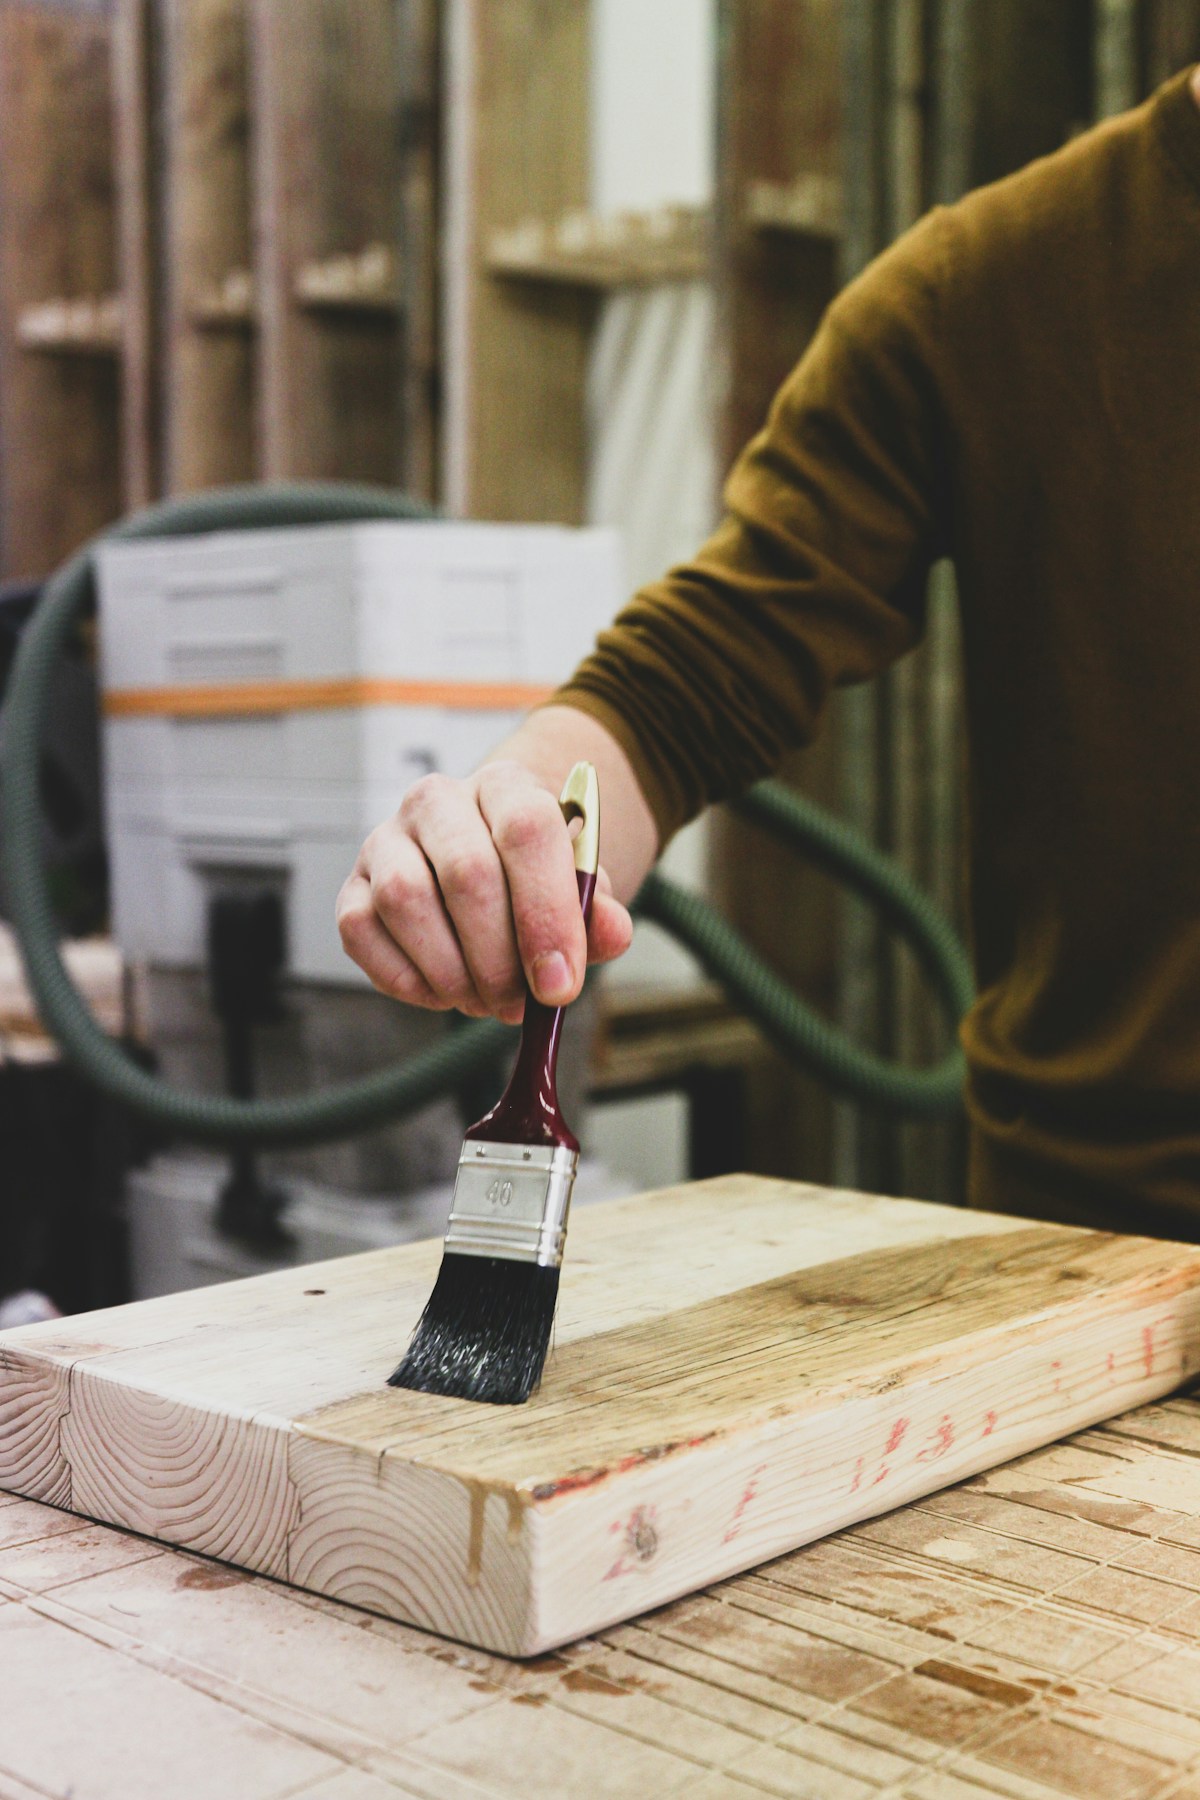
Apply mineral oil with a rag, working with the grain. Be generous. Let it soak for an hour or so, then wipe off what did not absorb.
Repeat two or three more times over the next few days. The wood will look a little darker and richer each time.
Once the oil is dry, apply beeswax blend and buff it out. Now you have got a board that looks great and will actually last.
Keeping It Nice
Wash with warm soapy water after each use. Hand wash only – dishwashers are death to wooden boards. Dry it right away and store it standing up so air can reach both sides.
When the surface starts looking dry or water stops beading up, it is time for more oil. Takes maybe 10 minutes every few weeks.
And every once in a while, if the surface gets rough from knife cuts, give it a quick sand and refinish. Not a big deal.
Signs You Need to Refinish
Water stops beading and soaks in instead. Surface looks gray or washed out. Wood feels dry and rough. Smells linger after washing. Deep knife grooves accumulating.
Any of those means it is time for maintenance. Do not wait too long or the board can crack.
The Environmental Angle
All the finishes I mentioned are natural and biodegradable. Mineral oil is refined petroleum, which some people have feelings about, but it is completely inert and food safe. The plant-based oils are renewable resources.
Beats the heck out of plastic cutting boards that end up in landfills.
Recommended Woodworking Tools
HURRICANE 4-Piece Wood Chisel Set
CR-V steel beveled edge blades for precision carving.
GREBSTK 4-Piece Wood Chisel Set
Sharp bevel edge bench chisels for woodworking.
As an Amazon Associate, we earn from qualifying purchases.


Stay in the loop
Get the latest wildlife research and conservation news delivered to your inbox.