Making Charcuterie Boards That Actually Get Used has gotten complicated with all the options and conflicting advice flying around. As someone who has spent years working with wood finishes in my own shop, I learned everything there is to know about this subject. Today, I will share it all with you.
Making Charcuterie Boards That Actually Get Used
Probably should have led with this section, honestly.
I have a confession. My first charcuterie board looked amazing on Instagram and was absolutely terrible in real life. The finish started flaking off after three washes, and my wife banned me from bringing it out at parties. So yeah, I learned some things the hard way about finishing these boards.
Here is what I have figured out after making probably 50 of these things over the years – some for myself, some as gifts, and a bunch I sold at craft fairs.
The Wood Actually Matters
I know, obvious. But hear me out. Not every pretty piece of wood makes a good charcuterie board.
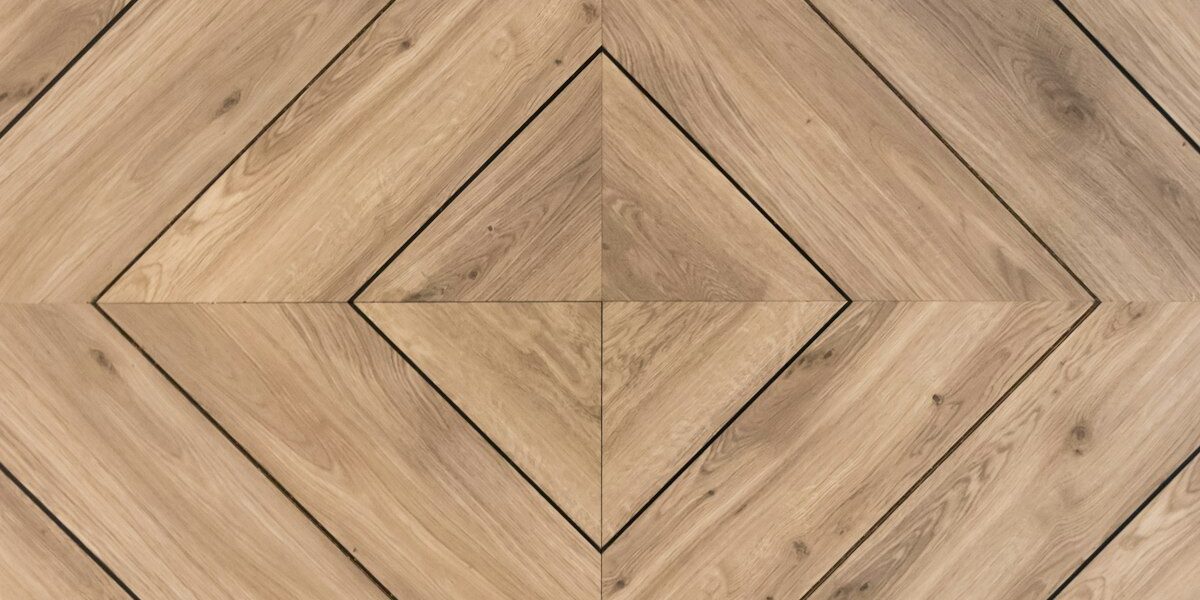
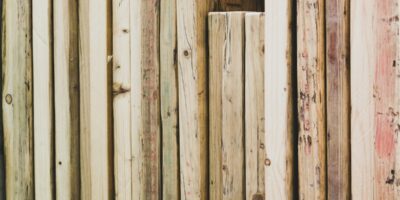
Walnut is my go-to. The dark color hides stains from red wine and berry juices, and it has natural antimicrobial properties. Plus it looks expensive even when it is not.
Maple works great too – clean look, super durable, takes a beating. Cherry is gorgeous but it will stain. If your guests spill wine on it, that stain might become permanent. I still use cherry, but I warn people.
Avoid anything with really open grain like oak or ash unless you want cheese residue living in those pores forever. And no softwoods. I tried pine once because it was cheap and I was broke. It was a disaster.
The Finish Situation
This is where people screw up most often. A charcuterie board is not a cutting board and it is not furniture. It sits somewhere in between.
Food is going to touch this thing. Cheese, meat, crackers, olives – you name it. So whatever you use has to be food safe. But unlike a cutting board, you are not chopping on it constantly, so you have more options.
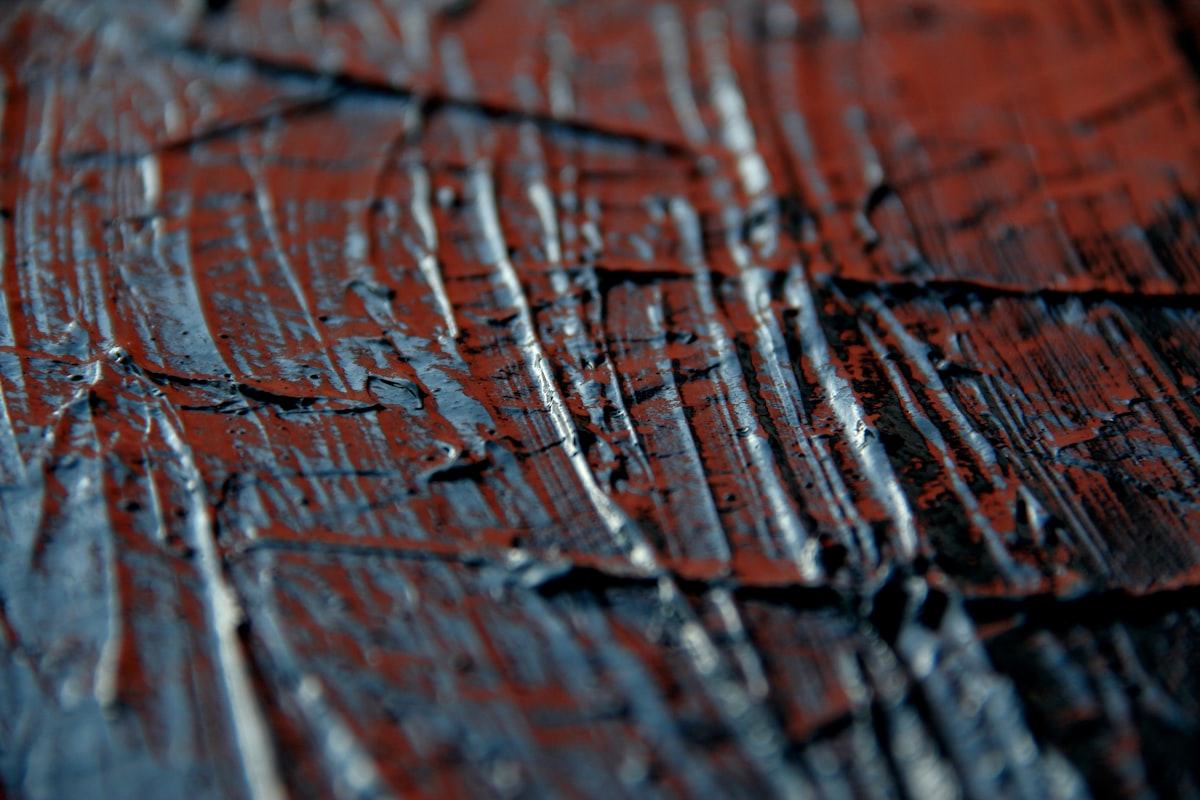
My preferred finish is a mix of mineral oil and beeswax. I heat up the oil, melt in some beeswax (about 4:1 ratio), and apply it warm. It soaks in, buffs up nice, and gives a really pleasant satin sheen without looking plasticky.
Some people use pure tung oil and swear by it. I have tried it and it works fine, but it takes forever to cure properly. Like, weeks. And until it is fully cured, it can leave a taste. I am too impatient for that.
How I Actually Finish These Boards
Okay, real talk about my process:
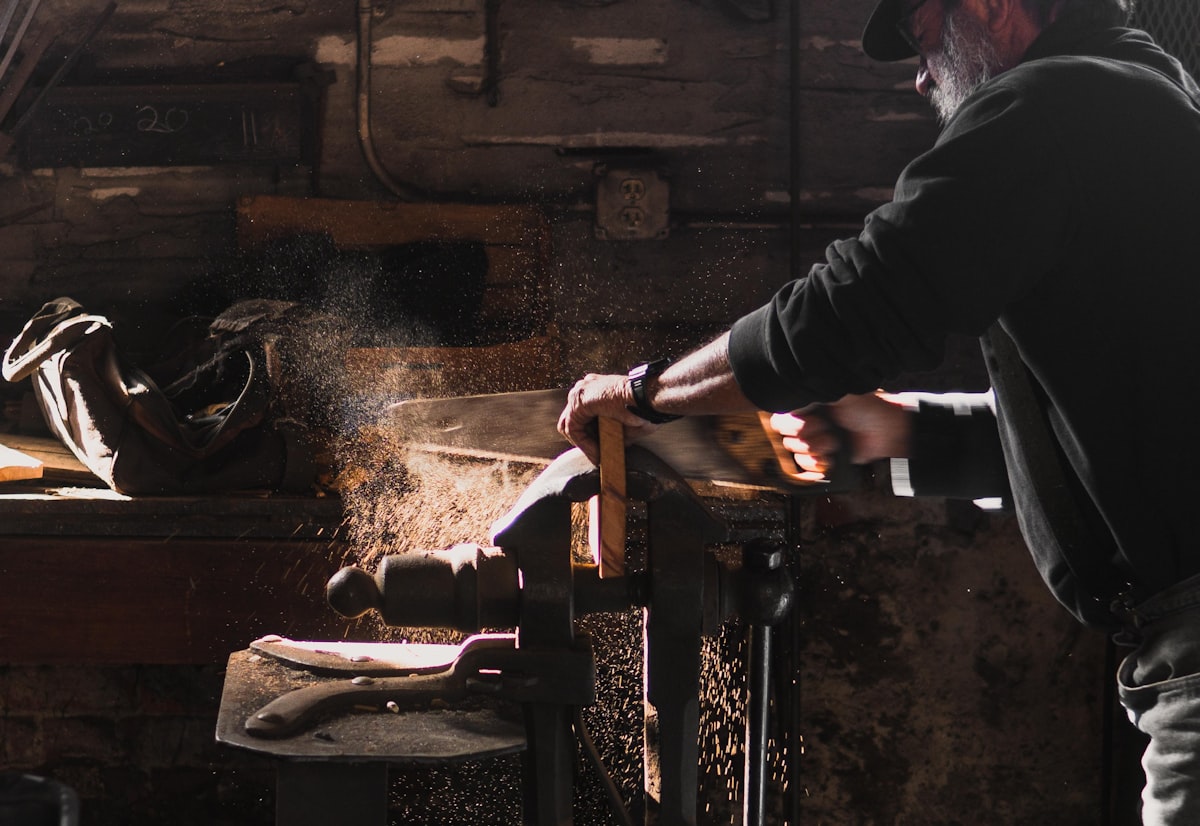
I sand to 220 grit, sometimes 320 if I am feeling fancy. Then I raise the grain with a damp cloth and do a final light sand. This step makes the finish feel way smoother.
First coat of my oil-wax mixture goes on heavy. I let it soak for about 15 minutes, then wipe off the excess. Wait overnight.
Second coat, same process but the wood absorbs less. Wait another night.
Third coat is lighter and gets buffed out until it shines. That is usually enough, but sometimes I do a fourth if the wood was really thirsty.
The whole process takes about three days. Yeah, it is slow. But the results are worth it.
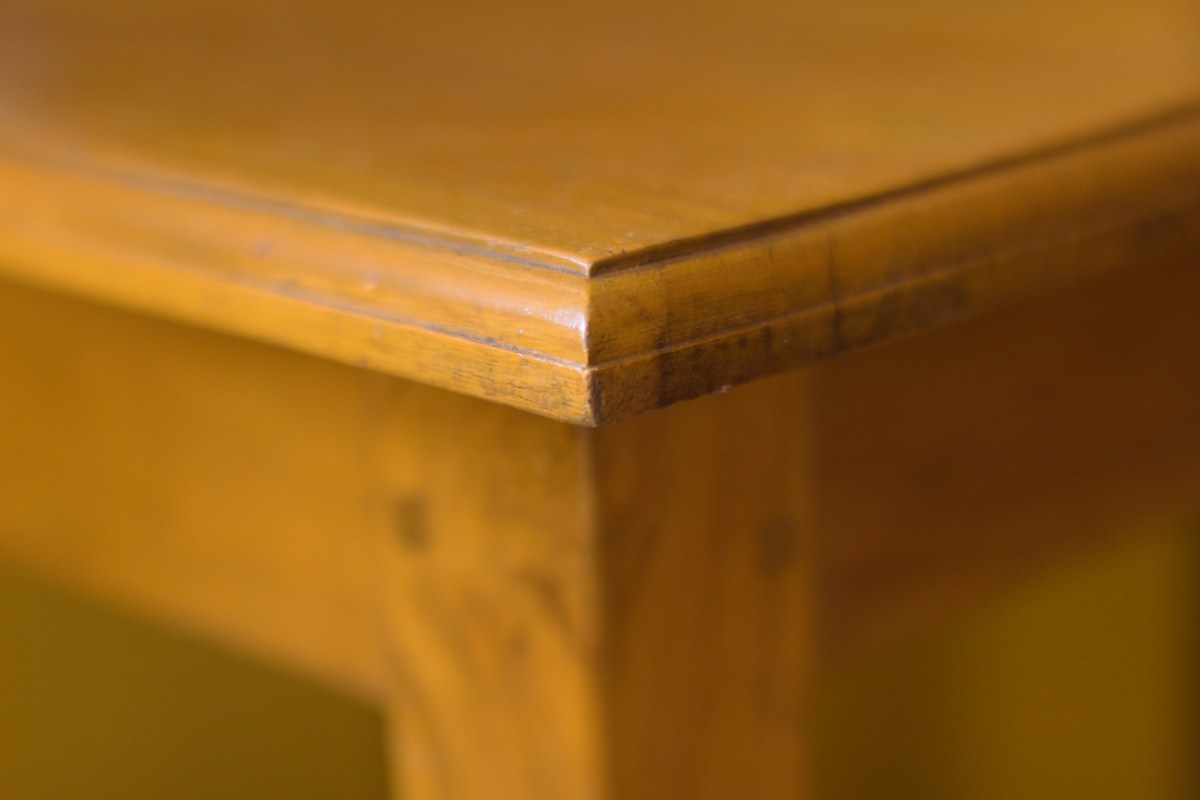
Edges and Handles
Do not forget about the edges and any handles or grooves. These areas need the same treatment as the top surface. Actually, I usually give them extra coats because they are more likely to get wet when washing.
Juice grooves are tricky. They look great but they collect moisture and are hard to dry properly. If you add them, make sure your finish game is on point and tell whoever uses the board to dry them thoroughly.
Long-Term Care
I tell everyone who gets one of my boards the same thing: treat it like you would your skin in winter. When it looks dry, moisturize it.
For most people, that means wiping on some mineral oil every month or two. More often if the board gets used a lot or if you notice water is not beading up anymore.
Never soak these boards. Never dishwasher them. Just wipe clean with a damp cloth and mild soap if needed, then dry immediately. Prop them up on edge to air dry so moisture does not pool.
The Mistakes I See All The Time
Using the wrong finish. I see boards finished with polyurethane sold at craft fairs. That stuff is not food safe, full stop. It also looks bad on this kind of project – too shiny, too plastic.
Skipping grain raising. Your board might feel smooth after sanding, but get it wet once and suddenly it is fuzzy. Raise that grain before you finish.
Not doing enough coats. One coat of oil is not a finish. It is barely a start. Do at least three.
Putting hot stuff directly on the board. It will leave a mark. Tell people to use trivets.
Making Them Look Good for Serving
This part is separate from woodworking but I get asked about it constantly so here goes:
Start with your meats and cheeses as anchor points. Space them out. Then fill in with crackers and breadsticks – these are your visual connectors. Add fruits and nuts to fill gaps and add color. Finish with small bowls of olives, mustard, or honey.
Do not pile things too high. Spread it out. Leave some wood showing. The board itself is part of the presentation, so let it be seen.
Wrapping Up
A well-finished charcuterie board should last years with basic care. I have boards I made eight years ago that still look fantastic – they just have more character now. The wood develops a patina, the finish mellows, and they become these beautiful worn-in pieces.
Take your time with the finish. Use food-safe products. Maintain it occasionally. That is really all there is to it.
Recommended Woodworking Tools
HURRICANE 4-Piece Wood Chisel Set – $13.99
CR-V steel beveled edge blades for precision carving.
GREBSTK 4-Piece Wood Chisel Set – $13.98
Sharp bevel edge bench chisels for woodworking.
As an Amazon Associate, we earn from qualifying purchases.


Stay in the loop
Get the latest fine finish wood working updates delivered to your inbox.