Cutting board finishing has gotten complicated with all the conflicting advice and Pinterest hacks flying around. As someone who’s made dozens of cutting boards over the years and nearly poisoned my family with the wrong finish once, I learned everything there is to know about what actually works. Today, I will share it all with you.
My Cutting Board Finishing Journey (With All the Screw-Ups)
So you want to finish a cutting board. Seems simple enough, right? Slap some oil on there and call it a day. That is what I thought too, before I nearly gave myself a heart attack worrying about whether I had used food-safe finish. Lesson learned the embarrassing way.
Let me walk you through what I have figured out over the years – the stuff that actually works, not the Pinterest nonsense that looks good in photos but fails in a real kitchen.
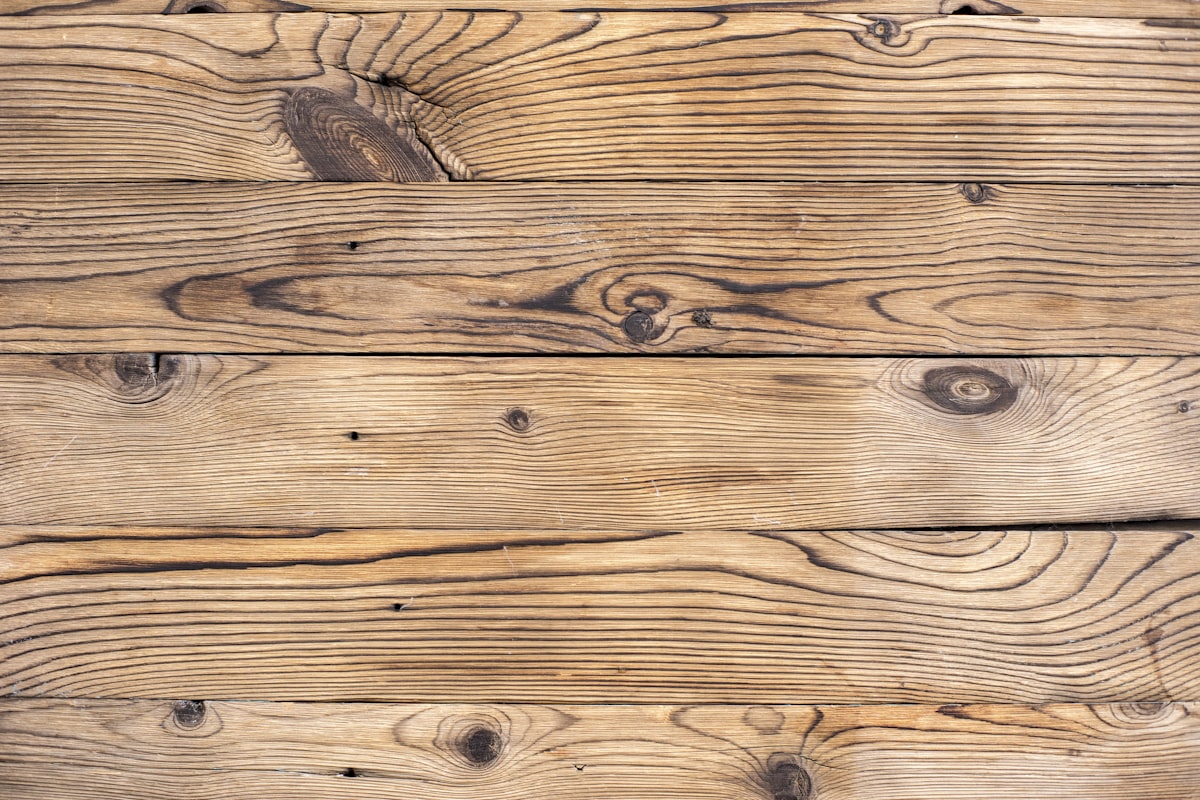
First Things First: Pick the Right Wood
Before we even talk about finishing, let us talk about what you are finishing. I have made boards from all kinds of wood, and some of them were terrible ideas.
Hardwoods are your friend here. Maple is fantastic – tight grain, does not absorb much, stays cleaner. Walnut looks gorgeous and works great. Cherry ages beautifully. Oak? Eh, it is okay but the open grain can trap stuff. Pine? Please do not. I made that mistake once. It was soft, it scored deeply, and it smelled like Christmas dinner for months.
Whatever you choose, make sure it has not been treated with anything weird. Reclaimed wood can be sketchy unless you know its history.
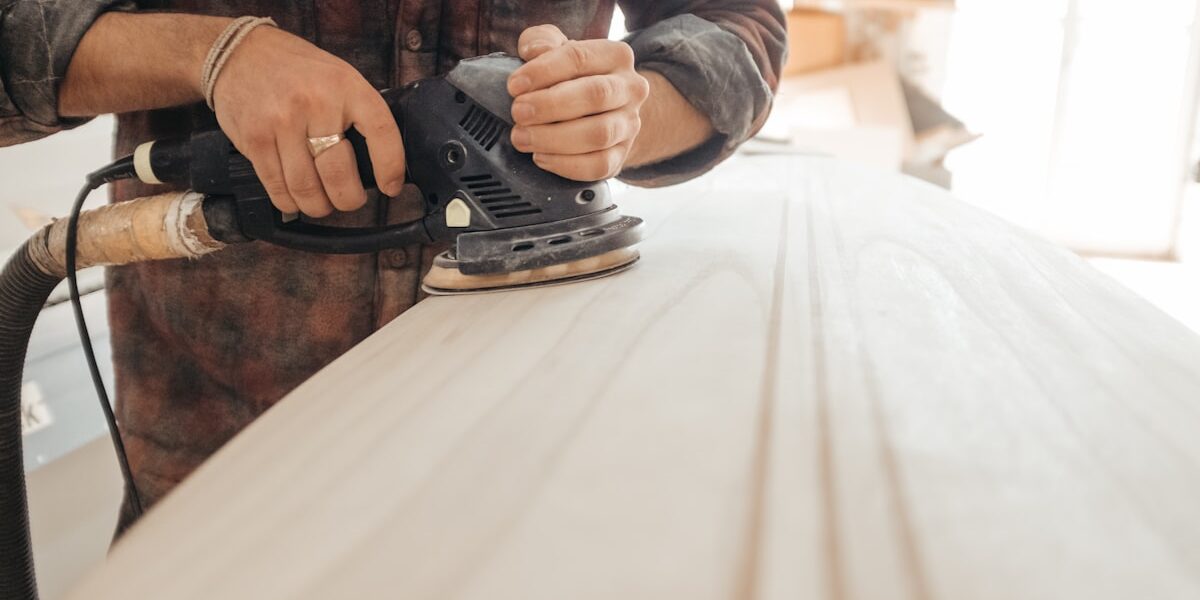
The Sanding Nobody Wants to Do
Probably should have led with this section, honestly. Here is where most people cut corners, including me on my first few boards. You have got to sand properly or your finish will look and feel terrible.
I start at 80 grit if the surface is rough, otherwise 120. Then 150. Then 220. Always sand with the grain. Against the grain leaves scratches that show up the moment you apply any finish. Ask me how I know.
After sanding, wipe everything down with a barely damp cloth. This raises any stray fibers. Let it dry, then do one more quick pass with 220. Now you are ready for finish.
What Actually Works: The Finish Options
Forget fancy. For cutting boards you need food-safe and you need it to penetrate. Here is what I use:
Mineral oil is the workhorse. That’s what makes mineral oil endearing to us kitchen woodworkers. It is cheap, available everywhere (yes, the stuff from the pharmacy works), and dead simple. The downside? It does not dry, so it needs regular reapplication. I oil my daily-use boards every month or so.
Beeswax and mineral oil combo is my preferred finish for boards I give as gifts. The wax adds a bit of water resistance and a nice sheen. You can buy it premixed or make your own – just melt beeswax into warm mineral oil, about 1 part wax to 4 parts oil.
Walnut oil is interesting. It actually dries, unlike mineral oil, which means longer-lasting protection. But here is the catch – it can go rancid if you use the wrong kind. Get refined walnut oil, not the fancy cold-pressed stuff from the grocery store.
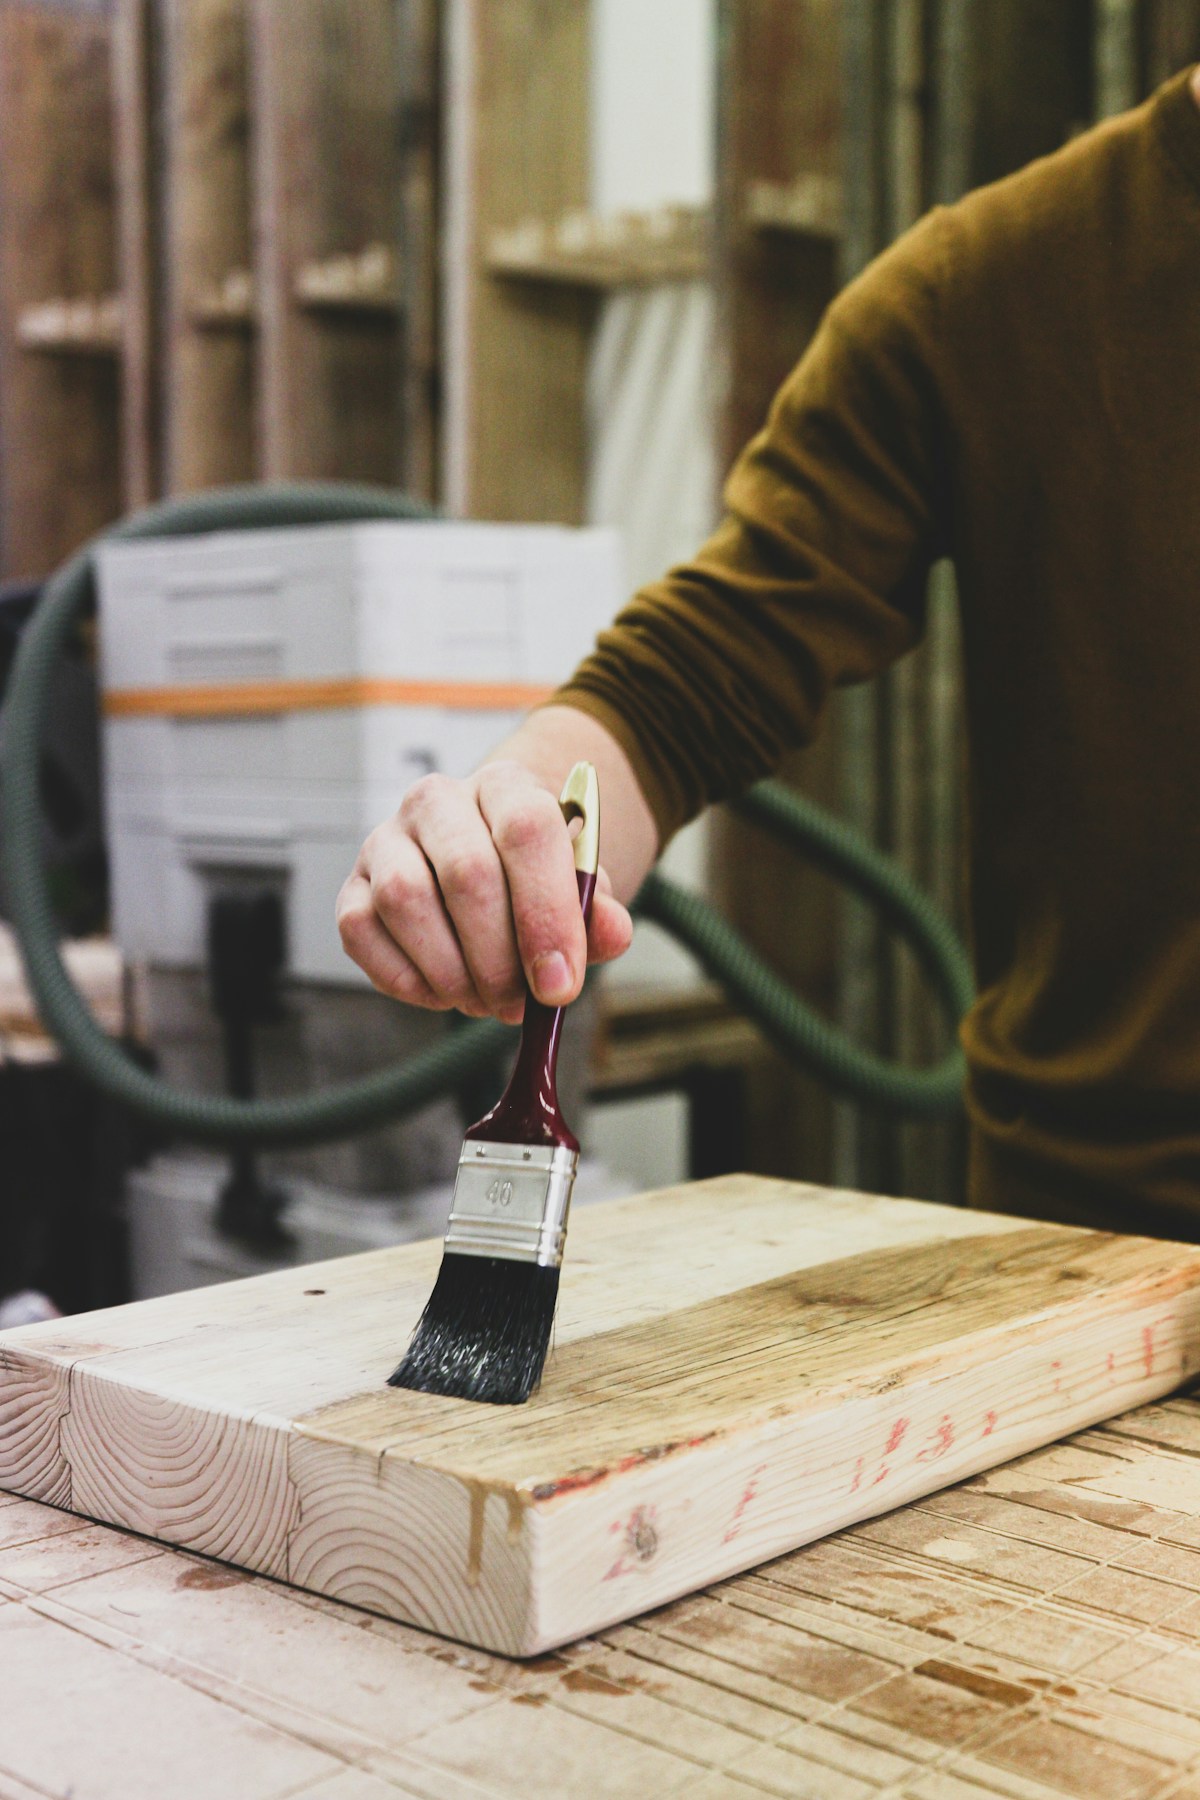
How I Apply the Finish
Pour a generous puddle on the board. Spread it around with a clean rag or your hands if you do not mind getting messy. Let it soak in for 15-20 minutes. Wipe off the excess. That is it.

I usually do 2-3 coats on a new board, waiting a few hours between coats. The wood will drink up the first coat like it is dying of thirst. Subsequent coats soak in less.
For the beeswax mixture, warm it slightly if it is too thick to spread easily. Apply it the same way, but buff it out after it sets for a few hours. You want a smooth finish, not waxy buildup.
The Maintenance Nobody Tells You About
A finished cutting board is not done forever. It is done until next month.
After every use, I wash mine with soap and water. I know some people freak out about soap on wood, but it has never caused me problems. Just do not soak it. Wet it, scrub it, rinse it, dry it. Done.
When the board starts looking dry or the water stops beading up, it is time for more oil. This might be monthly for heavy use, or every few months for display boards that barely see action.
Never, ever put a wooden cutting board in the dishwasher. I should not have to say this, but a friend of mine learned this lesson when his beautiful maple board warped into a potato chip shape.
Bringing Old Boards Back to Life
Got a cutting board that looks rough? It happens. Here is the rescue mission:
Sand down the whole surface. Start at 120 and work up to 220. This removes knife marks, stains, and old dried-out finish. You are basically starting fresh.
Wipe it clean and reapply your finish of choice. Multiple coats. The old, dried-out wood will soak up oil like crazy.
I have brought back boards that looked ready for the trash. It is weirdly satisfying.
What Not to Do
I have made enough mistakes to fill a book. Here are the highlights:
Do not use vegetable oil or olive oil. They go rancid and your board will smell like a dumpster.
Do not use any finish with harsh chemicals, varnish, or polyurethane. Food touches this surface. Think about that.
Do not over-oil. If the surface stays greasy after wiping, you used too much. Let it sit longer next time before wiping.
Do not leave a wet board standing on edge in a dish rack. Water pools at the bottom and you get weird expansion. Lay it flat to dry.
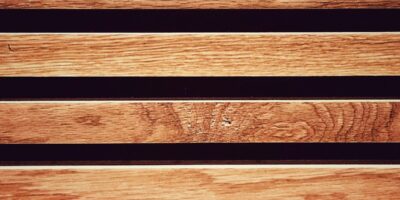
End Grain vs. Edge Grain
Quick note on board types since it affects finishing. End grain boards – the ones that look like a checkerboard – are more absorbent. They will take more oil initially but tend to be more forgiving of knife marks. Edge grain boards use less oil but show cuts more easily.
Same finishing process either way. Just expect the end grain to drink more on that first coat.
Final Thoughts
Finishing a cutting board is not complicated, but it does require you to use the right stuff. Stick with food-safe oils, maintain it regularly, and your board will last decades. I have boards I made ten years ago that still look great and get used every day.
Start with mineral oil if you are new to this. It is foolproof and cheap. Graduate to beeswax mixtures when you want to get fancy. And whatever you do, skip the Pinterest hacks with coconut oil and essential oils. Your nose will thank you.


Stay in the loop
Get the latest fine finish wood working updates delivered to your inbox.