Why Your Finish Feels Rough Even After Sanding
Wood finishing has gotten complicated with all the conflicting advice flying around. Sand it smooth, people say. Just apply your finish. Two hours later you run your hand across the surface and it feels like 60-grit sandpaper. That was not the plan.
That rough, fuzzy texture is raised grain. It’s the reason most first-timers end up re-sanding between every coat — or worse, scrapping the whole project and starting over. Water raises wood fibers. Water-based stains do it. Water-based poly does it. Even a damp cloth does it. The fibers swell, lift off the surface, and lock in place the moment your finish dries around them.
Skip the grain-raising step upfront and you’re fighting texture through the entire finishing process. Get it right before coat one, and your final surface sits smooth.
What Raising the Grain Before Finishing Actually Does
But what is grain-raising, exactly? In essence, it’s deliberately wetting bare wood before any finish touches it. But it’s much more than that — it’s about controlling when the swelling happens so you can sand it flat on your own terms.
It sounds backwards. Why introduce water if water is the problem?
Because timing is everything. When you dampen the surface yourself, the fibers swell and lift while the wood is still bare and workable. You sand those lifted fibers flat while they’re raised. Once they dry and shrink back, they settle into a smooth state. When your finish — which also contains water — hits that surface later, the grain doesn’t lift again. The fibers already went through the whole process. They’re done.
This matters most with water-based finishes, water-based stains, and anything on the label that says “soap and water cleanup.” Oil-based polyurethane and lacquer raise grain less aggressively, so plenty of woodworkers skip this step for those products. Pure oil finishes like tung or Danish oil almost never raise grain noticeably. But good practice? Do it anyway when water is involved. Takes five minutes. Eliminates a problem that’s genuinely annoying to fix after the fact.
How to Raise the Grain the Right Way Step by Step
Probably should have opened with this section, honestly. Here’s the actual process.
Start with your wood sanded to your final grit — 180 or 220 for most projects. Don’t go finer than that unless you’re building high-end furniture. Finer grits can burnish the surface and make grain-raising less effective, which defeats the whole point.
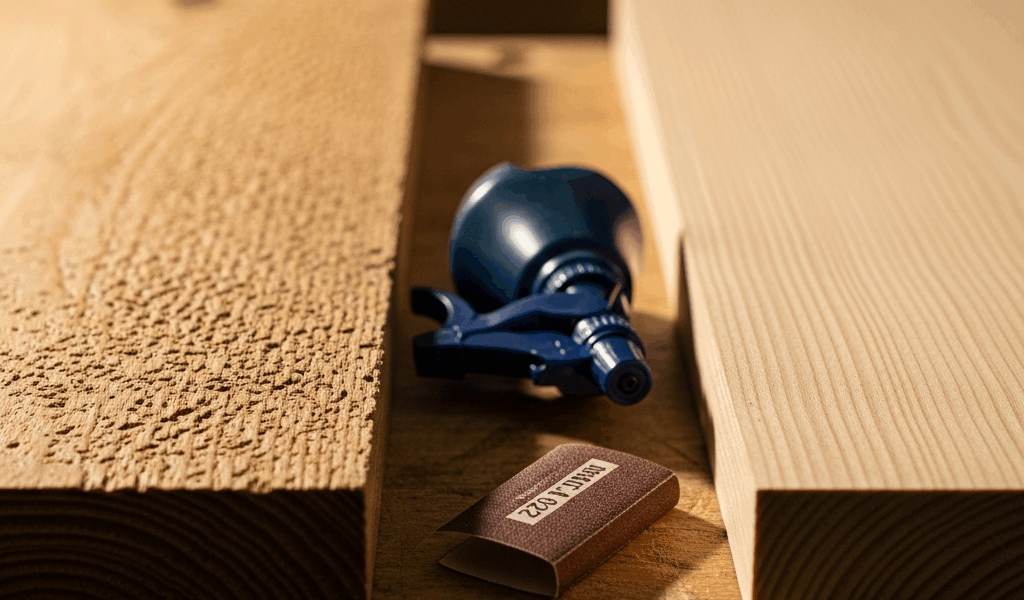
Get a clean cotton rag. I use old t-shirt scraps cut into roughly 10-inch squares, which work better than those cheap blue shop towels from the hardware store. Run it under lukewarm tap water and wring it out thoroughly. It should feel damp, not dripping. If water pools on the wood, you’ve used too much.
Wipe the entire surface evenly. Don’t skip edges or inside corners. One pass is usually enough. The goal is enough moisture to swell the fibers — not to soak the wood through or raise the grain in blotchy uneven patches.
Now wait. One to two hours minimum. I usually move the piece into a warm room or park a small box fan nearby to speed drying. Touch the surface occasionally. When it feels genuinely dry — not just surface-dry, but actually dry — you’re ready.
Sand lightly with 220-grit. This is not aggressive sanding. You’re not removing material or cutting back to fresh wood. You’re knocking down the fuzzy lifted fibers, nothing more. Think of it as a light brushing rather than a real sand pass. Thirty seconds per panel usually does it. Your hand should glide across the surface, not push into it.
Wipe off all dust with a tack cloth or a barely damp rag. Make sure the surface is actually clean — dust trapped under finish shows up immediately and looks terrible.
Apply your stain or first finish coat. The surface will feel smooth. It will stay smooth through the drying process. That’s the whole thing. So, without further ado, let’s dive into when you actually need to do this.
When You Should and Should Not Raise the Grain
Raise the grain before water-based polyurethane. Do it. Non-negotiable if you want a smooth final coat. I’m apparently sensitive to texture and Minwax water-based poly works for me while skipping this step never does.
Raise the grain before water-based stain. Also do it. Stain raises grain badly, and the wood needs to be prepared beforehand or the fuzz gets locked into the color layer where it’s almost impossible to fix cleanly.
Raise the grain before any water-cleanup finish. Same logic applies across every water-based product on the shelf.
Oil-based poly? Optional — but I do it anyway. Takes five minutes and eliminates a problem that might not even happen. Why risk it on a project you’ve already spent hours on?
Pure oil finishes like tung or Danish oil? Skip it. These products don’t carry enough water to raise grain noticeably. You’re adding a step that doesn’t help anything.
Wood species matters too. Pine and cherry raise grain easily and visibly. Maple raises grain much less. Ash sits somewhere in the middle. Soft woods benefit most from this step. Hardwoods less so, though the benefit still exists.
Project type is worth considering. Furniture and cabinet doors? Raise the grain — these get handled and examined up close. Shop fixtures or utility builds? Probably not worth the time. A garage workbench with a slightly textured finish looks lived-in, not ruined. That’s what makes this technique endearing to us finish-obsessed woodworkers: it’s reserved for pieces that actually deserve it.
Mistakes That Make Raised Grain Worse, Not Better
Frustrated by a first water-based stain job that came out textured and blotchy, I soaked a nice piece of walnut to “really get the grain up,” then sanded aggressively the next morning using 150-grit. I cut straight through to fresh, unraised fibers and had to start completely over. Don’t make my mistake.
Mistake one: using too much water. A damp rag. Not a wet rag. Not a soaked rag. Water pools lead to uneven grain raise, which leads to blotchy stain absorption. Control the moisture — it matters more than you think.
Mistake two: skipping dry time. Some people dampen the wood and immediately start sanding while it’s still wet. You’re not removing the fuzz at that point — you’re compacting it. It springs back the moment your finish dries. Wait for full dryness. Actually wait.
Mistake three: sanding too aggressively after raising. This is the one that destroyed my walnut piece. You’re not doing a real sand pass. You’re barely touching the surface. Light pressure, light touch, light results — and light results are exactly what you want here.
The sequence fixes everything: sand to final grit, dampen lightly with a wrung-out rag, wait to dry completely, sand gently with 220, wipe the dust away, apply finish. Five steps. That’s it.


Stay in the loop
Get the latest fine finish wood working updates delivered to your inbox.