
Mixing custom stain colors sounds intimidating, but it’s simpler than most woodworkers expect. Here’s a quick primer on getting exactly the color you want.
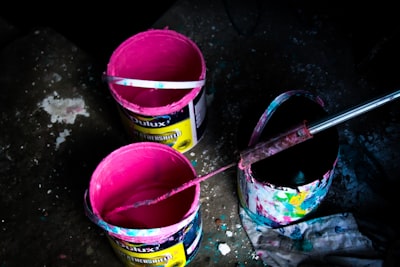
Start With Base Colors
Keep three stain colors on hand: a warm brown (like Early American), a cool brown (like Jacobean), and raw umber or black for adjustments. With these three, you can create nearly any brown tone.
The 10% Rule
When mixing, add the darker color in small increments – around 10% of the total volume at a time. It’s easy to darken a stain but impossible to lighten it without adding more of the base color.
Test Before Committing

Always make test samples on the actual wood species you’ll be finishing. Stains look different on pine versus oak versus maple. What looks perfect on one species may be completely wrong on another.
Keep Notes
Document every custom mix. Write down exact ratios: “4 parts Early American + 1 part Jacobean + splash of Golden Oak.” You’ll need to recreate this mix for touch-ups later.
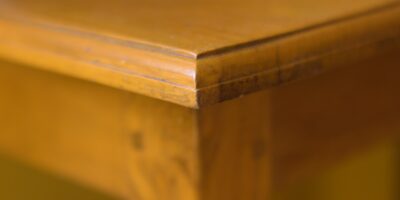
Consider the Topcoat
Oil-based polyurethane adds amber warmth. Water-based finishes stay clearer. If your final topcoat will be oil-based, account for that yellowing when mixing your stain. The stain that looks perfect under raw finish may look too warm under oil poly.
Custom mixing takes experimentation, but once you understand how colors interact, you’ll never be limited to whatever happens to be on the store shelf.


Stay in the loop
Get the latest fine finish wood working updates delivered to your inbox.