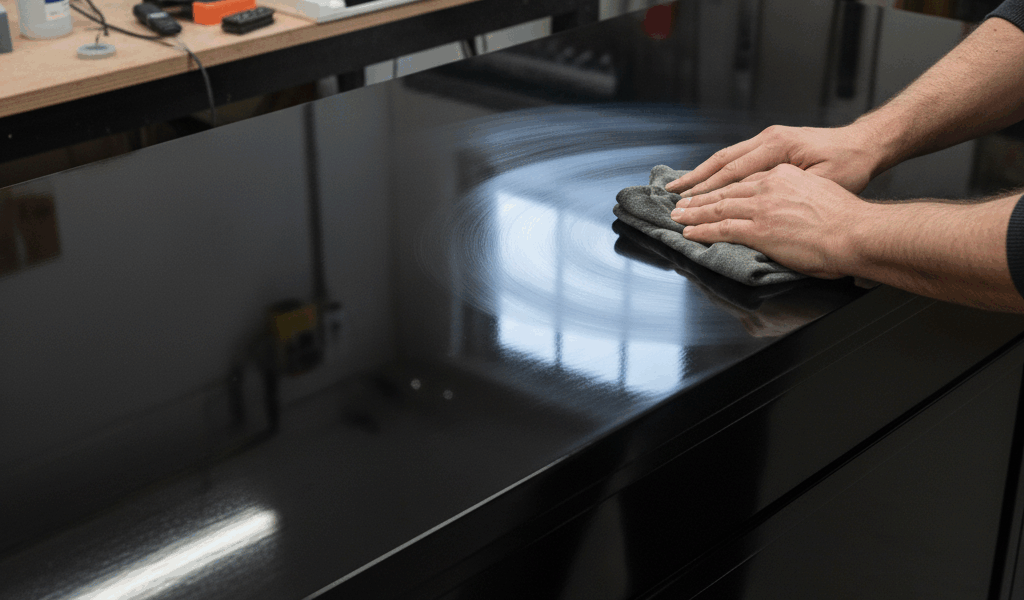
The Finish That Commands Premium Prices

Walk into a high-end furniture showroom and find the piano-black table. Check the price tag. Now you understand why finishers who can achieve this look charge what they charge. That mirror-perfect, depth-of-space black surface represents the pinnacle of finishing skill.
The technique isn’t a secret. Any skilled finisher can learn it. But the process demands patience, precision, and acceptance of no imperfections. A single dust particle can ruin hours of work. A rushed coat can require starting over completely.
Why Piano Black Is So Difficult
Black hides nothing. On stained wood, variations in color add visual interest. On black, any variation is a flaw. Dust particles that disappear in brown finish glow white against black. Sanding scratches invisible in other colors become obvious. Orange peel that passes on cabinets screams on piano black.
The finish must be absolutely flat—not approximately flat. Any waviness in the surface distorts reflections, destroying the mirror effect that defines the look. This requires either perfectly flat substrates or pore filling that creates perfect flatness.
The finish must be absolutely uniform in sheen. Any variation in gloss level creates blotchy, unprofessional results. This requires meticulous spray technique and equally meticulous rubbing out.
Proper Surface Preparation
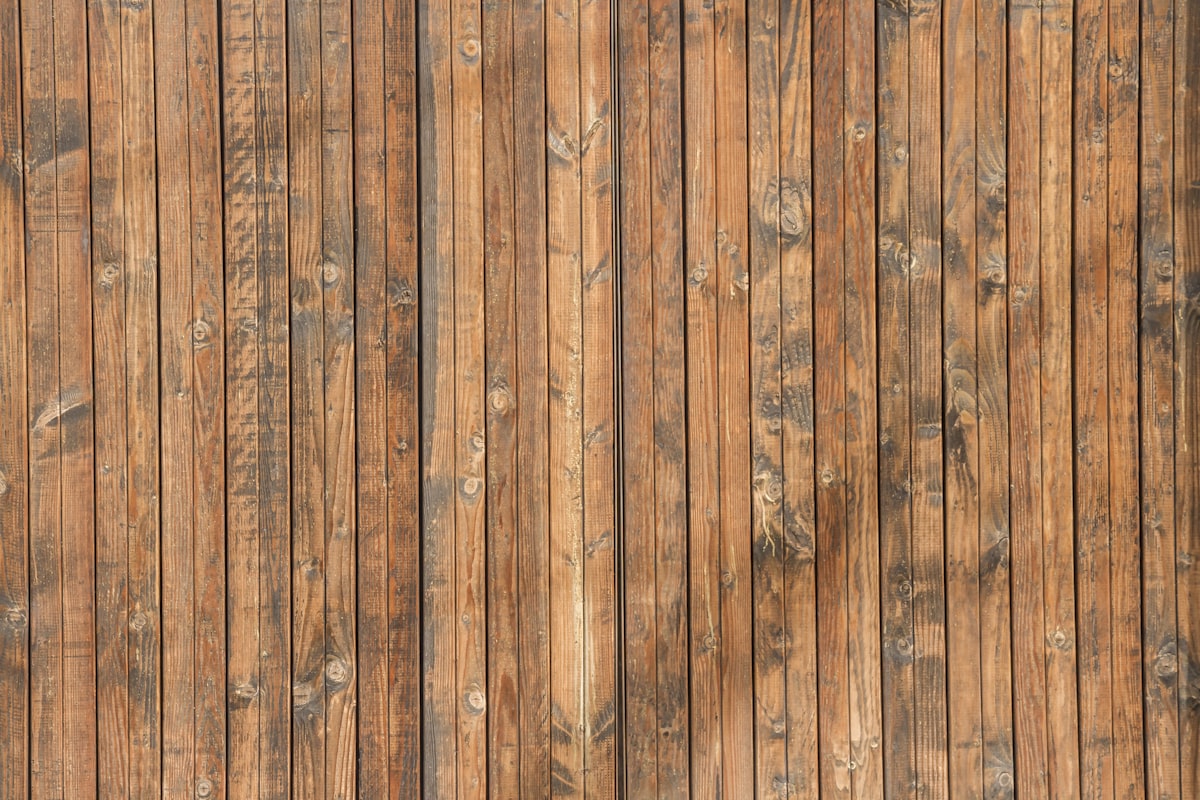
Piano black typically goes on MDF, veneered panels, or solid wood with filled pores. The substrate must be flat and smooth before any finish touches it.
For MDF, sand to 180 grit and seal thoroughly. MDF has different densities at the surface and core—edges especially must be sealed to prevent telegraphing through the finish.
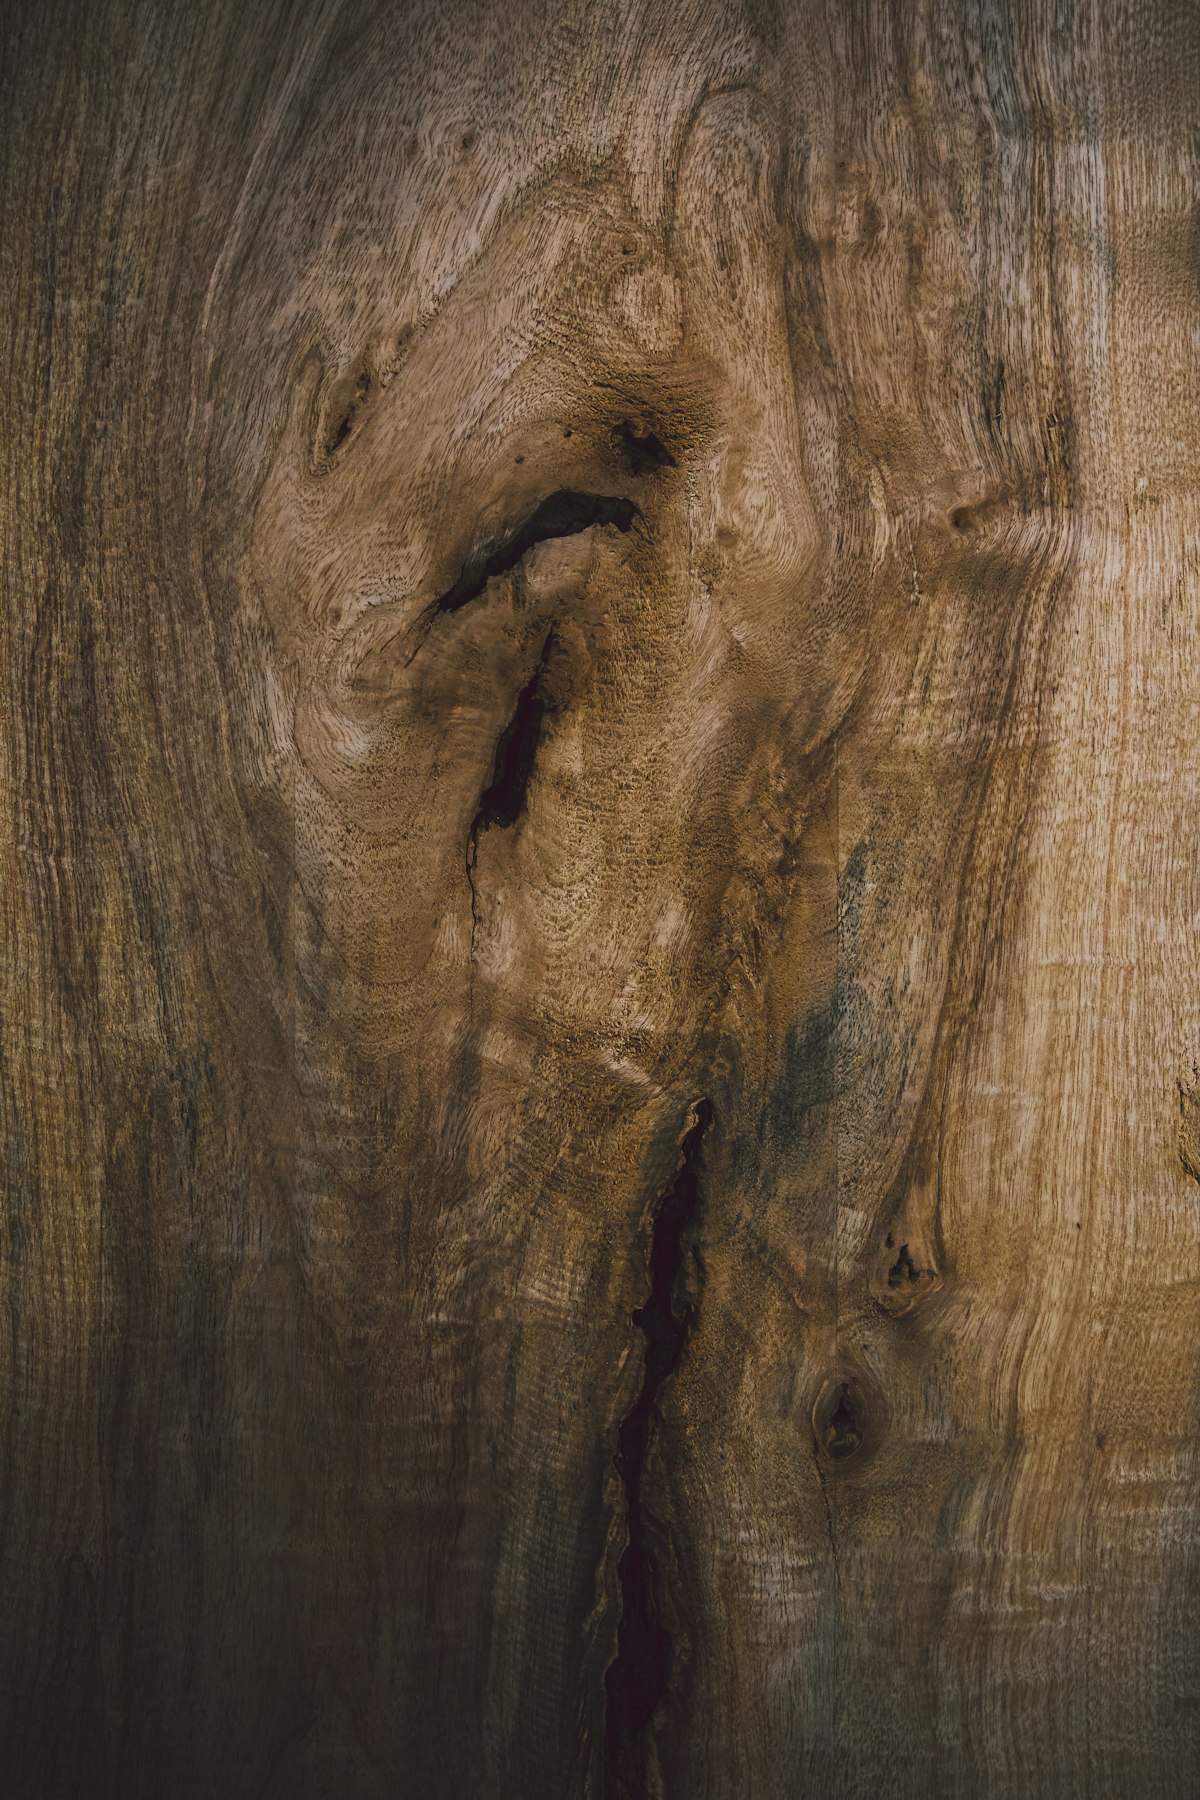
For wood, fill all pores completely using black-tinted paste filler. Any unfilled pore becomes a visible crater in the final finish. Sand the filled surface dead flat, then verify flatness against a straightedge and raking light.
Building the Finish
Primer/sealer coats: Apply automotive-grade primer or catalyzed lacquer primer in multiple thin coats. Sand between coats with 320 grit. Build enough thickness to create a solid foundation—typically 4-6 coats.
Block sanding: Using a flat sanding block and 320-grit paper, sand the primer absolutely level. Check flatness frequently. Low spots need more primer; high spots need more sanding. This stage is critical—any waviness here becomes permanent waviness.
Color coats: Apply black lacquer in thin, even coats. Piano black requires catalyzed lacquer or automotive lacquer—standard nitrocellulose isn’t durable enough and may shrink over time, revealing imperfections. Build 6-8 color coats with light 400-grit scuff sanding between.
Clear coats: Apply 4-6 coats of clear catalyzed lacquer over the black. This provides depth and protection. The clear coat is what you’ll rub out—the color coats should never be touched by abrasives.
The Environment Factor
Dust is the enemy. Professional piano finish work happens in dedicated spray booths with positive-pressure filtration. Without this environment, you’ll sand out more dust nibs than you want to count.
For shop work, prepare carefully: wet-mop the floor, hang damp cheesecloth to catch airborne dust, wear a clean tyvek suit, and spray when air movement is minimal. Each precaution prevents hours of corrective sanding.
The Rubbing Out Process
After full cure (minimum two weeks for catalyzed lacquers), begin the rubbing out sequence. This is where piano black either succeeds or fails.
Wet-sand progressively from 1000-grit through 5000-grit. Each grit must completely remove scratches from the previous grit. Any scratch remaining becomes a white line against the black background. Work slowly, inspect constantly.
Follow with rubbing compound, polishing compound, and finishing polish. The progression from matte to mirror happens gradually. Don’t rush—incomplete polishing leaves haze that shows on black when it would hide on other colors.
Final wax application should use a pure carnauba-based product. Apply thin, buff completely, and inspect under multiple light sources.
The Cost Reality
Materials for piano black finishing cost more than standard finishing—catalyzed lacquers, automotive papers and compounds, quality spray equipment. Labor time runs 10-20 times longer than standard finishing for the same surface area.
Professional shops quote piano black work at significant premiums because the technique deserves significant premiums. The $10,000 premium on a piano-black dining table reflects hundreds of hours of skilled work and absolute rejection of anything less than perfection.
When Piano Black Makes Sense
Consider piano black for formal furniture, display pieces, and architectural elements where drama matters. The finish commands attention and elevates any piece it covers.
Consider other approaches when budget matters, durability concerns exist (piano black shows every fingerprint and scratch), or the piece will be used casually. The maintenance demands of piano black make it impractical for many applications.
Mastering this technique takes years. But even your first attempt teaches lessons about precision, patience, and pursuing perfection that improve all your finishing work.


Stay in the loop
Get the latest fine finish wood working updates delivered to your inbox.