I spent probably my first two years of finishing using nothing but spray cans and disposable brushes because the idea of actually learning proper brush technique seemed intimidating. Then I watched a finish carpenter spend ten minutes brushing oil varnish onto a door and making it look absolutely flawless. No brush marks, no drips, just glass. That is when I realized I had been doing it all wrong.
Picking the Right Tool for the Job

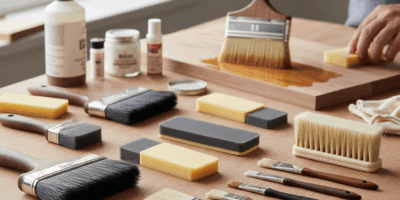
Let me save you some confusion. Natural bristle brushes – the ones made from hog hair or ox hair – are for oil-based finishes. Period. Put them in water-based finish and they get floppy and useless. Synthetic brushes – nylon or polyester – work with water-based and can also handle oil-based. When in doubt, synthetic is the safer bet.
Cheap brushes are false economy. I learned this spending ten bucks on a brush every project because they fell apart or left bristles in my finish. A twenty-five dollar Purdy or Corona brush lasts for years if you clean it properly. That is maybe fifty cents a project over its lifetime. Worth it.
How do you know if a brush is good? Grab the bristles and tug gently. Nothing should come out. Flex them against your palm – they should spring back, not stay bent. Look at the tips – quality brushes have flagged (split) ends that help with smooth application.
The Actual Brushing Technique
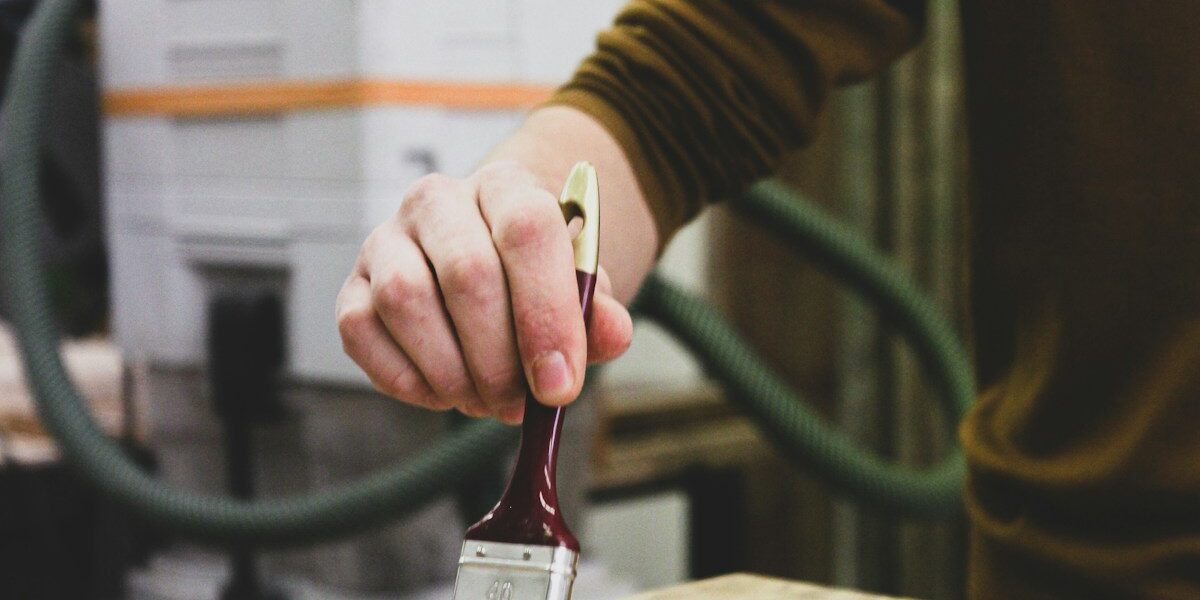
Here is the thing nobody told me for years: you dip the brush, you do not drag it across the rim of the can. Dragging across the rim removes too much finish and puts air into what is left on the brush. Both are bad. Dip maybe a third of the bristle length into the finish, tap gently against the inside of the can to remove excess, and that is it.
Apply with the grain in long, even strokes. Do not press hard – let the brush do the work. Overlap your strokes slightly but do not go back over areas that are starting to get tacky. Once finish starts to set up, leave it alone. Going back into it just makes things worse.
Tipping off is where the magic happens. After laying down your coat, come back with an almost-dry brush and make light passes with just the tips of the bristles. This levels brush marks and pops any bubbles. Always tip off in one direction, lifting the brush at the end of each stroke.
When Wiping Makes More Sense

Brushing is great for film finishes like poly and varnish. But for penetrating oils – tung oil, Danish oil, linseed oil – wiping makes more sense. You are not trying to build a film on the surface, you are trying to soak oil into the wood.
I use old cotton t-shirts cut into squares. Flannel works too. Whatever you use, make sure it is lint-free or you will be picking fuzz out of your finish. Soak the rag with finish, wipe it across the wood liberally, let it soak for ten to thirty minutes depending on the product, then wipe off all the excess. Really all of it. Leaving wet spots leads to sticky patches.
Come back in half an hour and wipe again to catch any oil that bleeds back out of the pores. This is especially important on open-grained woods like oak.
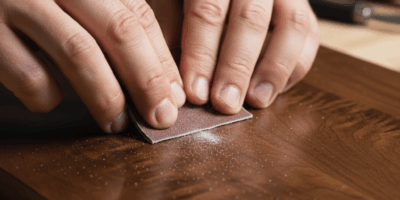
The wet sanding trick: on your final coat of oil, apply it and immediately wet sand with 400 or 600 grit. The sanding dust mixes with the oil to create a slurry that fills the pores and polishes the surface. Wipe off while still wet. The result is glass-smooth.
Foam Brushes and When They Work
I used to be a foam brush snob. Thought they were for amateurs. Then I started using them for specific applications and changed my mind.
Foam brushes are great for applying thin, even coats to flat surfaces. The poly wipe-on technique I use? Foam brush to apply, rag to spread it out. Also good for getting finish into corners and details before brushing the flat areas. And for applying stain where you want consistent coverage.
Where they fall short: thick finishes, vertical surfaces, and any situation where you need to lay down a lot of material. They also create bubbles in some finishes that bristle brushes do not. Test on scrap.
French Polishing – Worth Learning
This is an old technique using shellac and a cloth pad. Takes forever. Requires practice. But the results can be stunning – that deep, mirror-like finish you see on antique furniture and fine guitars.
I am not going to pretend I am an expert. I have done maybe a dozen pieces with French polish over the years. The basics: make a pad from cotton batting wrapped in a cotton cloth. Charge it with shellac (thin, like a 1-pound cut). Apply in circles or figure-eights with light pressure, never stopping on the surface. A tiny bit of mineral oil on the pad face keeps it from sticking.
You build the finish in micro-thin layers. Many many layers. A proper French polish job takes multiple sessions over days or weeks. The depth and clarity are unlike anything else, but man is it labor intensive. I save it for special pieces.
The Real Secret
Here is what nobody tells you: ninety percent of getting good at hand-applied finishes is just doing it. Reading about brush technique is fine but the feel of how the brush moves through finish, how much to load, when to stop – that comes from practice.
Start with scrap wood. Same species as your project. Apply finish the way you plan to on the real piece. Pay attention to what works and what does not. Make mistakes on the cheap wood where it does not matter.
I still do test pieces before big projects. Sometimes I am trying a new product. Sometimes I just want to dial in my technique. There is no shame in practicing. The pros do it too.
The good news is that hand-applied finishes are forgiving. Messed up a brush stroke? Let it dry, sand it smooth, apply another coat. Runs and drips? Sand them out and try again. You are not going to ruin anything permanently as long as you are willing to sand and redo.
Start with wipe-on finishes – they are the most forgiving. Graduate to brushed poly once you have some confidence. Try French polishing if you want a challenge. Each technique has its place and learning all of them makes you a better finisher.


Stay in the loop
Get the latest fine finish wood working updates delivered to your inbox.