
The Damage Everyone Dreads
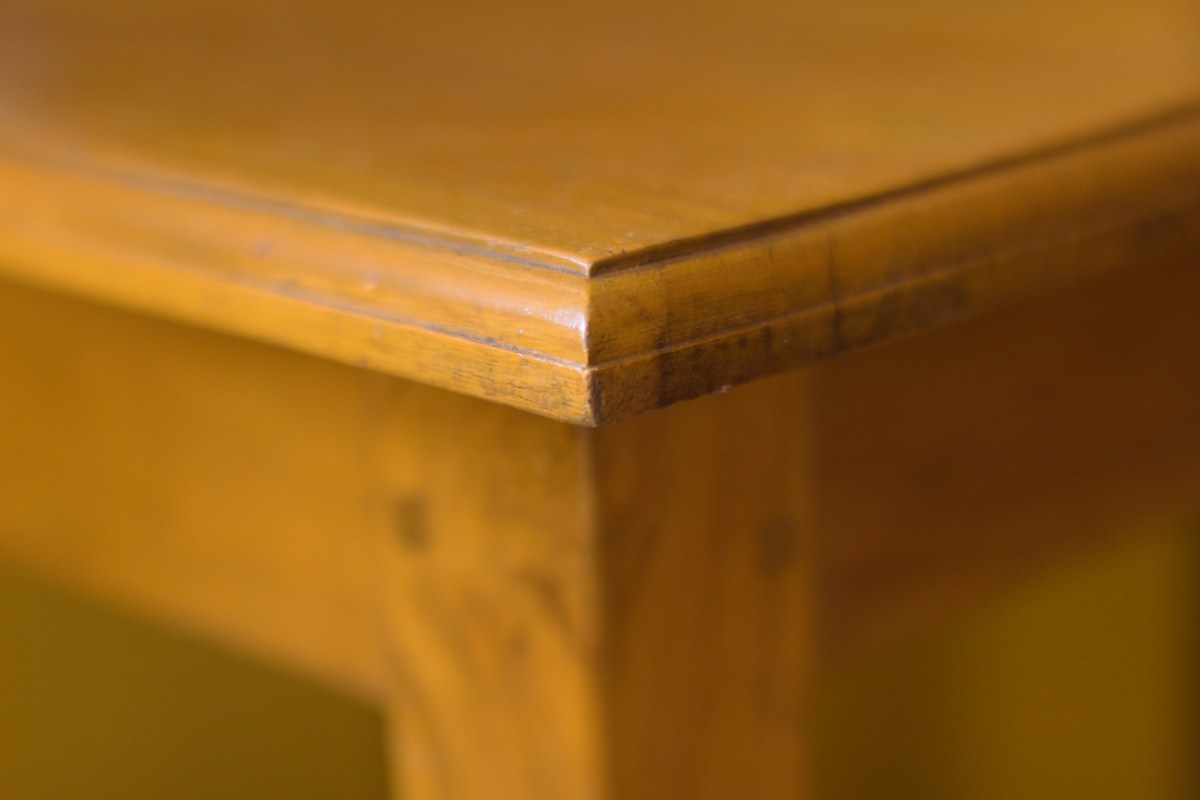
You set a cold glass on your grandmother’s mahogany table for thirty seconds. When you pick it up, a perfect white ring stares back at you. Or the cat drags something across your newly finished desk, leaving scratches visible from across the room.
These moments create panic. The immediate assumption: refinishing required. But most surface damage can be repaired invisibly without stripping a single square inch. Understanding why damage appears the way it does reveals how to reverse it.
Why Water Rings Turn White
That white ring isn’t etched into the wood. It’s moisture trapped within the finish layer itself. Cold surfaces cause condensation, and that moisture gets pulled into the finish film through microscopic pores. The trapped water droplets scatter light differently than the surrounding clear finish, creating the white appearance.
Since the damage is in the finish rather than the wood, the solution involves removing that trapped moisture—not removing the finish.
The Heat Method That Actually Works

Moisture escapes when given a path. Heat opens the finish pores and drives moisture out. Here’s the technique I’ve used successfully for twenty years:
Step 1: Set your iron to medium-low. Too hot damages the finish further. You want warmth, not scorching. Cotton or wool setting typically works.
Step 2: Place a clean cotton cloth over the ring. Old t-shirts work perfectly. The cloth protects the finish from direct contact while allowing heat transfer.
Step 3: Move the iron slowly. Keep it moving in small circles over the damaged area. Never let it sit still. After 10-15 seconds, lift and check. The white should begin fading as moisture escapes.
Step 4: Repeat as needed. Some rings require multiple passes with cooling time between. Patience matters more than heat intensity.
For stubborn rings, add a small amount of paste wax to the cloth before ironing. The wax helps seal the opened pores after moisture escapes, preventing recontamination.
The Alternative: Mayonnaise Overnight
This sounds absurd but works through sound chemistry. Mayonnaise contains oil that penetrates the finish and displaces trapped water. Apply a thick layer over the white ring, cover with plastic wrap, and leave overnight. Wipe clean in the morning. Many rings simply disappear.
The same principle applies to petroleum jelly, but mayonnaise works faster due to its emulsified structure. I’ve seen decades-old rings vanish with this technique.
Scratch Repair Categories
Scratches require different approaches depending on depth:
Surface scratches (in the finish only): These haven’t reached wood. They appear lighter because rough scratch surfaces scatter light differently. Smoothing and recoating makes them invisible.
Through scratches (into the wood): These have broken through the finish into the wood fiber. Color and finish both need replacement.
Test depth by running a fingernail across the scratch. If you feel a catch, it’s likely through the finish. If the surface feels smooth but the scratch is visible, it’s surface-only.
Surface Scratch Elimination
For scratches in the finish only, the repair is straightforward:
Method 1: Amalgamator. Lacquer thinner or commercial amalgamator products slightly dissolve the surrounding finish, which then flows into the scratch and self-levels. Apply with a fine brush along the scratch line only. Work quickly—these products evaporate fast.
Method 2: Rub and polish. Fine automotive rubbing compound (2000 grit equivalent) followed by polish removes material around the scratch until the surface levels out. This works for shallow scratches in thick finish coats.
Through-Scratch Repair
When scratches reach wood, color replacement comes first:
Step 1: Clean the scratch. Remove any wax or debris with naphtha on a cotton swab.
Step 2: Apply matching color. Furniture touch-up markers, wax fill sticks, or thinned stain applied with a fine brush can fill the scratch with appropriate color. Match the darkest grain color visible in the scratch.
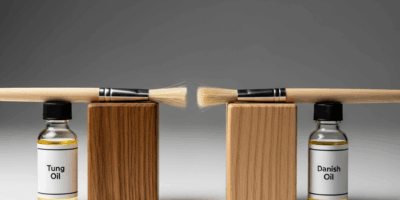
Step 3: Seal and level. Once color is right, seal with shellac applied via fine brush. Build thin coats until the scratch is level with the surrounding finish. Light sanding between coats with 600-grit ensures good adhesion.
Step 4: Blend the sheen. Final buffing with 0000 steel wool and paste wax blends the repair into surrounding finish.
When Professional Help Makes Sense
Deep gouges that have compressed wood fibers, burns that have charred the surface, or extensive damage covering large areas may justify professional attention. But 90% of the water rings and scratches I see can be repaired at home with these techniques.
The key is understanding that surface damage rarely means starting over. Work with the damage, understand its cause, and apply the appropriate reversal technique. Your finish can often look perfect again within an hour.


Stay in the loop
Get the latest fine finish wood working updates delivered to your inbox.