The Maple Problem Every Finisher Knows
Maple looks beautiful in the lumber rack. Clean, tight grain. Creamy white color with those subtle figure patterns catching the light. Then you apply stain, and disaster strikes.
Blotching. Uneven color absorption that turns your carefully selected boards into a mottled mess. The tight grain that makes maple so attractive also makes it notoriously difficult to stain evenly.
Why Maple Blotches
Maple’s dense, closed grain structure absorbs liquid unevenly. Some areas soak up stain immediately while others resist it. This creates the classic blotchy appearance that plagues woodworkers who try standard oil-based stains on maple.
Pre-stain wood conditioners help, but they don’t solve the problem completely. They reduce absorption overall, which means lighter color and reduced blotching – but also less vibrant results.
The Dye Stain Difference
Dye stains work fundamentally differently than pigmented stains. While pigmented stains sit on the wood surface (lodging in pores and grain), dye stains actually penetrate the wood fibers themselves.
This penetration matters for maple. The dye molecules are small enough to soak evenly into tight grain, producing consistent color without the blotching that larger pigment particles cause.
Types of Dye Stains
Water-soluble dyes offer the brightest colors and easiest cleanup. They do raise the grain slightly, requiring a light sanding between coats.
Alcohol-soluble dyes dry quickly and minimize grain raising. They’re less forgiving to apply since they dry so fast.
Oil-soluble dyes provide the longest open time and blend well, but colors tend to be more muted.
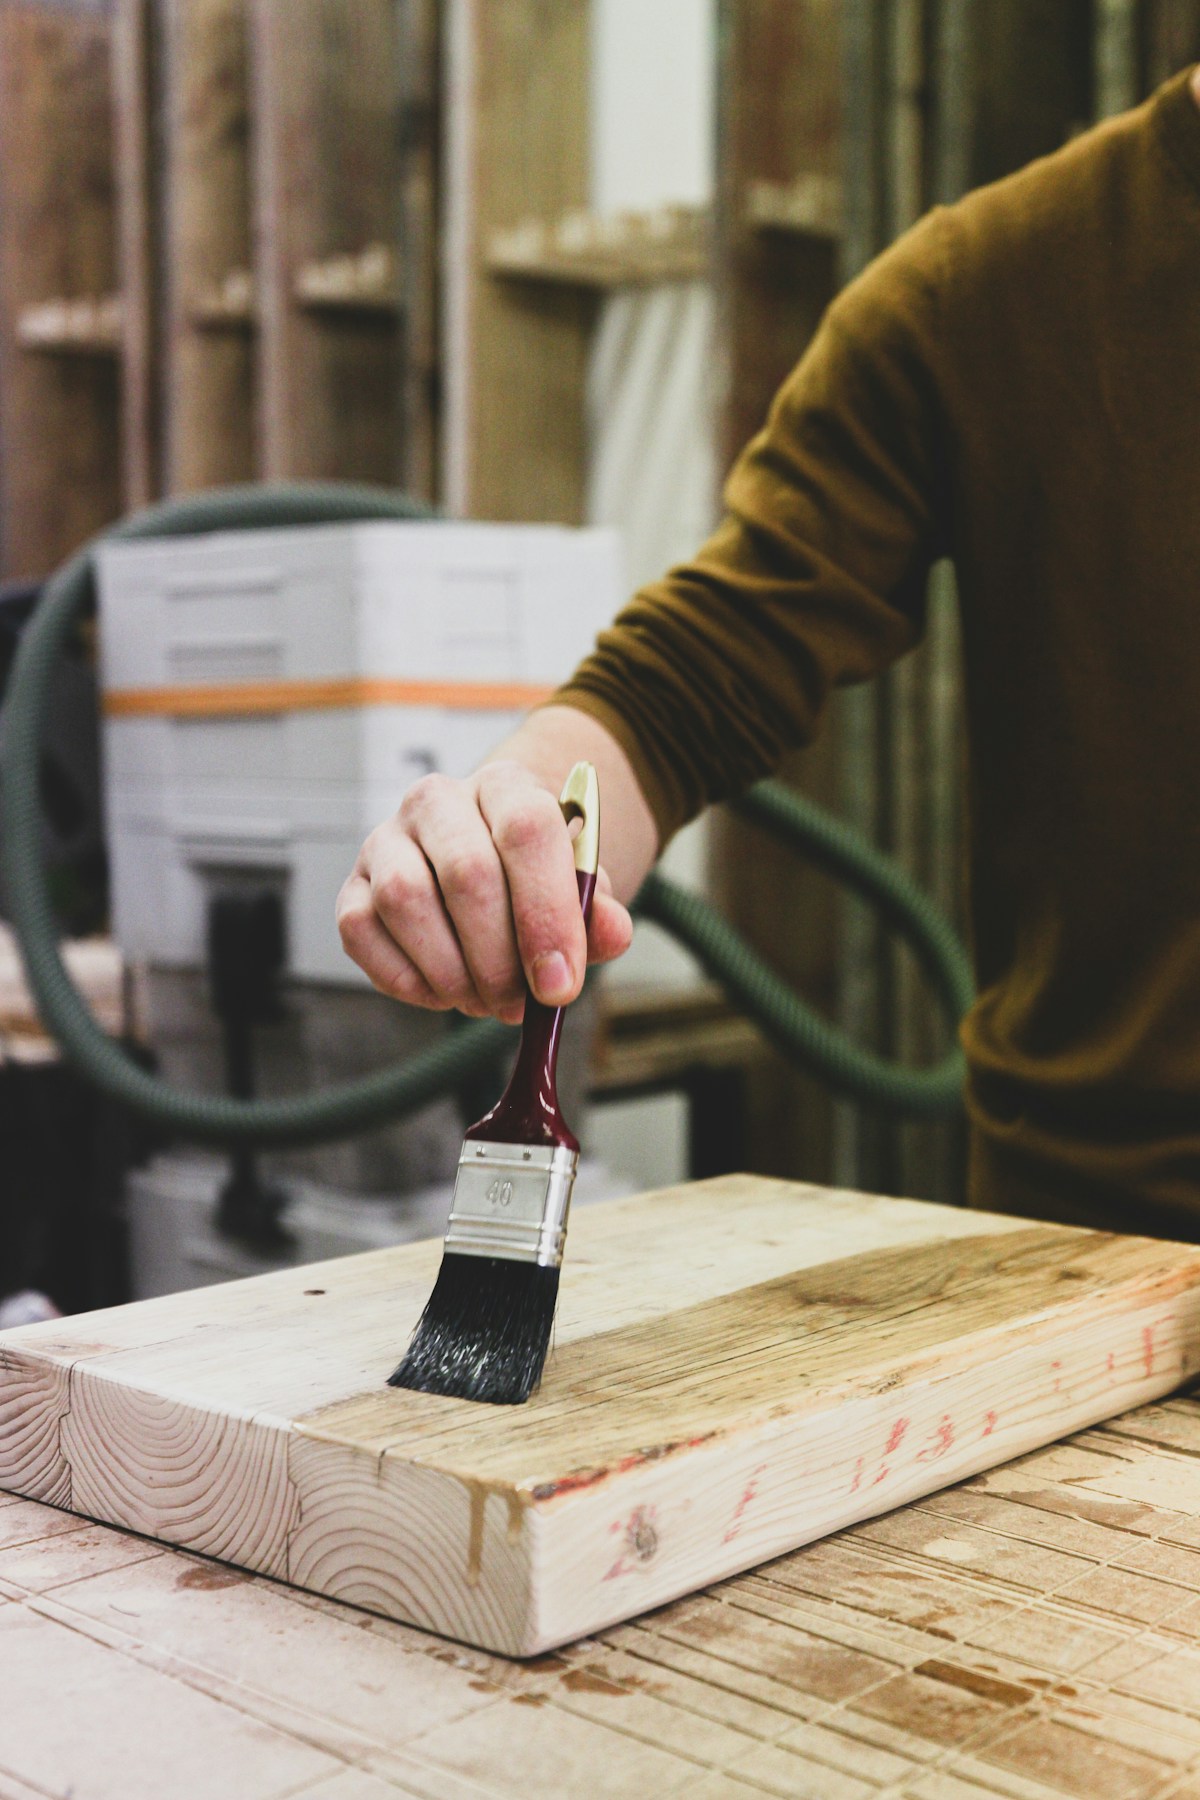
Application Technique

For best results on maple:
- Sand to 180 grit (no finer – you want some tooth for the dye)
- Raise the grain with water, let dry, sand lightly with 220
- Apply dye liberally and wipe off excess quickly
- Let dry completely before topcoating
Color Intensity Control
Dyes allow more color control than pigmented stains. Dilute the dye for lighter tones. Apply multiple thin coats to build depth gradually. You can even layer different colors – a base of yellow under amber creates dimensional warmth impossible with single-coat staining.
For vibrant color on maple without the blotching headaches, dye stains aren’t just an alternative to pigmented products. They’re the professional solution.


Stay in the loop
Get the latest fine finish wood working updates delivered to your inbox.