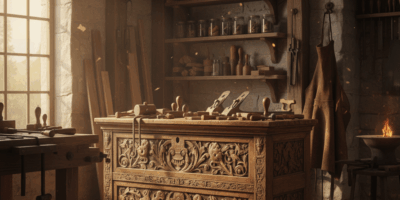
The Refinisher’s Nightmare Scenario

A client brings you an antique dresser. One drawer front has water damage—finish completely destroyed in a six-inch circle. The rest of the piece looks perfect, with eighty years of patina intact. They don’t want the whole piece stripped. They want that damaged spot to disappear.
This scenario sends many finishers running. Blending new finish into old without visible transitions requires techniques most never learn. But with the right approach, seamless repairs become reliable and repeatable.
Understanding What You’re Matching
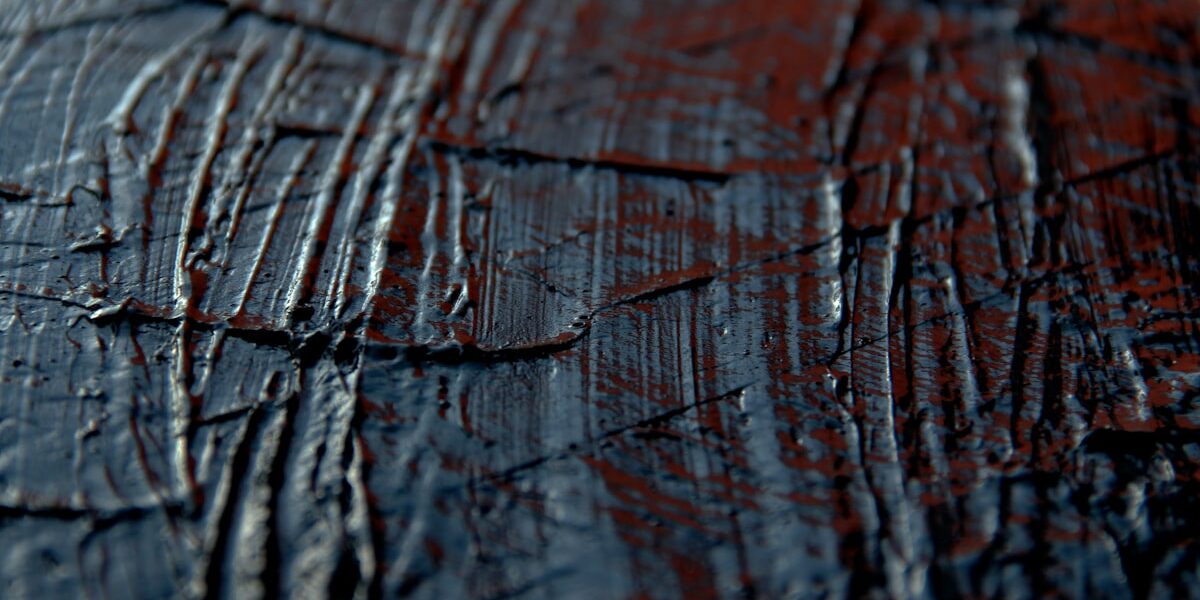
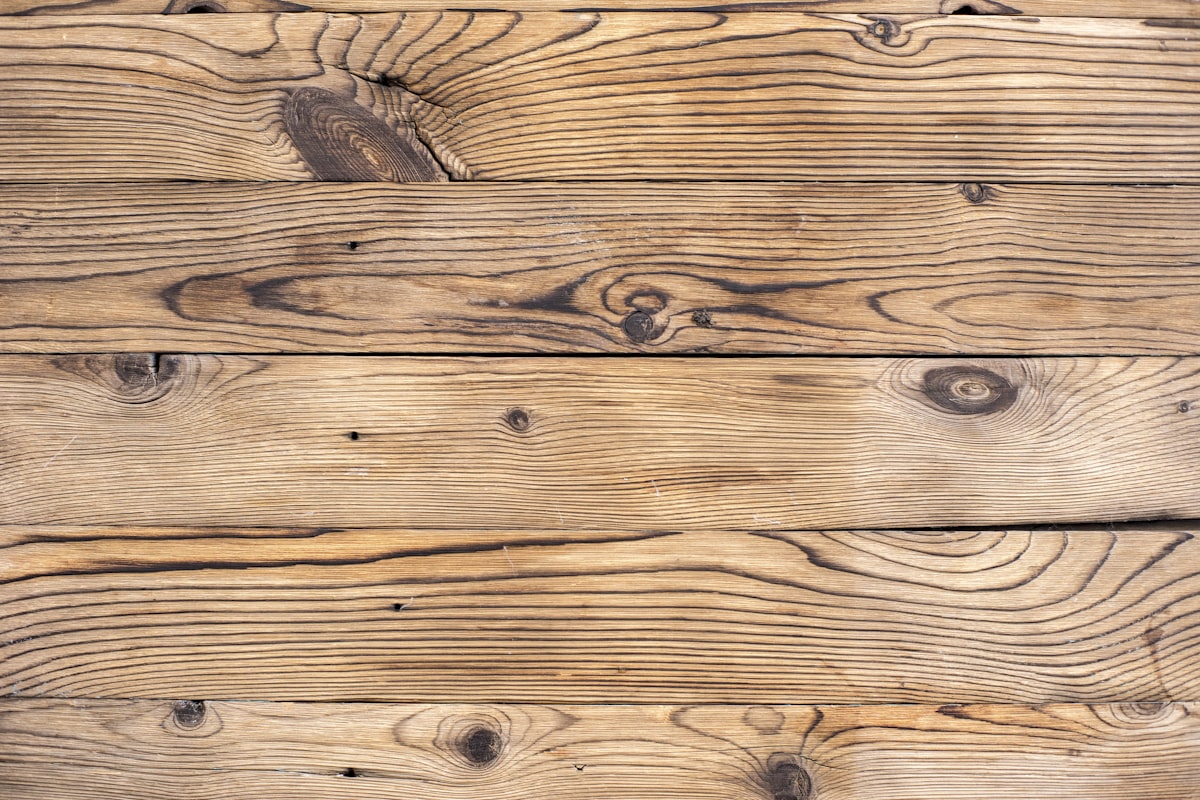
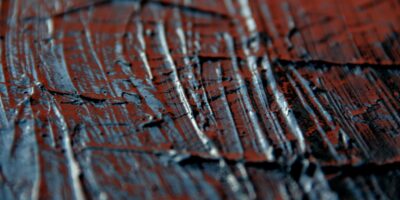
Old finishes aren’t just colored—they’re textured. Decades of use create micro-scratches, subtle wear patterns, and slight surface variations. A brand-new finish looks wrong not because of color alone, but because it lacks this visual texture.
Your blending strategy must address both color matching and surface character matching. Missing either element produces visible repairs.
Preparing the Damaged Area
Start by cleaning the damaged zone thoroughly. Remove any wax, polish, or contamination with naphtha or mineral spirits. Let it dry completely.
Feather the edge of the remaining good finish. Using 320-grit sandpaper, gently sand the transition zone where damaged meets undamaged. You’re creating a gradual slope rather than a cliff edge. This feathering should extend at least two inches beyond the visible damage.
Clean the feathered area again. Any residue here causes adhesion problems and visible lines in your final work.
The Color Matching Process
Before applying anything, analyze the existing finish color. Old finishes typically show these characteristics:
Amber undertone: Virtually all old lacquer, varnish, and shellac finishes yellow over time. Fresh finish looks too cool without adding amber tint.
Depth variation: Aged finishes show different color intensity in different areas. Grain patterns darken more. High-wear zones may be lighter. Your repair should reflect this natural variation.
Sheen inconsistency: Unless recently polished, old finishes show varying sheen levels. Some areas have been touched more, polished more, worn more.
The Blending Technique
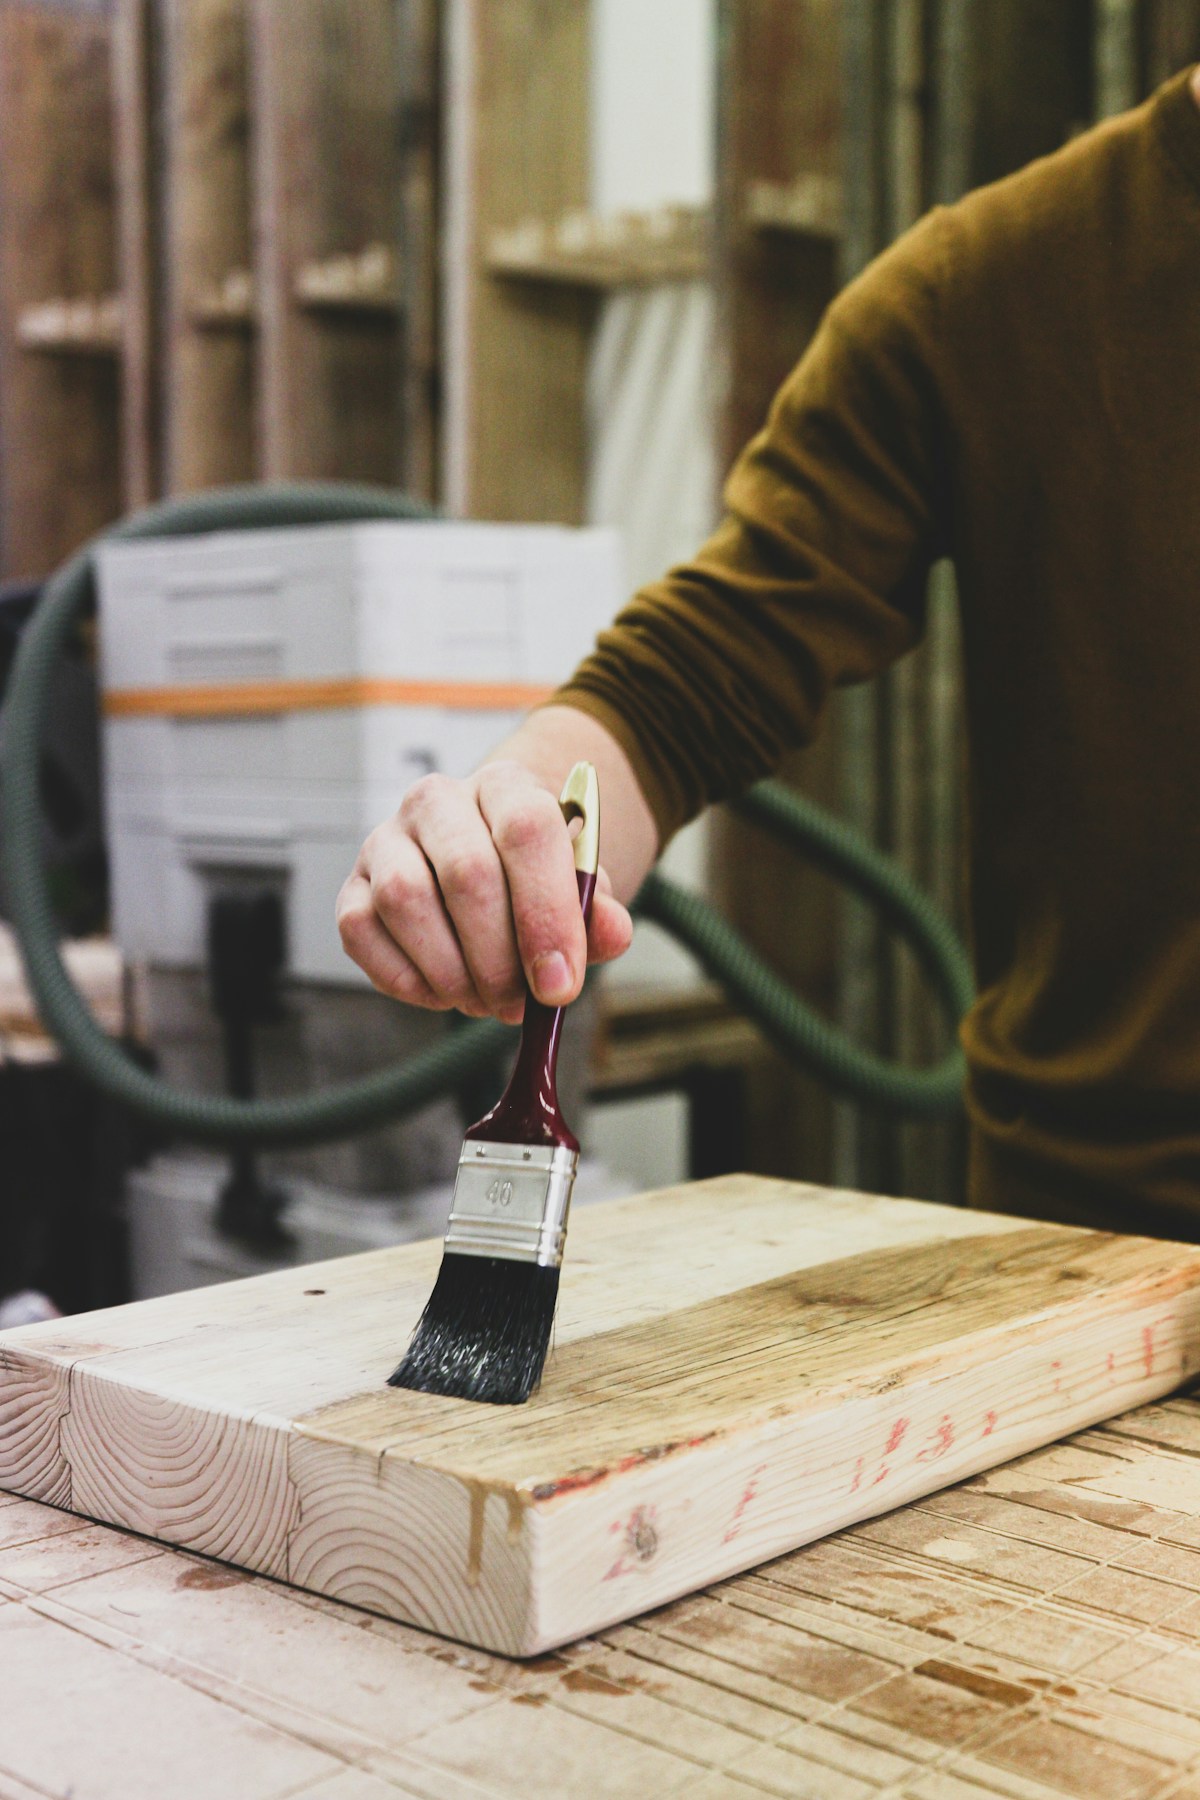
Step 1: Base seal. Apply a thin coat of dewaxed shellac (SealCoat) to the bare wood and feathered zone. This provides a consistent base and prevents any remaining old finish from reacting with your new materials.
Step 2: Color application. Using tinted shellac or dye-stained shellac, build color in the repair area. Apply multiple thin coats rather than one heavy coat. Each coat should dry before adding the next. Compare frequently to the surrounding original finish.
Step 3: Blend extension. Here’s the key technique most miss: extend your colored finish past the visible repair zone into the good original finish. Apply increasingly thinner coats as you move outward, creating a gradient transition rather than a hard line.
Step 4: Topcoat matching. Match your topcoat to the original finish type if possible. Shellac over shellac, lacquer over lacquer. Modern waterborne finishes work over anything but may show slightly different light reflection than old oil-based finishes.
Apply your topcoat using the same extension technique. Feather outward with progressively lighter coats. If using spray equipment, gradually fade off rather than stopping abruptly.
Creating Appropriate Surface Texture
New finish looks too perfect. After your topcoats cure (at least 48 hours for lacquer, longer for other finishes), artificially age the repair to match surrounding areas.
Fine steel wool (0000 grade) rubbed lightly creates subtle micro-scratches matching old wear. Apply in the direction you’d expect wear from normal use. Wax afterwards with a product matching whatever was used on the original—paste wax, furniture polish, or nothing.
For heavily worn areas, 800-grit wet-sanding followed by rubbing compound can create the slightly rounded, soft look of decades of handling.
The Final Inspection
View your repair from multiple angles. Side lighting reveals blending failures that straight-on viewing misses. If any lines or color jumps are visible, additional blending coats can usually solve the problem.
The repair should become invisible when you stop thinking about it. If you keep seeing it, so will the client. Keep refining until the work genuinely disappears into the whole.
These techniques take practice to master, but once learned, they transform impossible repair requests into straightforward jobs. The ability to blend new into old seamlessly is one of the defining skills separating amateur finishers from professional restorers.

Stay in the loop
Get the latest fine finish wood working updates delivered to your inbox.