Updated January 2026 | Side-by-side tests on red oak, white oak, walnut, and mahogany
I tested the same finish on four boards – two with pore filler, two without. The difference on red oak was dramatic. Here is when filling matters and when you should skip it.
Mistake I Made: I once filled pores on white oak using water-based filler, then tried to apply oil-based polyurethane. The finish crawled and beaded. Oil and water still do not mix – even in woodworking.
The Decision That Defines the Finish
Stand two pieces of walnut side by side. One shows deep, three-dimensional figure that catches light like water. The other shows the same wood, but flattened somehow—less alive but sleeker, more refined. The difference isn’t in the wood or the color. It’s in the pores.
Open-pore finishing leaves the wood’s natural texture visible and tactile. Pore filling creates a glass-smooth surface where texture disappears under level finish. Neither approach is superior—each serves different aesthetic goals. Understanding both helps you choose deliberately rather than accidentally.
What Open Pores Look Like
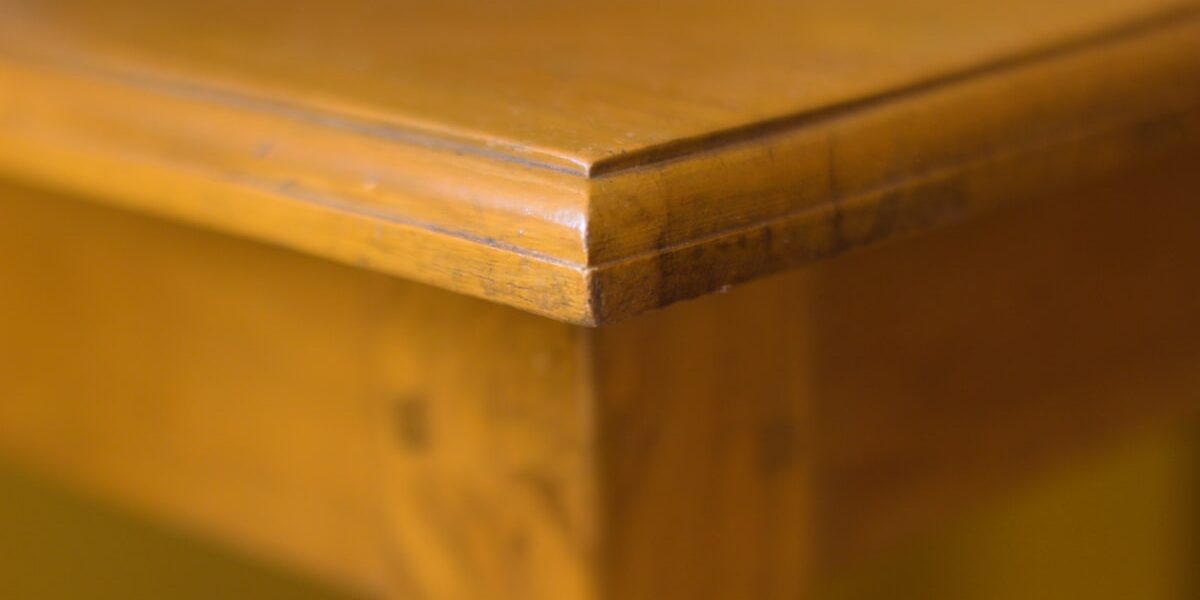
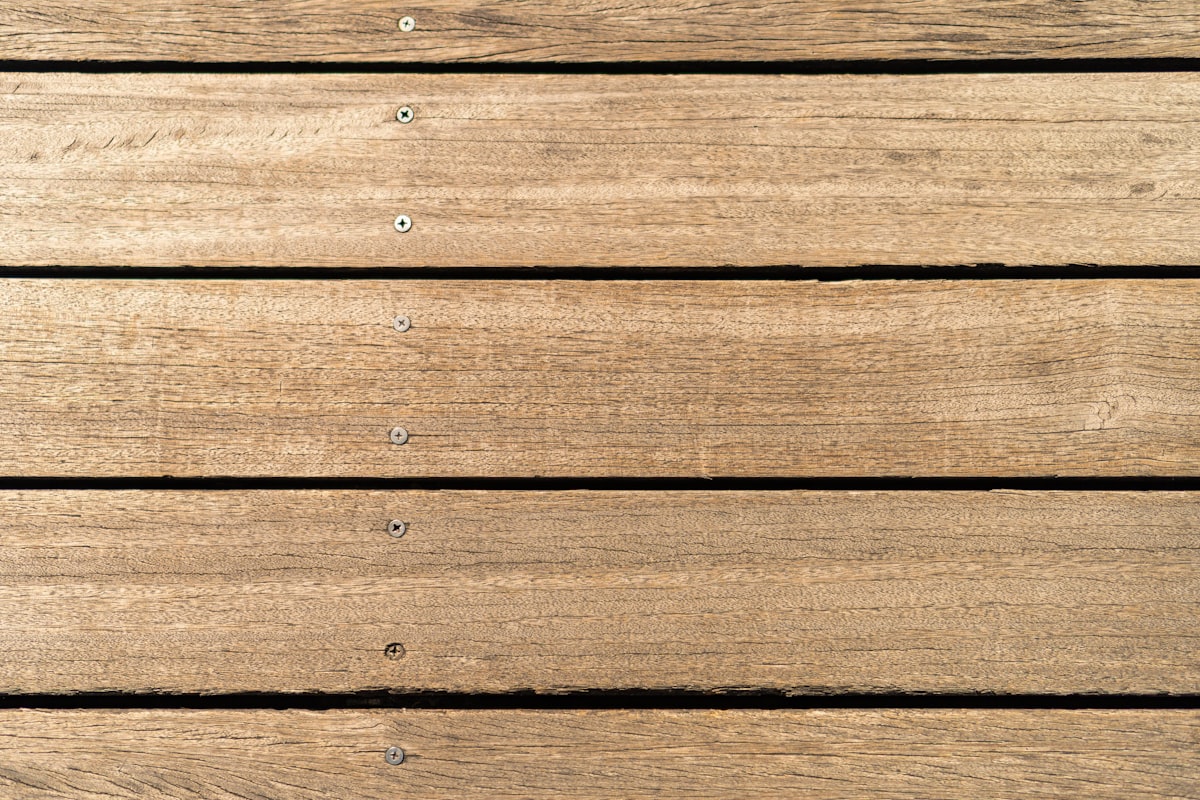
On woods like oak and walnut, the pores are large enough to see and feel. Open-pore finishing preserves this texture. You can run your finger across the surface and feel the grain pattern. Light catches the tiny shadows of pore openings, creating visual depth and movement.
Open-pore finishes typically use oil, wax, or thin film finishes that don’t build enough thickness to fill the pores. The finish follows the surface contours rather than leveling over them.
The aesthetic is organic, natural, and honest. You see and feel actual wood rather than a plastic-like coating over wood. Many Scandinavian and Arts and Crafts designs use open-pore finishing to emphasize wood’s natural character.
What Filled Pores Look Like
Pore filling creates a perfectly level surface. When you run your finger across it, you feel only smooth finish—no hint of texture beneath. Light reflects uniformly. The effect is more formal, more refined, more furniture-like in the traditional sense.
High-gloss finishes almost require pore filling. Without it, pores appear as tiny craters in the shiny surface—visually distracting and difficult to clean. Mirror-smooth lacquer or polyurethane needs a filled surface beneath.
Most high-end furniture, pianos, and formal pieces use filled pores. The finish makes a statement: this wood has been transformed into something beyond its natural state.
Pore Filling Methods
Paste wood filler: The most common approach. These thick, paste-like products are forced into pores with a brush or rag, allowed to partially dry, then wiped across the grain to remove excess from the surface while leaving filler in the pores.
Paste fillers come in various colors to match or contrast with your wood. Oil-based fillers have long working time but require days to dry before finishing. Water-based fillers dry faster but may raise the grain.
Sanding sealer method: Apply thick coats of sanding sealer, sanding between each coat. The finish gradually fills the pores over multiple applications. This takes longer than paste filler but uses fewer products.
Epoxy filling: For the most durable fill, thin epoxy can be worked into pores before finishing. This is common on bar tops and tables that will see heavy use. The epoxy becomes part of the wood surface permanently.
Applying Paste Filler Successfully

Step 1: Seal first. Apply a thin coat of dewaxed shellac or sanding sealer before filling. This prevents the filler from staining the wood in areas where you don’t want it. Unsealed wood may absorb filler colorants into the grain, creating muddy results.
Step 2: Work across the grain. Apply filler with a brush or scraper, working across the grain to force material into pores. Circular motions help pack the pores fully.
Step 3: Wait for the right moment. Filler should dry to a hazy appearance before wiping. Too wet and you pull it out of the pores. Too dry and it won’t wipe clean from the surface. Test timing on scrap first.
Step 4: Wipe across the grain. Using burlap or rough cloth, wipe firmly across the grain to remove surface filler while leaving pores packed. Wiping with the grain can pull filler out of the pores.
Step 5: Clean up with the grain. Final light wiping with the grain removes any remaining haze from the surface. Let dry completely—usually overnight—before sanding.
Step 6: Sand level. Light sanding with 320 grit removes any filler above the surface level. The goal is pores flush with surrounding wood, not visible as either craters or bumps.
Choosing Between Approaches
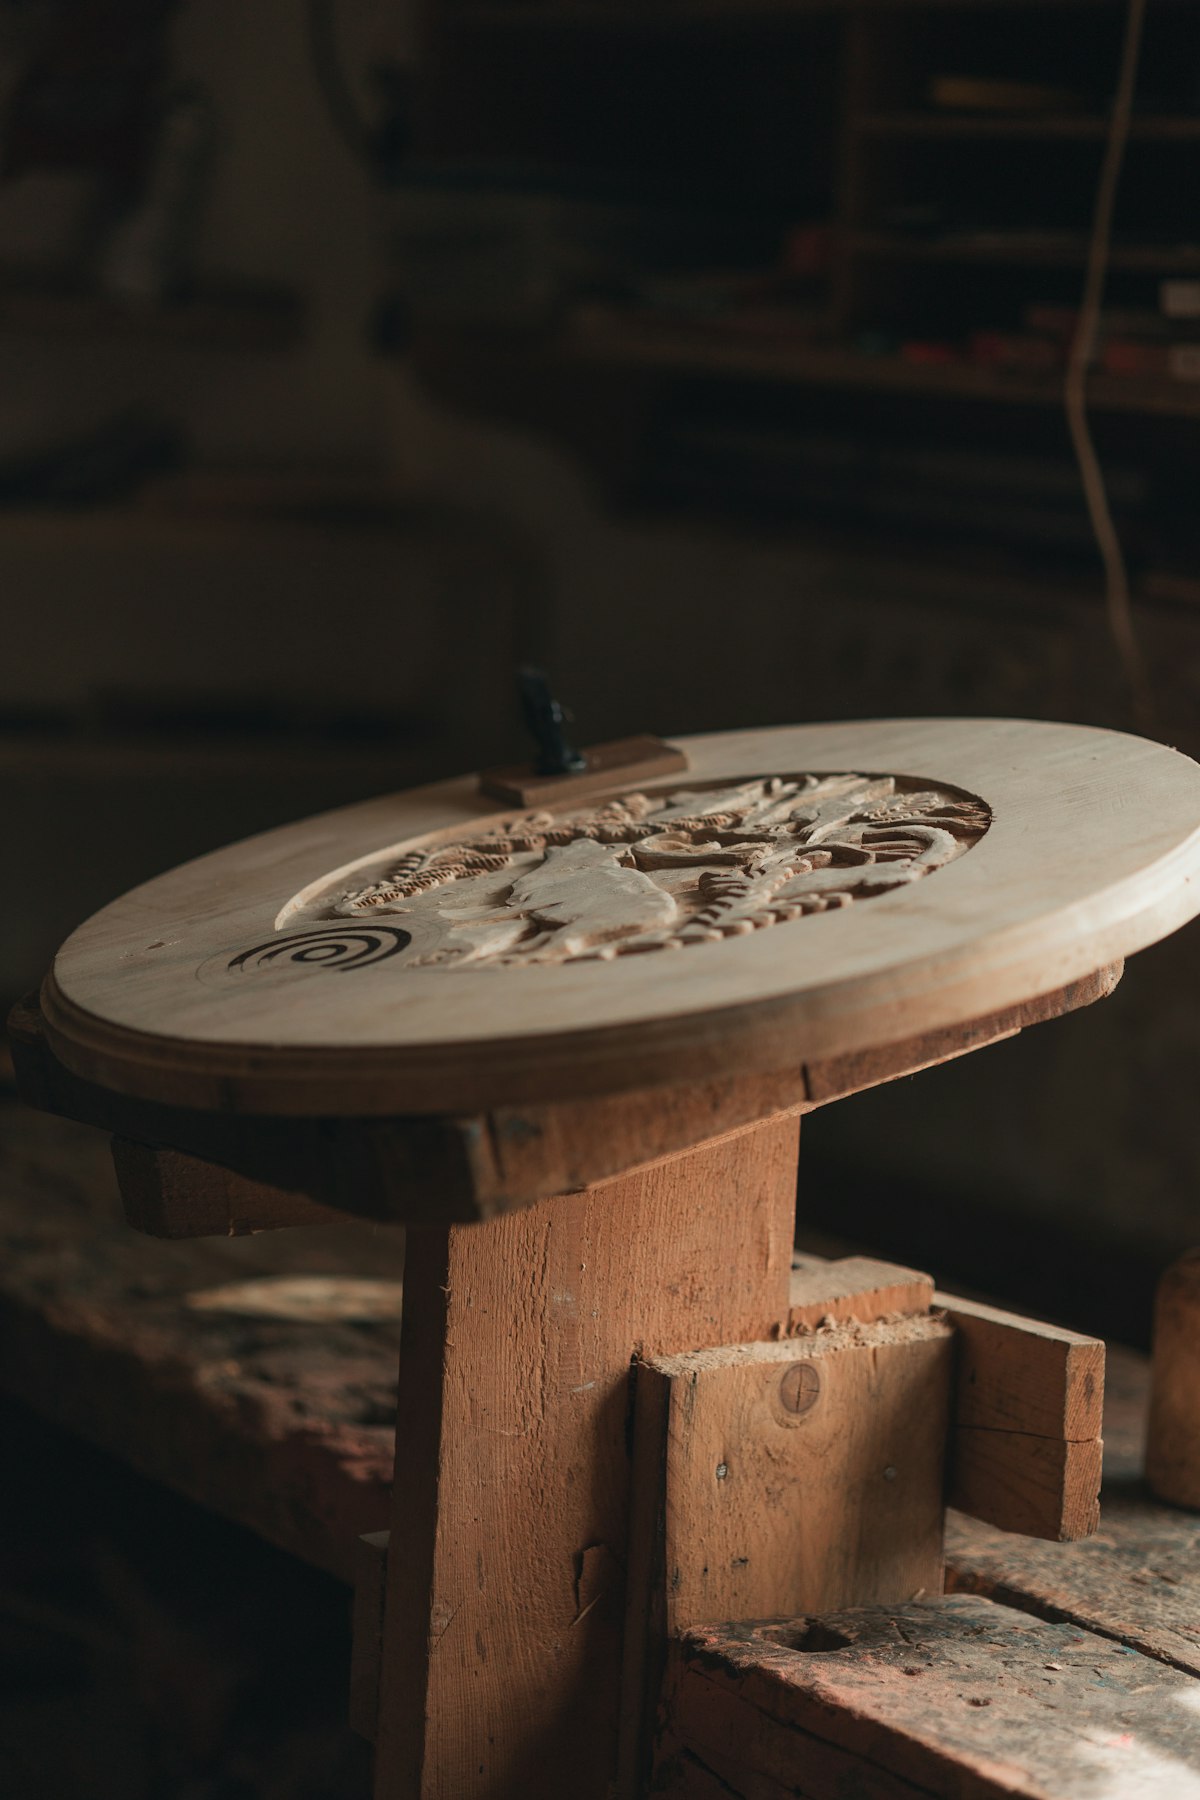
Consider the piece’s purpose. Casual furniture, cutting boards, and tactile pieces benefit from open pores—users will touch them regularly and appreciate the organic texture. Formal dining tables, desks, and display pieces often look better with filled pores and high-sheen finishes.
Consider maintenance. Open-pore surfaces collect dust and spills in their texture. Filled surfaces wipe clean with a damp cloth. If easy cleaning matters, pore filling simplifies care.
Consider the wood itself. Oak’s dramatic pores make a strong statement either way. Walnut’s smaller pores may not need filling for a smooth appearance. Cherry and maple have pores so small that filling is rarely necessary.
You Can Always Choose Later
Pore filling happens early in the finishing process. If you’re uncertain, start with an open-pore approach. You can always add filler and build up finish later. But removing filler to return to an open-pore look means stripping and starting over.
Make the choice deliberately based on your aesthetic goals. Either approach produces beautiful results when executed properly. The key is understanding what you want before you begin.


Stay in the loop
Get the latest fine finish wood working updates delivered to your inbox.