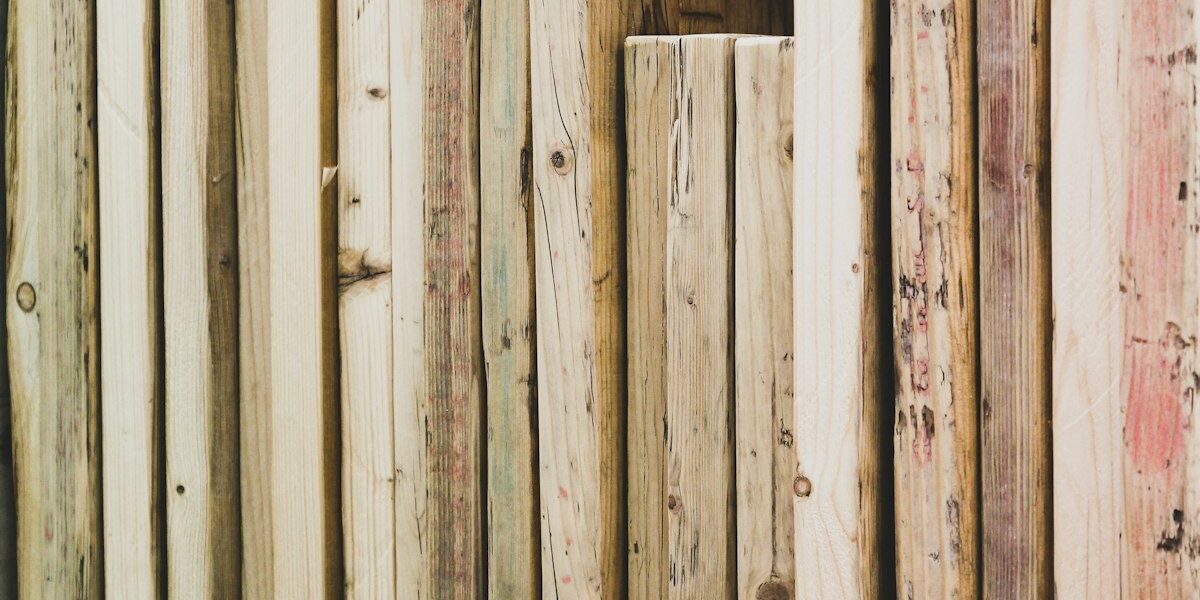
Wood finishing transforms raw lumber into beautiful, durable furniture. Proper surface preparation and finish application determine final appearance.
This article contains affiliate links. We may earn a commission at no extra cost to you.
Quick Answer: Sand progressively through grits, raise the grain, apply stain evenly, and build protective topcoat layers. Each step affects the final result.
Surface Preparation

Remove mill marks and scratches through progressive sanding. Start with 80-grit and work through 120, 180, and 220-grit. Sand with the grain direction to avoid cross-grain scratches that show through finish.
Preventing Blotchy Stain
Blotching occurs when softwood absorbs stain unevenly. The solution is pre-treatment. Apply Minwax Pre-Stain Wood Conditioner (1 Quart) before staining softwoods like pine, maple, or cherry. This penetrates the grain and promotes uniform stain absorption for professional-looking results.
Stain Application
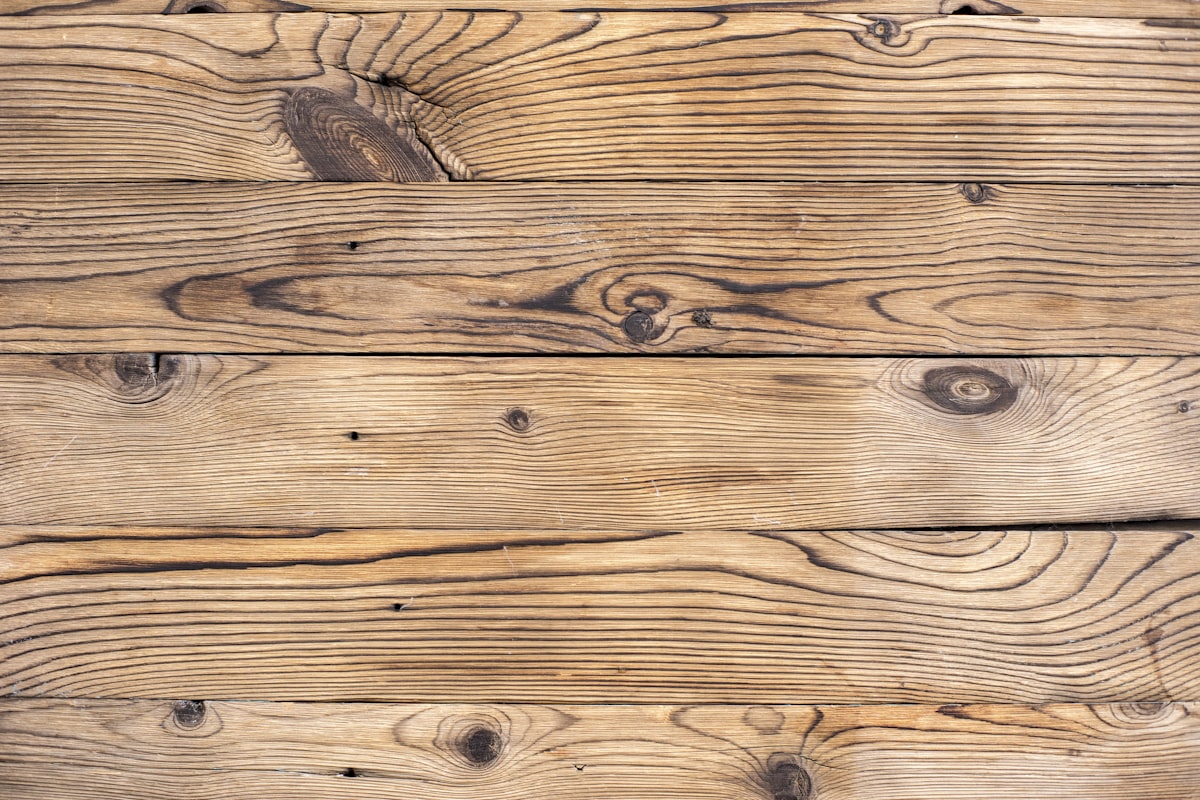
Apply stain evenly using cloth, brush, or spray. Wipe off excess after penetration time. Test stain on scrap matching your project wood. Gel stains control blotching on pine and other problem woods.
Topcoat Options
Polyurethane provides durable protection for high-use surfaces. Oil finishes penetrate wood for natural appearance. Lacquer dries quickly for production work. Choose finish based on use and desired look.


Stay in the loop
Get the latest fine finish wood working updates delivered to your inbox.