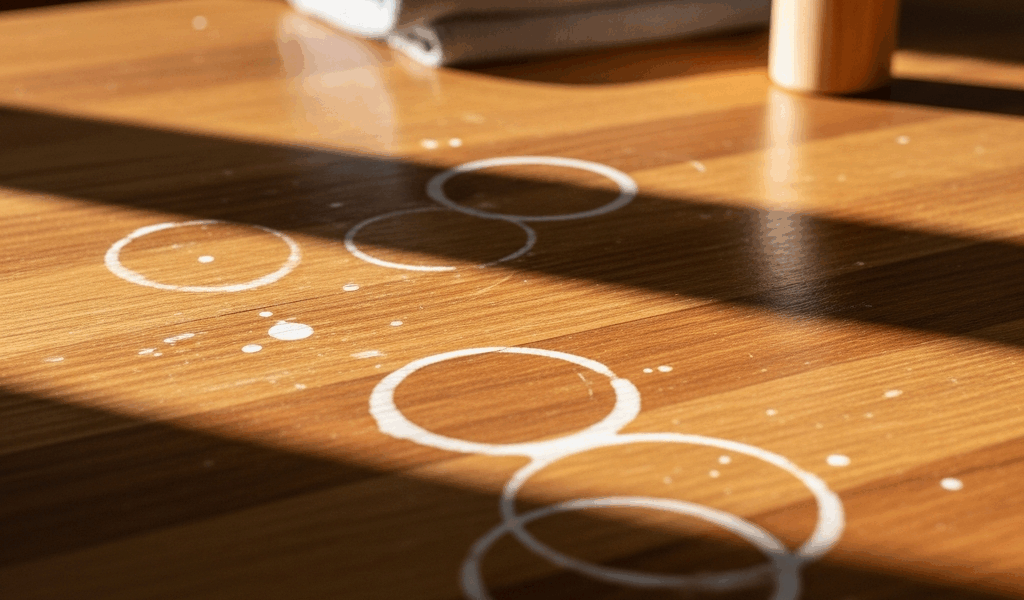
White Ring or Dark Stain — That Determines Everything
Fixing water damage on wood has evolved with all the conflicting advice flying around. As someone who has spent the last eight years repairing furniture for friends and family, I put in the hours studying reading stains before touching them. Today, I will share it all with you.
But what is a water stain, really? In essence, it’s trapped moisture doing damage somewhere between the finish and the wood grain. But it’s much more than that — because where exactly the damage lives changes your entire approach.
Here’s the diagnostic that actually matters. White, cloudy rings live in the finish layer. Not in the wood itself. What you’re seeing is moisture trapped between the finish and the surface, or finish that’s been fogged by heat or vapor. This is fixable. Usually without stripping a single thing.
Dark brown or black stains are a different story. Water pushed past the finish entirely. Soaked into the grain. Harder to fix — not impossible, but the approach is more invasive and the results are less predictable.
Run a finger over the white ring. Smooth, or slightly raised? Smooth usually means it’s finish-level damage. For dark stains, look from the side in bright light. Sitting on top means surface-level. Looks like it’s inside the wood? That’s penetration. That distinction determines everything you do next.
How to Remove White Water Rings From a Wood Finish
Start with the gentlest method. It works more often than people expect — honestly, embarrassingly often.
Petroleum Jelly or Mayonnaise Overnight
Grab a jar of petroleum jelly or regular full-fat mayo — not the light stuff, it doesn’t have enough oil. Spread a thick layer directly over the white ring and leave it for 8 to 12 hours minimum. Overnight is better. The oil works into the finish’s micro-cracks and rehydrates the layer that fogged up, and the cloudiness can disappear entirely.
Wipe it off in the morning with a soft cloth. Sometimes the ring is gone. Sometimes it’s just lighter. Either way, this costs under five dollars and requires zero skill. If it worked, stop here. Avoid the path I took of immediately reaching for something more aggressive when the simple fix already did the job.
Warm Iron Over a Cloth
The jelly didn’t work? Heat is the next move. Lay a clean cotton cloth flat over the stain — an old t-shirt works fine — and run a warm iron across it on low to medium. Keep the iron moving at all times. You’re softening the finish just enough to let it flow back together. You’re not trying to brand the wood.
This works best on shellac and lacquer finishes. On polyurethane, too much heat creates a dull spot instead of fixing one. If you’re not sure what finish you’re dealing with, do the jelly method first and come back to this one only if needed.
Denatured Alcohol for Lacquer
Dab a tiny amount of denatured alcohol on an inconspicuous edge — the underside of a leg, the back corner of a tabletop. If the finish softens and becomes slightly tacky, you’ve got lacquer. That matters here.
Dampen a soft cloth with denatured alcohol and rub the white ring lightly, moving with the grain. The alcohol temporarily reactivates the lacquer so it flows back together and the cloudiness disappears. Barely-damp cloth. Multiple light passes. Not one heavy one. Too much alcohol and you’ll lift finish you never intended to touch — I apparently have a heavy hand with solvents and learned this the frustrating way.
0000 Steel Wool With Paste Wax
Worth putting near the top. For stubborn white rings that laugh at heat and jelly, pick up a pack of 0000 steel wool — that’s four zeros, the finest grade available — and a tin of paste wax. Minwax or Briwax, around $8 to $12 at any hardware store. Rub gently in the direction of the grain with light, even pressure. The steel wool lightly abrades the cloudy finish layer while the wax fills any micro-scratches and brings back the sheen.
This removes a microscopic layer of actual finish, so it’s slightly more committed than the earlier methods. Still miles from full refinishing, though. Afterward, buff the whole piece — not just the repair — with a clean soft cloth. That’s what makes blending repairs endearing to us furniture people. The whole-surface buff hides a lot.
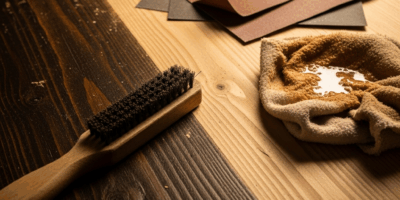
How to Treat Dark Water Stains That Soaked Into the Wood
Dark stains are harder because they live in the wood fibers themselves, not the finish sitting on top. You have to bleach them out from inside the grain. So, without further ado, let’s dive in.
Oxalic Acid — The Go-To Solution
Oxalic acid — sold as wood bleach in most hardware stores — is what pulls dark water stains and ink stains out of raw wood. Bartley’s and similar brands run around $8 to $12 per container in powder form. Mix roughly 2 to 3 tablespoons per cup of hot water, following the label directions exactly.
Apply it to the stain with a small brush. Let it sit 15 to 30 minutes. Check it. Still dark? Reapply and wait another 15. Most water stains fade noticeably on the first or second application. Once the lightening looks satisfactory, wipe the area with plain white vinegar — that neutralizes the acid and stops the bleaching process. Then rinse with clean water and let it dry completely. Full 24 hours, not just until it looks dry.
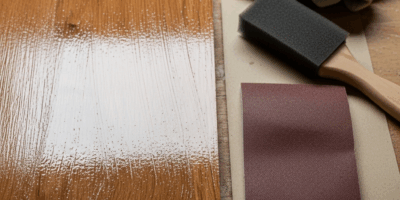
Here’s what most people miss: oxalic acid raises the grain. The surface will feel rough and fuzzy when dry. Sand it lightly with 150 or 180-grit paper, moving with the grain. You’re smoothing fuzz, not removing wood. Light passes only.
The Honest Limitation
Deep black stains — the kind that sat untreated for months or years — might only lighten rather than disappear entirely. Two applications is usually the ceiling before diminishing returns take over. At that point, you’ve got two choices: accept the lighter stain, or refinish that section properly. Steer clear of where I went wrong of running five applications hoping for a different result. Two is the number. After that, you’re just raising grain repeatedly for no gain.
Blending the Repair So It Doesn’t Look Patched
You lifted the stain. Now the finish looks wrong in that spot — lighter, duller, different texture. This is where the visible work happens.
Identify your finish first. That denatured alcohol test again: dab an inconspicuous corner. Softens and gets tacky? Lacquer or shellac. No reaction? Polyurethane. You need to apply the same finish type to blend correctly, or the repair will stay obvious.
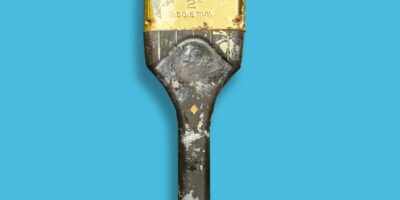
Using a small brush or foam applicator, apply one thin coat of matching finish over the treated area, feathering it out 3 to 4 inches past the visible repair zone. Sheen matching is critical — probably more critical than anything else at this stage. Apply gloss over a satin finish and that spot will catch light differently and announce itself to anyone in the room. When in doubt, satin is the middle ground that forgives the most.
One thin coat beats one thick coat every time. Let it cure fully. If the sheen still reads slightly off, run 0000 steel wool with paste wax across the entire surface — not just the repair — and buff it out. That evens the sheen without making anything look obviously touched.
When You Actually Do Need to Refinish
Be honest with yourself here. Stains across multiple areas of the piece, finish already peeling or failing at the edges, oxalic acid tried twice without real improvement — that’s the ceiling of what spot treatment can do. Refinishing isn’t a failure. It’s just the next logical step.
Full refinishing takes more time and costs more money, somewhere between $40 and $100 in materials depending on the piece and finish type. But it solves the problem permanently and lets you upgrade the finish while you’re at it. That’s what makes refinishing endearing to us furniture people when the situation calls for it — you leave the piece better than you found it, not just patched.

Stay in the loop
Get the latest fine finish wood working updates delivered to your inbox.